Accessing your Lab Environment
Viewing Lab Environment Details
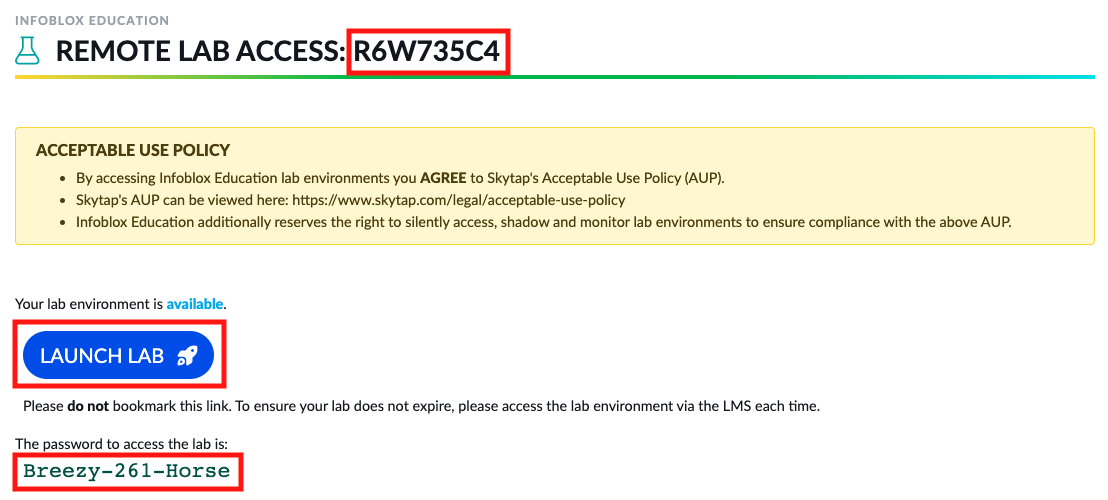
Note the eight-character Lab ID
If you need assistance, please provide this code to your instructor or include in your email request.
Click the LAUNCH LAB button which will open in a new web browser window/tab
If provided, use the password when prompted to log in to the lab environment.
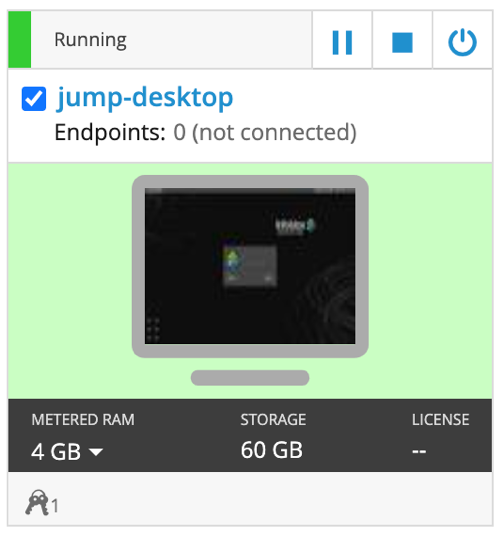
The environment should automatically power on.
If the environment is not powered on, click the play button in the top right corner of the screen to power on the lab environment.

You will see a small spinning icon next to each of the virtual machines as they power on.
When the systems are powered on, the status will show running, and will change to green.
Powered on/running is not the same as fully booted. It may take a few minutes for the operating systems to complete the boot process.

To ensure the lab works as expected, ALL VMs are required to be powered on and running.
Verify Access to the Virtual Machines
To get connected to the linux-desktop or jump-desktop (the system you will use during the course to do your configuration), click on its tile.
The virtual machine console will open.
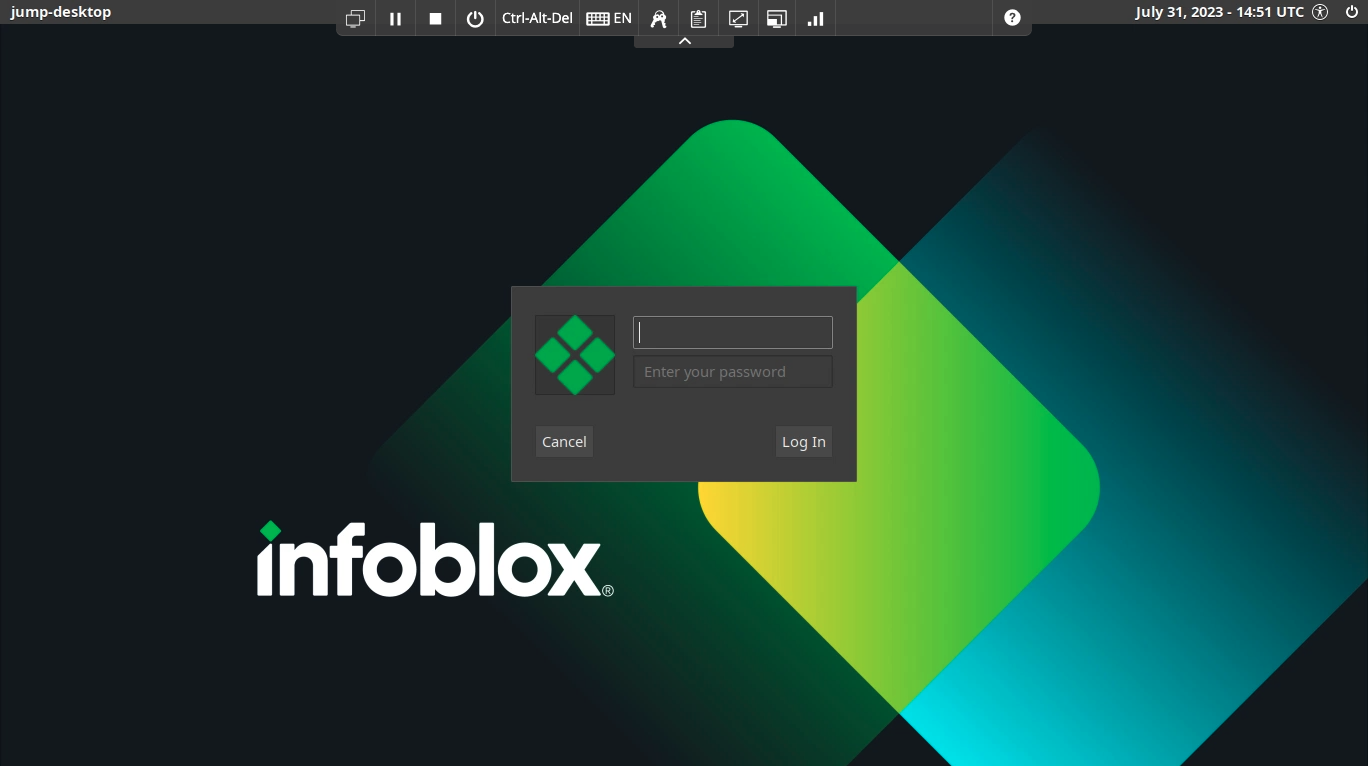
VM credentials can be found by clicking on the keys icon in the toolbar:

After the desktop appears, maximize your web browser window.
Then find the VM toolbar at the top of the screen and click the Fit to Window icon to ensure the Linux Desktop screen fills your browser window.

Once you are connected to the first system, you will use the VM toolbar to switch between systems.
Click the left-most icon in the VM toolbar to see all available systems.
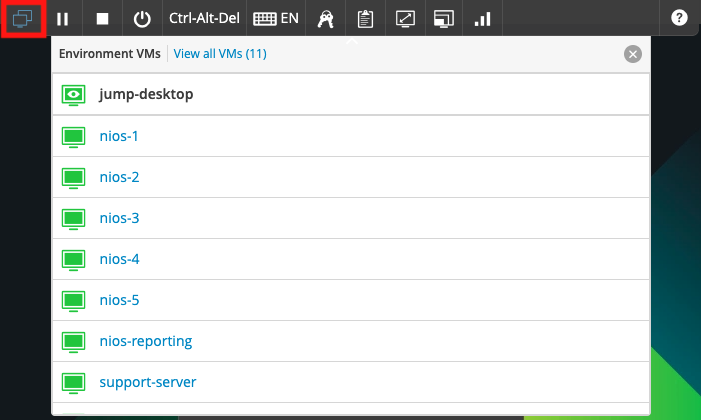
Note: When connecting to one of the console sessions, the screen might be black. You may have to press the Enter key before you see any output on the screen.
Virtual Machine Toolbar Icons
The virtual machine toolbar offers several functions.

Preparing your Lab
If you are using a NIOS Lab Environment, you will need to prepare your lab environment before you can perform any lab tasks.
On the Jump-Desktop, double-click the Launch Lab shortcut on the Desktop.

Select your lab from the list, then click OK.
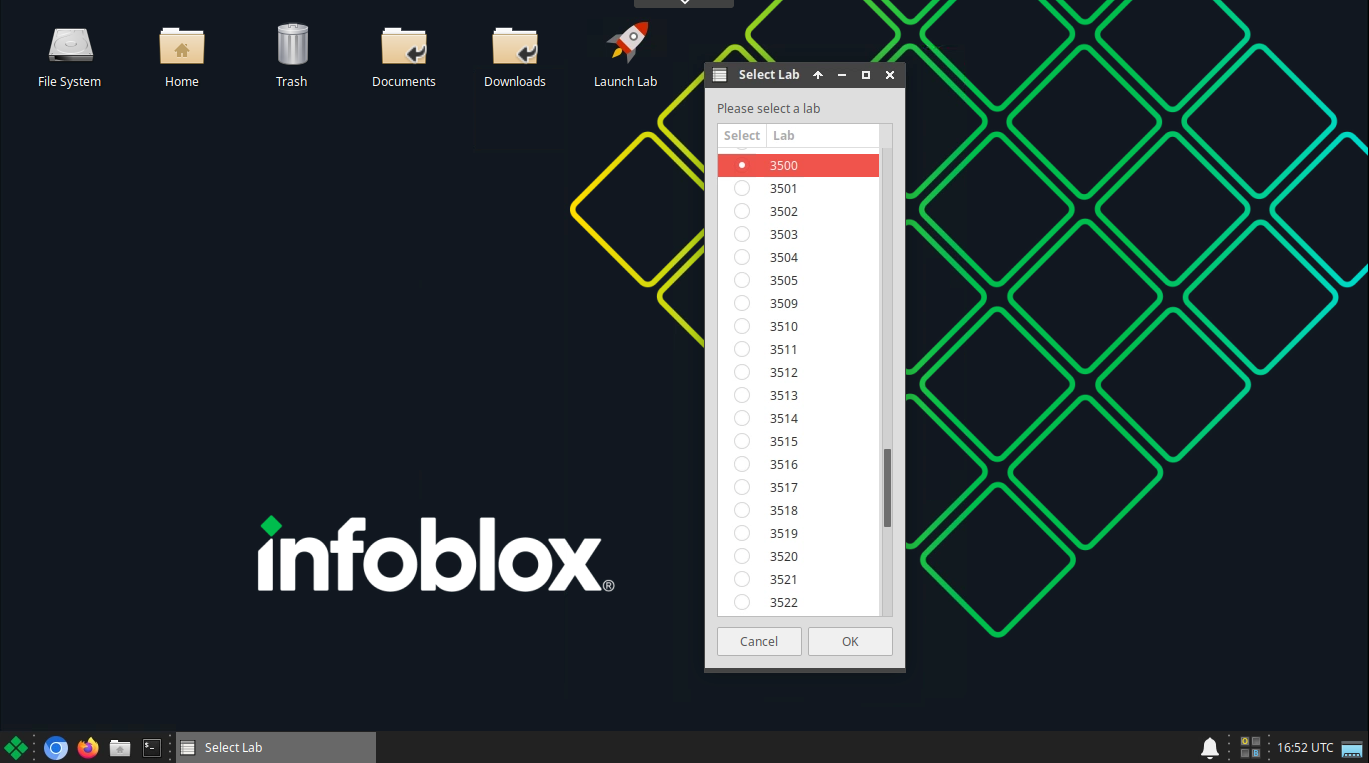
Read the popup message carefully.
It will display the lab name and number you are running, and essential information as to what it will do to the existing lab environment.
When you are ready to proceed, click Yes.
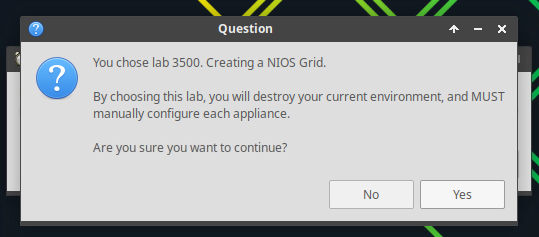
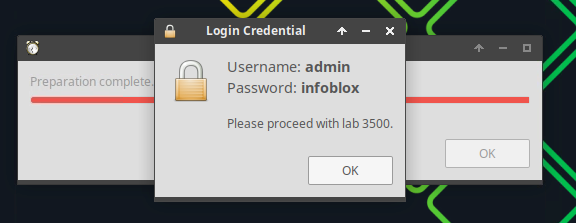
Once the lab has been prepared, the access credentials will be provided.
These you will use to access the Infoblox Grid.
