Scenario
Your manager asked you to send her a list of all DHCP ranges configured on the NIOS Grid. Please use the CSV Job Manager function to generate this list.
Estimate Completion Time
-
5 to 10 minutes
Credentials
|
Description |
Username |
Password |
URL or IP |
|---|---|---|---|
|
Grid Manager UI |
morpheus |
infoblox |
Requirements
-
Read-only access to Grid
-
Read-only access to DHCP ranges (objects to be exported)
Learning Content
Lab Initiation
Access jump-desktop
Once the lab is deployed, you can access the virtual machines required for this activity. To begin, select VM List from the navigation bar at the top, locate jump-desktop, and click the green play icon to open its console. Log in to the Linux UI.

Username: training
Password: infoblox
Initiate lab
To initiate the lab, double-click the Launch Lab icon on the Desktop.

Choose the lab number from the list and click OK.

After clicking OK, you will see a pop-up message with a brief description of the lab task. If the description looks correct, click Yes to continue lab initiation.

Lab initiation will take a couple of minutes to finish.
Once complete, you will see another pop-up message with the login credentials and the URL for the Grid Manager’s User Interface. Note that the credentials may differ from those from prior labs.

Tasks
Task 1: Exporting all DHCP ranges
While it is possible to export one DHCP range at a time in the GM, it is difficult to use the graphical interface to bulk-export this object. Instead, use the CSV Job Manager tool to export all DHCP Ranges quickly. Open the exported data (CSV format) and remove unneeded data if desired.
Solutions
Task 1 Solution: Exporting all DHCP ranges
The CSV Job Manager can be used for this exercise
-
Login to NIOS GM web interface.
-
Navigate to Grid → Grid Manager
-
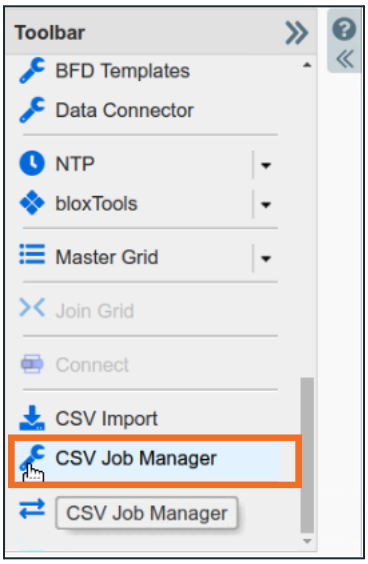
From the Toolbar click on CSV Job Manager
-
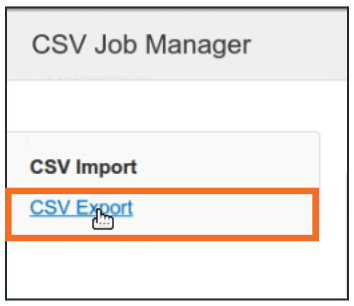
Once the CSV Job Manager opens, switch to CSV Export
-
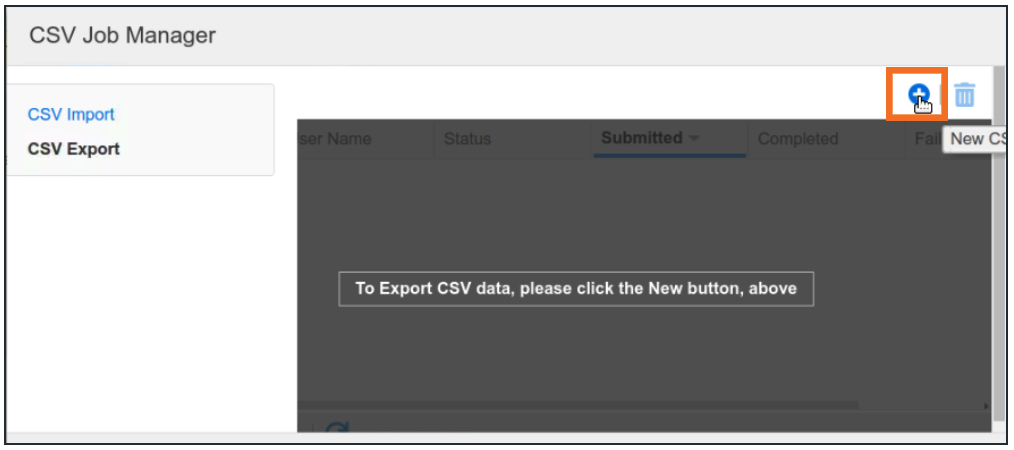
In the CSV Export window, click + to add a New CSV Export job
-
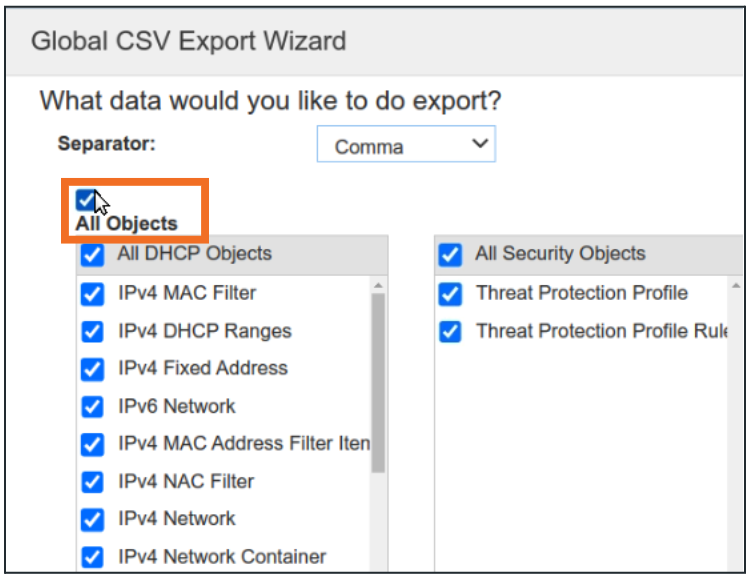
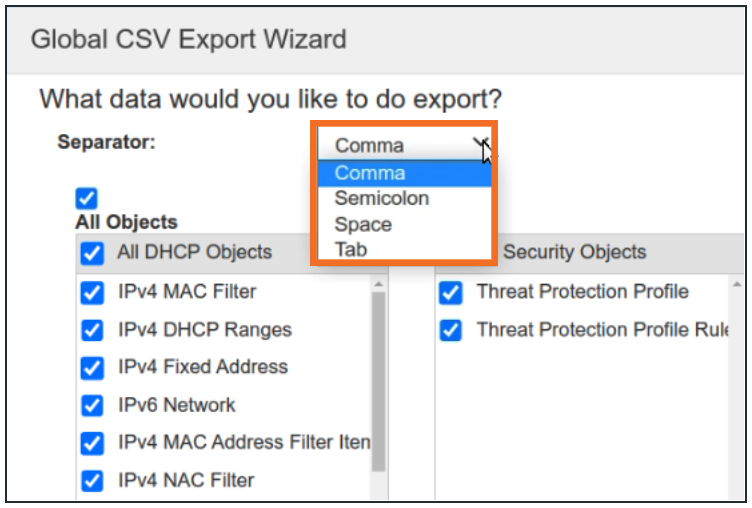
This opens the Global CSV Export Wizard, where you can choose what you want to export
-
Change the separator if you want to (Comma is used by default)
-
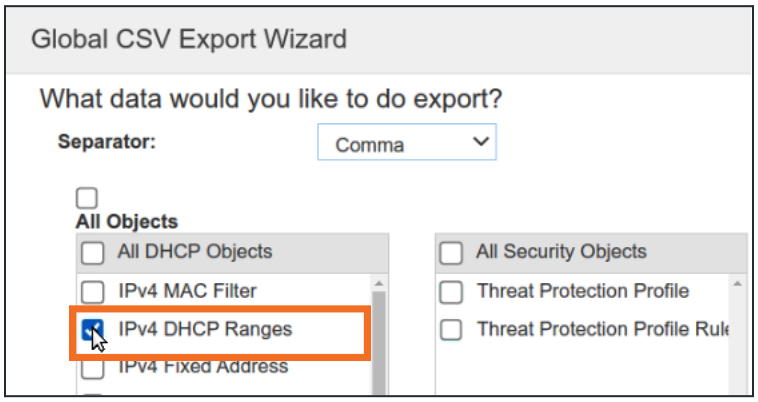
Scroll down the list of objects and check the box for IPv4 DHCP Ranges
-
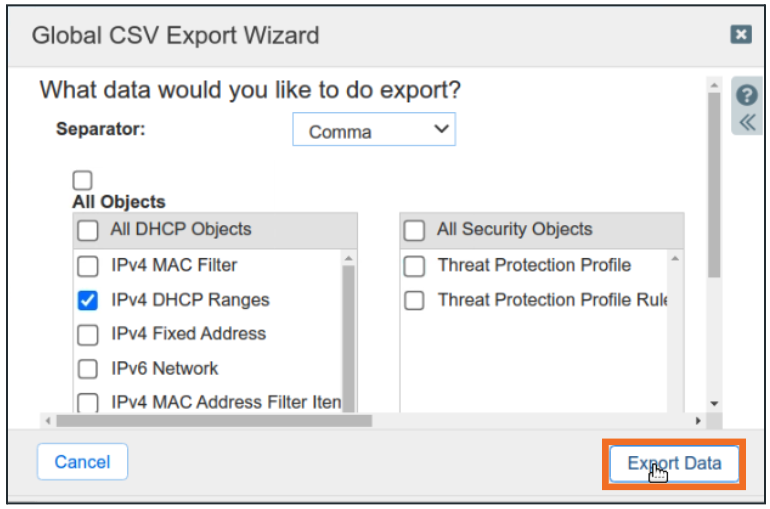
Click Export Data
-
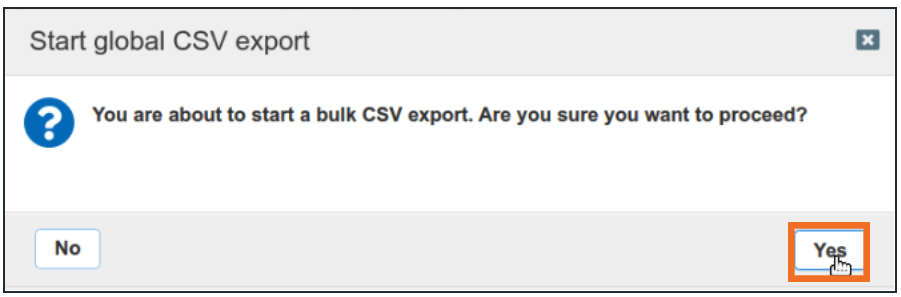
Read the message and click Yes to start the export operation
-
CSV Global Export progress will show the export status
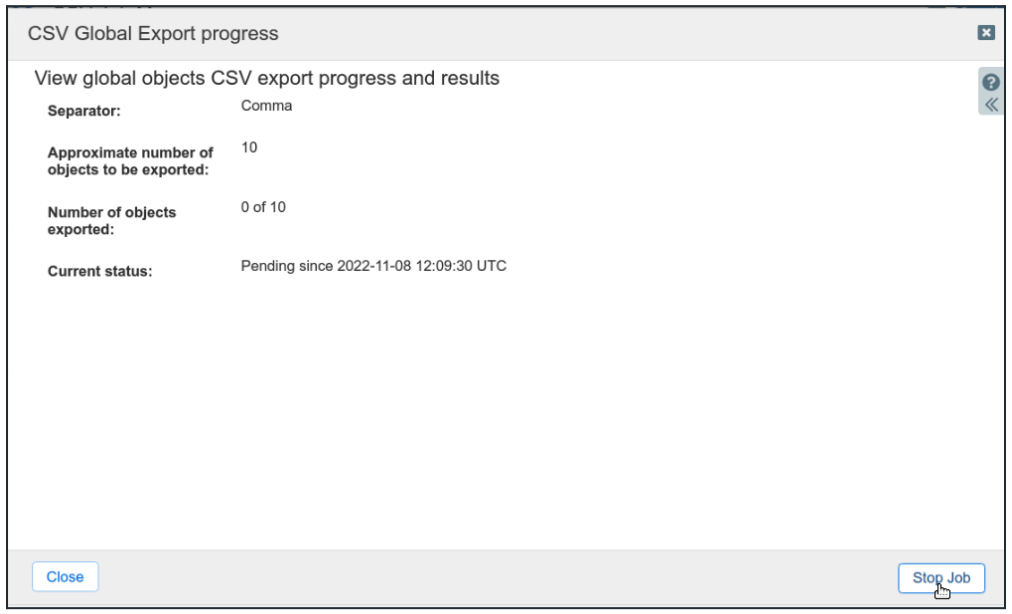
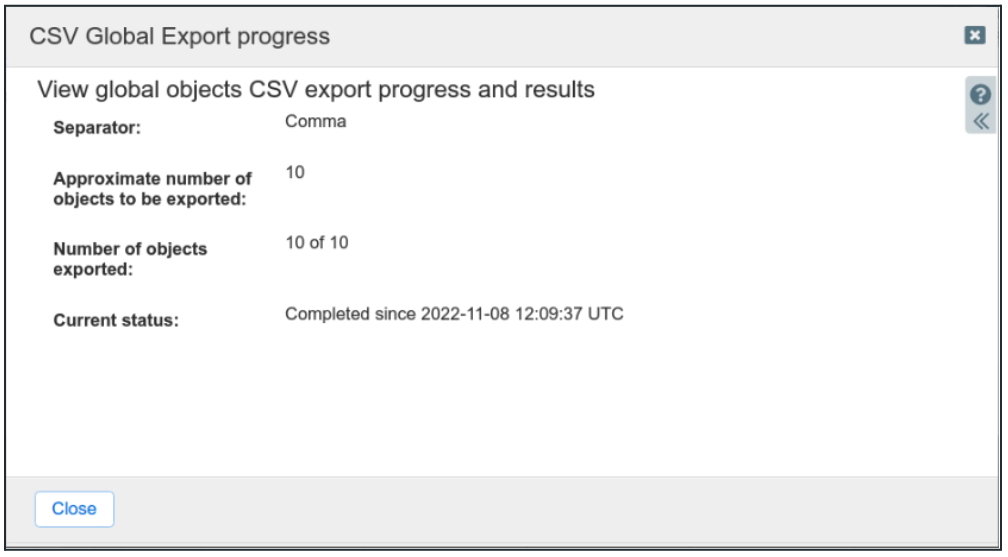
-
Once the export finishes, the browser will prompt for the download location and filename for the exported file
