Creating a Host using Next Available IP in NIOS (1521)
Scenario
A request ticket came in to add a DNS entry for a VoIP phone in the New York branch office. The request has an FQDN, but no IP address was specified. Please search the IPAM system for a suitable IP address and create the corresponding entry or entries.
Estimate Completion Time
10 to 15 minutes
Credentials
Description | Username | Password | URL or IP |
|---|---|---|---|
Grid Manager UI | ops | infoblox |
Requirements
Read-write access to DNS records
Read-only access to network data
Learning Content
Lab Initiation
Access jump-desktop
Once the lab is deployed, you can access the virtual machines required to complete this lab activity. To initiate the lab, click on the jump-desktop tile and login to the Linux UI:
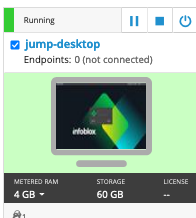
Username: training
Password: infoblox
Initiate lab
To initiate the lab, double-click the Launch Lab icon on the Desktop.

Launch Lab
Choose the lab number from the list and click OK.

After clicking OK, you will see a pop-up message with a brief description of the lab task. If the description looks correct, click Yes to continue lab initiation.
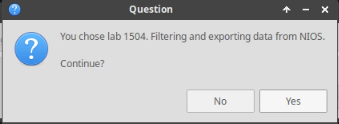
Lab initiation will take a couple of minutes to finish.
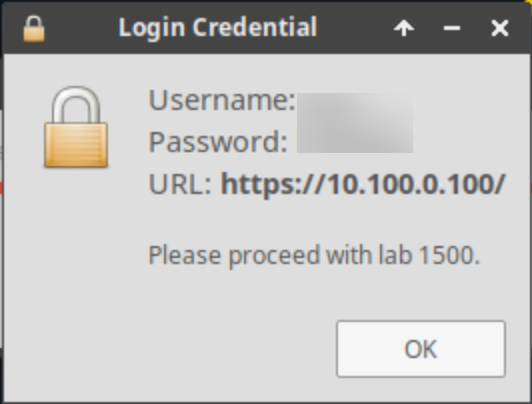
Once complete, you will see another pop-up message with the login credentials and the URL for the Grid Manager’s User Interface. Note that the credentials may differ from those from prior labs.
Tasks
Task 1: Searching for existing entries
Login to the GM web interface. Use the search function to ensure that the requested name phone321.techblue.net is not already in use.
Task 2: Searching for the appropriate subnet
From the request, we know the location is the New York branch, and the device is a VoIP phone. Perform a search or filter using Extensible Attributes to determine which network the device should be deployed to.
Task 3: Creating a Host using Next Available IP
Assuming there are no conflicts with existing data, please create the appropriate object or objects so the name phone321.techblue.net is assigned to the appropriate IP address.
It is possible to perform tasks 2 and 3 together in a single step.
Solutions
Task 1 Solution: Searching for existing entries
Values mentioned in the task can be associated with more than one object in NIOS. For example, the same FQDN can be in multiple DNS views, the same MAC address could be in different network views, etc. To get a clear understanding of the object that you are about to create, it is always a good practice to search for these values before the actual object creation.
Login to NIOS GM web interface
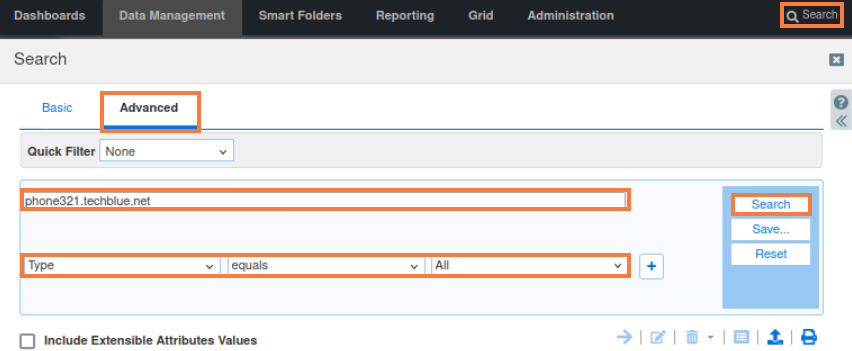
Navigate to Global Search → Advanced. Provide the MAC address as the search string and then click Search for Type equals All
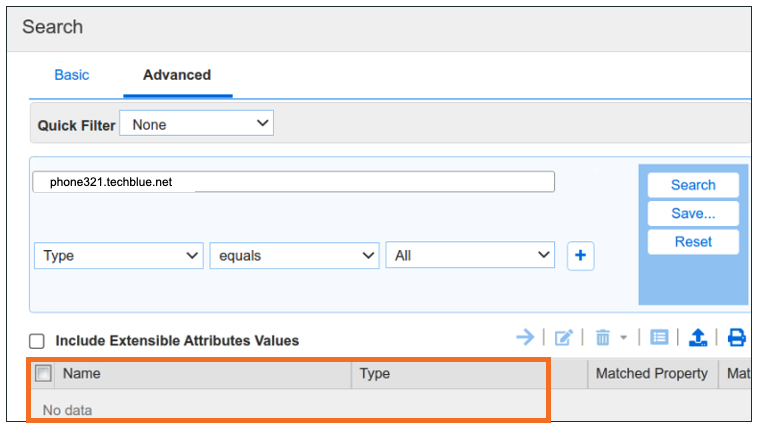
Here we see no information (no data) which means that the FQDN is not present in NIOS database.
Task 2 Solution: Searching for the appropriate subnet
Since the request did not specify the network, we need to figure out the Network provisioned for VoIP phones. Our best bet once again is to search for New York or VOIP in the Global Search
Login to NIOS GM web interface
Navigate to Global Search → Advanced. Provide New York as the search string and then click Search for Type equals All
Make sure to check the box to also Include Extensible Attribute Values. This will allow the search to include objects with Extensible Attributes set to New York.
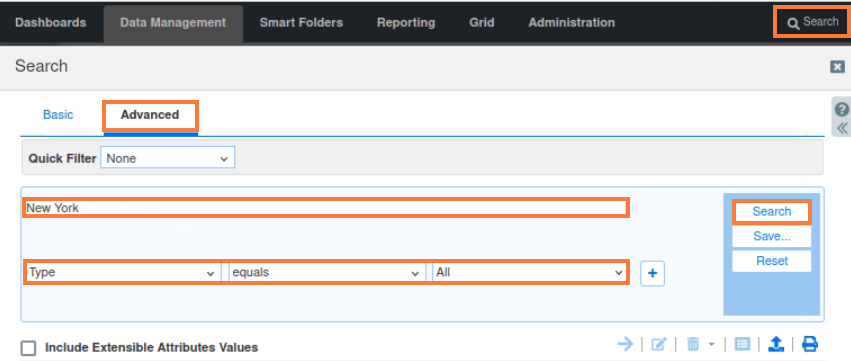
The results will give us details about any objects that have the value New York in any of their attributes.
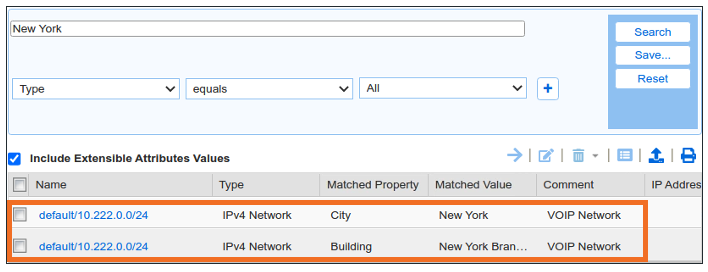
Here we see the object 10.222.0.0/24 tagged with New York.
Task 3 Solution: Creating a Host using Next Available IP
Now that we know the network provisioned for New York VOIP devices, we can use the Add Host Wizard to add a new Host Record.
Navigate to Data Management → DNS → Zones.
Click the link for techblue.net
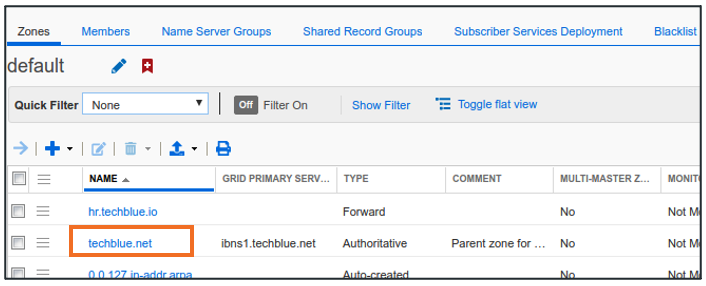
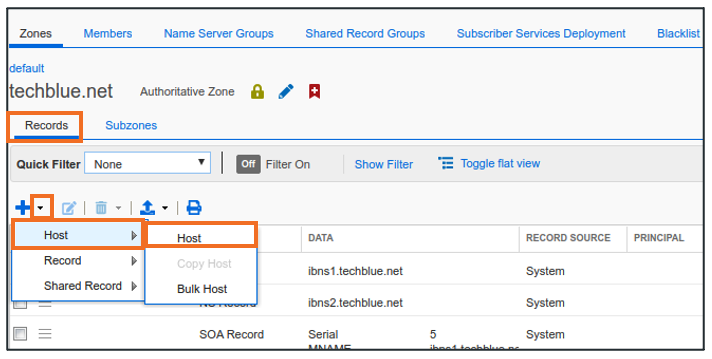
Select the Records tab
Click the Add dropdown menu and choose Host → Host
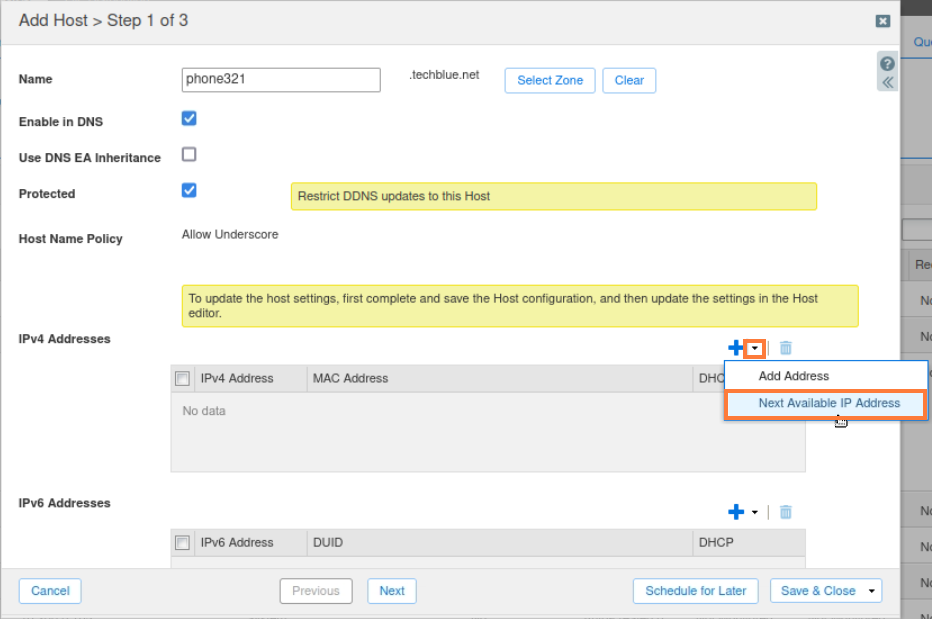
In Step 1 of 3, enter phone321 for the Name
In the section for IPv4 Addresses, click the dropdown button next to + and choose Next Available IP Address
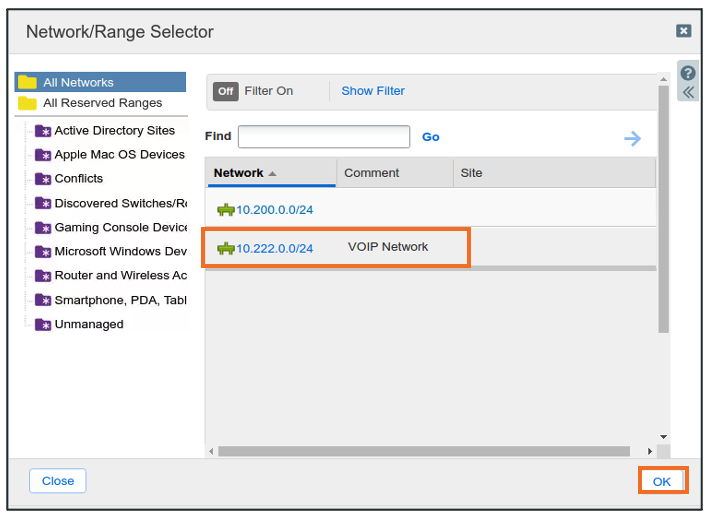
This opens the Network/Range Selector
Click on the previously identified network provisioned for VOIP (10.222.0.0/24) and click OK
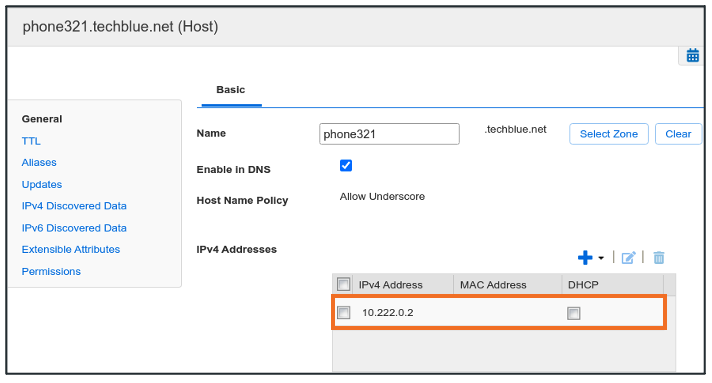
This action populates the first available address from the selected Range/Network as the IPv4 Address for our host record
