Configuring Syslog settings in NIOS (2503)
Scenario
Your security team wants to make sure that all log messages from the Grid are being sent to the central log server for auditing and archiving purposes. Please make the necessary configuration changes.
Estimate Completion Time
15 to 20 minutes
Credentials
Description | Username | Password | URL or IP |
|---|---|---|---|
Grid Manager UI | admin | infoblox |
Requirements
Administrative access to the Grid
Learning Content
Lab Initiation
Access jump-desktop
Once the lab is deployed, you can access the virtual machines required to complete this lab activity. To initiate the lab, click on the jump-desktop tile and login to the Linux UI:
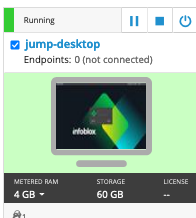
Username: training
Password: infoblox
Initiate lab
To initiate the lab, double-click the Launch Lab icon on the Desktop.

Launch Lab
Choose the lab number from the list and click OK.

After clicking OK, you will see a pop-up message with a brief description of the lab task. If the description looks correct, click Yes to continue lab initiation.
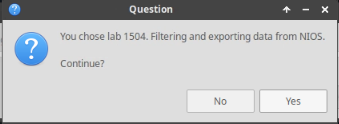
Lab initiation will take a couple of minutes to finish.
Once complete, you will see another pop-up message with the login credentials and the URL for the Grid Manager’s User Interface. Note that the credentials may differ from those from prior labs.
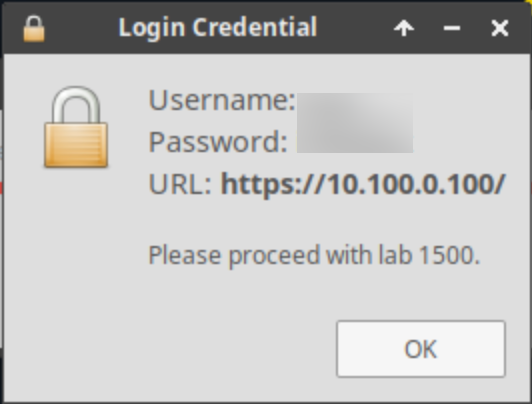
Tasks
Task 1: Configuring external syslog settings
Login to the GM interface and make the necessary changes to send syslog and audit log messages to the external log server support-server) located at 10.35.22.20.
Task 2: Verifying on external syslog server
Login to the jump-desktop and use the Elasticsearch tool to verify syslog messages from the Grid are showing up.
The easiest way to generate some log messages is to log out of the GM, and log back in. These actions will trigger new Audit logs.
Solutions
Task 1 Solution: Configuring external syslog settings
Configure the Grid to send syslog messages by UDP to your support-server: 10.35.22.20.
Login to NIOS GM web interface, navigate to Grid → Grid Manager.
From the Toolbar on the right side of the window, select Grid Properties.
The Grid Properties Editor dialog window appears. Select the Monitoring tab on the left.
Place a check mark in the box for Log to External Syslog Servers.
In the section EXTERNAL SYSLOG SERVERS, click the Add (+) button to add a server.
For Address, enter 10.35.22.20
For Transport, set to UDP
Leave all other settings at their default values
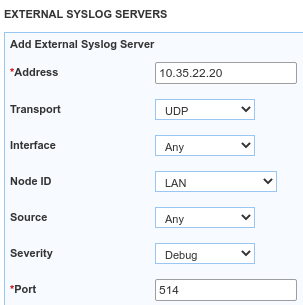
Click Add to add this External syslog server.
Scroll down further, place a check mark in the box for Copy Audit Log Message to Syslog
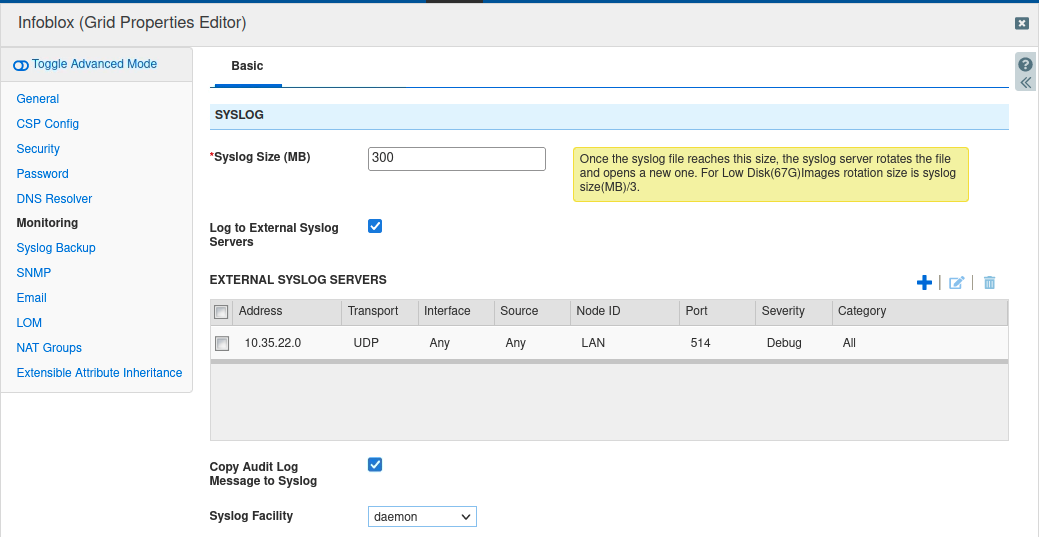
Click Save & Close
Restart Services when prompted
Task 2 Solution: Verifying logs on the external syslog server
Use Elasticsearch on the jump Desktop to verify that the Grid is sending Syslog and audit log messages
Open Elasticsearch by clicking on the Infoblox logo/start menu at the bottom left corner of your Linux Desktop
Choose Elasticsearch from the list
Elasticsearch opens in a web browser window
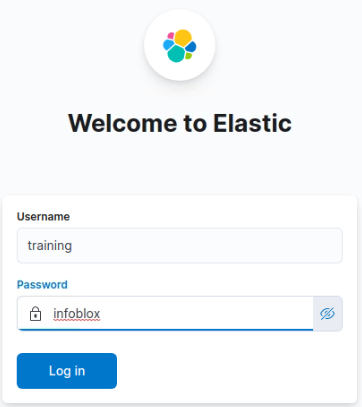
Login with username: training and password infoblox
Skip adding integrations and click Explore on my own

Open the menu by clicking the three lines below elastic from the top left of the screen
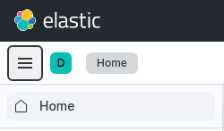
Select Discover under Analytics
In Discover, click the folder icon in the top-right corner and select Default.
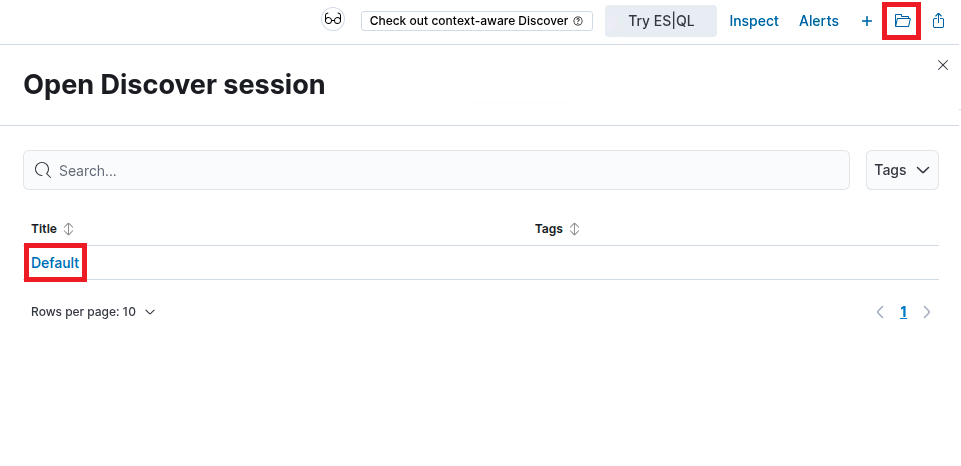
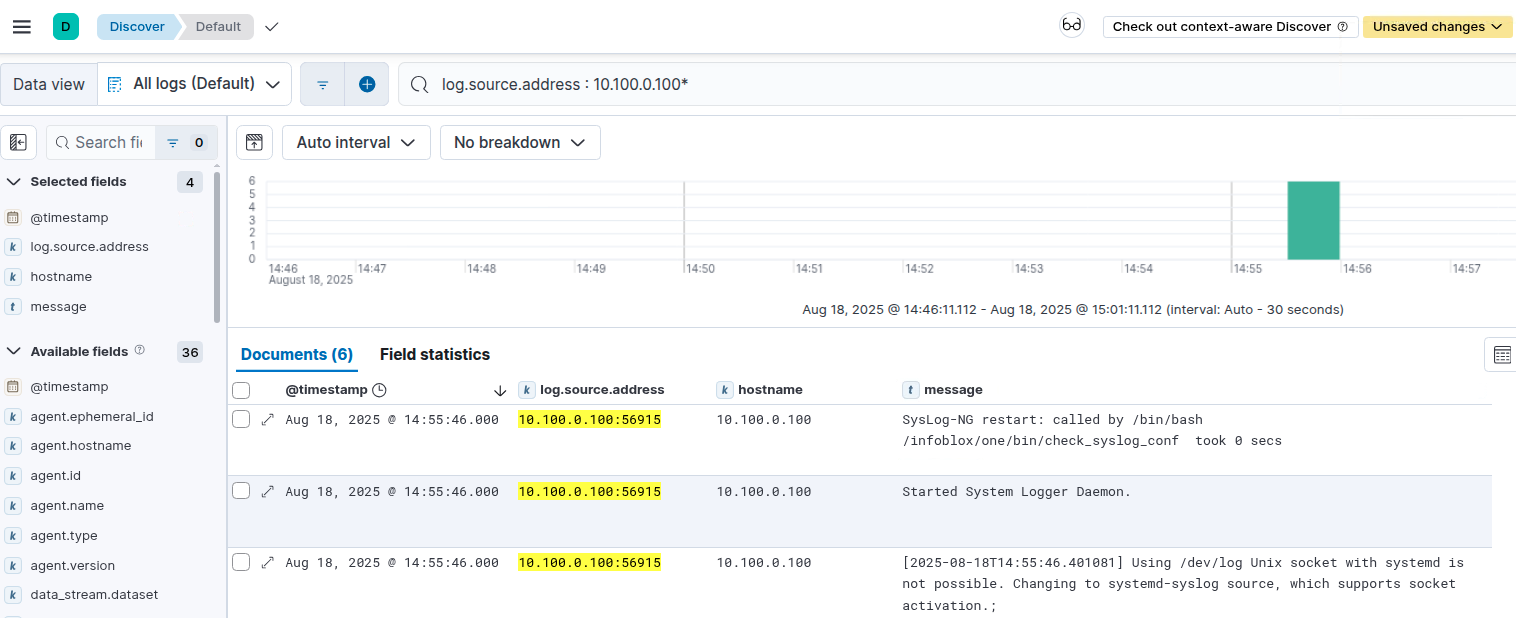
To find entries logged by the GM, type in
log.source.address:10.100.0.100*in the search boxEntries sent from the Infoblox GM appear under the Message heading
Your listing of events will differ from the example shown here
Close the browser tab to exit Elasticsearch
