Scenario
The network team has decided to tag infrastructure and client devices according to the departments they belong to. This information will be mandatory for all new networks created, or when existing networks are updated. Please create the extensible attribute(s) that can be used to track this information in NIOS IPAM, making sure that this is only required for IPv4 and IPv6 Network objects.
Estimate Completion Time
-
10 to 15 minutes
Credentials
|
Description |
Username |
Password |
URL or IP |
|---|---|---|---|
|
Grid Manager UI |
admin |
infoblox |
Requirements
-
Administrative access to the Grid
Learning Content
Lab Initiation
Access jump-desktop
Once the lab is deployed, you can access the virtual machines required for this activity. To begin, select VM List from the navigation bar at the top, locate jump-desktop, and click the green play icon to open its console. Log in to the Linux UI.

Username: training
Password: infoblox
Initiate lab
To initiate the lab, double-click the Launch Lab icon on the Desktop.

Choose the lab number from the list and click OK.

After clicking OK, you will see a pop-up message with a brief description of the lab task. If the description looks correct, click Yes to continue lab initiation.

Lab initiation will take a couple of minutes to finish.
Once complete, you will see another pop-up message with the login credentials and the URL for the Grid Manager’s User Interface. Note that the credentials may differ from those from prior labs.

Tasks
Task 1: Creating an extensible attribute
Create an extensible attribute named Department. This EA should allow users to select the correct department from a drop-down list. This list should contain:
-
Engineering
-
IT
-
Sales
-
Training
Solutions
Task 1: Create an extensible attribute
-
Navigate to Administration→Extensible Attributes
-
Click the Add button
-
For Name, enter Department
-
For Type, select List
-
To add the values, click the Add button and enter the first department name in the Value
field

-
Repeat previous step, entering the values for remaining departments.
-
Click Next to proceed to Step 2 of the Add Extensible Attribute Wizard.
-
In the section Default Value, click the radio button Required.
-
Under the heading Restrict to Specific Object Types, click Add.
-
Click the Name field, the object list opens. Scroll to locate IPv4 Network.
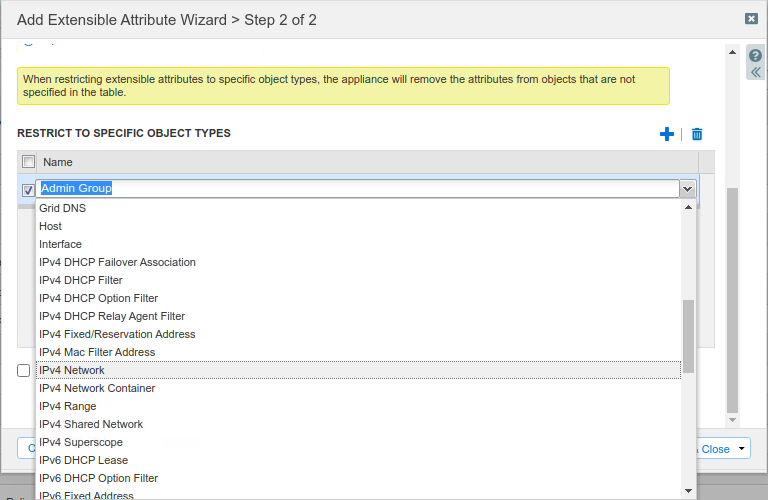
-
With IPv4 Network in the Object Type list, click Add again.
-
Click the Name field, the object list opens. Scroll to locate IPv6 Network.
-
When complete, verify that your table contains both entries for IPv4 Network and IPv6 Network
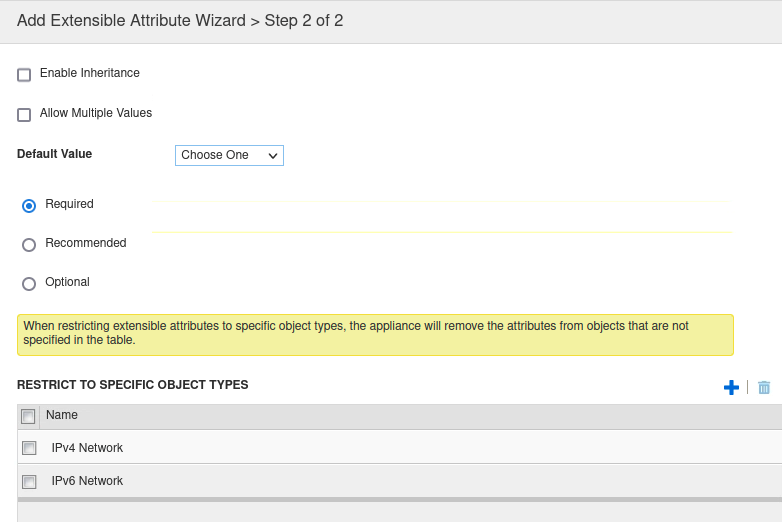
-
Click Save & Close