Creating DHCPv4 failover networks in NIOS (2516)
Scenario
Your team has already created a DHCPv4 failover association. It is now time to provision a network to leverage this redundant service.
Estimate Completion Time
10 to 15 minutes
Credentials
Description | Username | Password | URL or IP |
|---|---|---|---|
Grid Manager UI | admin | infoblox |
Requirements
Administrative DHCP access to the Grid
Knowledge of which DHCPv4 failover associations to use
Basic DHCP configuration information such as the default gateway option
Network changes on DHCP relays such as routers to send DHCP messages to both Grid members
Learning Content
Lab Initiation
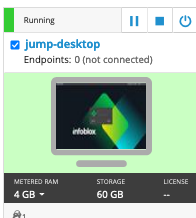
Access jump-desktop
Once the lab is deployed, you can access the virtual machines required to complete this lab activity. To initiate the lab, click on the jump-desktop tile and login to the Linux UI:

Username: training
Password: infoblox
Initiate lab
To initiate the lab, double-click the Launch Lab icon on the Desktop.

Launch Lab
Choose the lab number from the list and click OK.

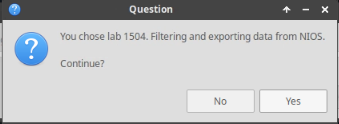
After clicking OK, you will see a pop-up message with a brief description of the lab task. If the description looks correct, click Yes to continue lab initiation.

Lab initiation will take a couple of minutes to finish.
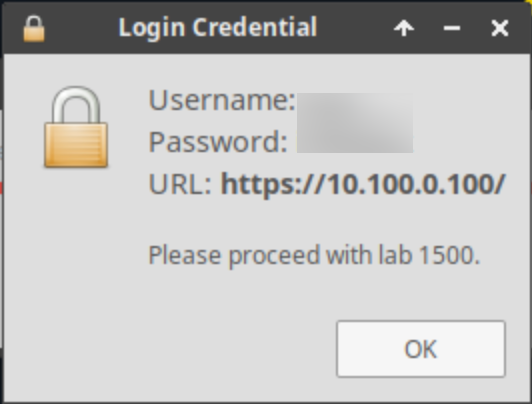
Once complete, you will see another pop-up message with the login credentials and the URL for the Grid Manager’s User Interface. Note that the credentials may differ from those from prior labs.

Tasks
Reading DHCPv4 failover association configuration
Creating a DHCPv4 failover network.
Restarting Grid services.
Task 1: Reading DHCPv4 failover association configuration
The DHCPv4 failover association to use for this configuration is "D1-D2". Please read its configuration in order to create a DHCPv4 network to use this redundant service.
Task 2: Creating a DHCPv4 failover network
The IPv4 network that needs the redundant DHCP service is 172.31.101.0/24, with the default gateway 172.31.101.1.
Task 3: Restarting Grid services
After saving changes, you should be prompted to restart services. If not, please manually restart services.
Solutions
Task 1 Solution: Reading DHCPv4 failover association configuration
Understanding DHCP failover configuration is important for this task. While creating Network objects for DHCP failover ranges, both peers in the Failover Association should be assigned to the Network. Similarly, the MCLT value for DHCP failover association should also be verified to plan for service delivery.
Navigate to Data Management → DHCP → Members → IPv4 DHCP Failover Associations
Place a check next to D1-D2 and click Edit
The General tab shows us the Members in a Failover Association
The Advanced section (toggle advanced mode) of Failover Settings has the MCLT value
Task 2 Solution: Creating a DHCPv4 failover network
As stated above, while creating a Network meant for DHCP failover, the important step is to assign both the failover peers to the Network Object.
Navigate to Data Management → DHCP → Networks → Networks
Click the Add dropdown menu and select IPv4 Network
Select the radio button for Add Network
Click Next
At Step 2 of 6, leave the Netmask set to 24
Next to Networks, click the Add button
Under the Network column, enter 172.31.101.0
Click Next
At Step 3 of 6, click the Add dropdown menu and select Add Infoblox Member, then click on the link for ibns1.techblue.net from the Member Selector window
Repeat the above action once more to also assign ibns2.techblue.net to the Network
Click Next after both the Members are populated
At Step 4 of 7, click the Override button in the section for Routers (this will change the button color to black and the button will now say Inherit)
Click the IP Address field in the Routers section
Enter the IP address for the router on this network – 172.31.101.1
Click Save & Close to save changes
Task 3 Solution: Restarting Grid services
Changes made to the DHCP configuration only take effect after the service restart.
Restart the DHCP Service by clicking the Restart button in the notification banner at the top of Grid Manager
At the Restart Grid Services window, click Restart
Alternatively, we can also restart services from the Members menu by navigating to Grid → Grid Manager → Members or Data Management → DHCP → Members
From the Toolbar on the right, click Restart Services
Select the radio button for Force restart services
Click Restart
Note that the status of the failover association will display Failure until both networks and ranges have been assigned. This behavior is expected at the end of this lab.
