Configuring Named ACLs in NIOS (2521)
Scenario
You are configuring access to DNS service and realized that you are entering the same subnet information repeatedly. This information can be captured in a reusable Named ACL, then applied to each Grid object, to keep security policies simpler and more consistent. Please create a Named ACL object with the subnet information.
Estimate Completion Time
15 to 20 minutes
Credentials
Description | Username | Password | URL or IP |
|---|---|---|---|
Grid Manager UI | admin | infoblox |
Requirements
Administrative DNS access to the Grid
Learning Content
Lab Initiation
Access jump-desktop
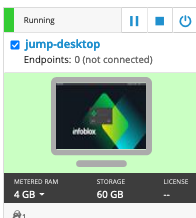
Once the lab is deployed, you can access the virtual machines required to complete this lab activity. To initiate the lab, click on the jump-desktop tile and login to the Linux UI:

Username: training
Password: infoblox
Initiate lab
To initiate the lab, double-click the Launch Lab icon on the Desktop.

Launch Lab
Choose the lab number from the list and click OK.

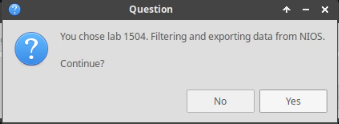
After clicking OK, you will see a pop-up message with a brief description of the lab task. If the description looks correct, click Yes to continue lab initiation.

Lab initiation will take a couple of minutes to finish.
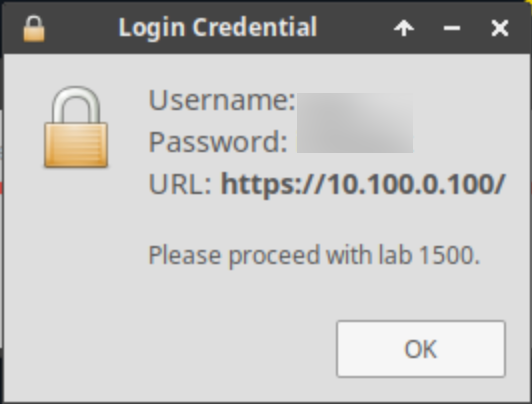
Once complete, you will see another pop-up message with the login credentials and the URL for the Grid Manager’s User Interface. Note that the credentials may differ from those from prior labs.

Tasks
Task 1: Creating a named ACL
You are repeatedly entering the same subnet information listed in Table 2521-1 to various objects to define access policy. Please create a Named ACL with these values, and give it the name Company Internal Subnets to make future configuration work easier.
Table 2521-1
Type | Value | Operation |
IPv4 Network | 172.31.0.0/16 | Allow |
IPv4 Network | 10.100.0.0/24 | Allow |
IPv4 Network | 10.200.0.0/24 | Allow |
IPv4 Address | 127.0.0.1 | Allow |
IPv6 Network | fdac:31::/32 | Allow |
IPv6 Network | fd10:100::/32 | Allow |
IPv6 Network | fd10:200::/32 | Allow |
IPv6 Address | ::1 | Allow |
Task 2: Applying the Named ACL to existing objects
Now that you have a Named ACL, you may update existing objects to use it, making maintaining the correct access policy easier. Please update both DNS members ibns1 and ibns2 to only allow recursive queries from Company Internal Subnets.
Solutions
Task 1 Solution: Creating a named ACL
Navigate to Administration → Named ACLs
Click Add
For Name, enter Company Internal Subnets
Click Next
At Step 2 of 3, click the Add dropdown menu and select IPv4 Network from the list
For Address, enter 172.31.0.0/16
Use the slider to set the Netmask to 16 (255.255.0.0)
Default Permission is set to Allow, leave it at that
Click Add
Repeat the above steps to add all subnets from table 2521-1
Click Save & Close
The Named ACL table now includes the Company Internal Subnets entry
Task 2 Solution: Applying the Named ACL to existing objects
Edit the Member DNS Grid Properties for both ibns1 and ibns2 and allow Recursive Queries from the Company Internal Subnets ACL
Navigate to Data Management → DNS →Members
Place a check next to ibns1.techblue.net and click the Edit button
Select the Queries tab
Scroll down to find the section for Recursion
Click the Override button
Place a check mark in the box for Allow recursion
Select the radio button for Named ACL
Click the Select Named ACL button
If Company Internal Subnets is the only Named ACL you have created, it will be populated automatically, otherwise from the Named ACL Selector screen, click the Company Internal Subnets link
Click Save & Close
Repeat the above steps for ibns2.techblue.net
Restart the DNS service by clicking Restart on the banner at the top of the Grid Manager window
At the Restart Grid Services window, click Restart
