Creating authoritative DNS subzones in NIOS (2524)
Scenario
The sales department within your organization needs to manage its own namespace, sales.techblue.net. As the administrator, you want to allow operators to manage entries in this space for you. Please set up the necessary configurations on the NIOS Grid.
Estimate Completion Time
15 to 20 minutes
Credentials
Description | Username | Password | URL or IP |
|---|---|---|---|
Grid Manager UI | admin | infoblox |
Requirements
Administrative DNS access to the Grid
Learning Content
Lab Initiation
Access jump-desktop
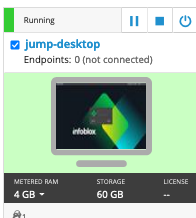
Once the lab is deployed, you can access the virtual machines required to complete this lab activity. To initiate the lab, click on the jump-desktop tile and login to the Linux UI:

Username: training
Password: infoblox
Initiate lab
To initiate the lab, double-click the Launch Lab icon on the Desktop.

Launch Lab
Choose the lab number from the list and click OK.

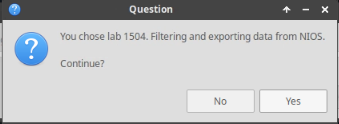
After clicking OK, you will see a pop-up message with a brief description of the lab task. If the description looks correct, click Yes to continue lab initiation.

Lab initiation will take a couple of minutes to finish.
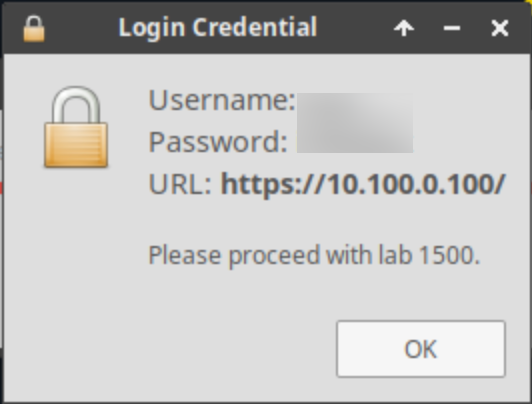
Once complete, you will see another pop-up message with the login credentials and the URL for the Grid Manager’s User Interface. Note that the credentials may differ from those from prior labs.

Tasks
Creating an authoritative subzone.
Configuring the subzone permissions to be read-write by a specific group.
Task 1: Creating an authoritative subzone
Create the authoritative subzone sales.techblue.net. The sales department is not using its own DNS server(s). Please re-use the same name servers as the parent zone, techblue.net.
Task 2: Configuring subzone permissions
Allow the group operators to have read-write access to the subzone sales.techblue.net.
Solutions
Task 1 Solution: Creating an authoritative subzone
Navigate to Data Management → DNS → Zones
Click the Add dropdown menu and select Authoritative Zone
Leave the radio button set to Add an authoritative forward-mapping zone
Click Next
For Name, enter
sales.techblue.netLeave the remaining settings unchanged and click Next
Select the radio button for Use this set of name servers
Click the Add dropdown menu and select Grid Primary
In the Add Grid Primary section, click Select to display the Member Selector
In the Member Selector window click the entry for ibns1.techblue.net
The selected device ibns1.techblue.net appears in the Add Grid Primary section
Click the Add button to add ibns1.techblue.net as primary server
Add a Grid Secondary device by clicking Add
 → Grid Secondary
In the section for Add Grid Secondary, click Select to open the Member Selector window
Click on ibns2.techblue.net
The device ibns2.techblue.net appears as the selected Grid Secondary
Click the Add button to add ibns2.techblue.net as a Grid Secondary server
The table shows ibns1 as Grid Primary and ibns2 as Grid Secondary
Click Save & Close
The subzones tab under techblue.net now contains a new entry for the sales.techblue.net authoritative zone
Task 2 Solution: Configuring subzone permissions
The easiest way to edit the subzone's permissions is to edit the zone settings:
Inside techblue.net, go to Subzones and edit sales.techblue.net
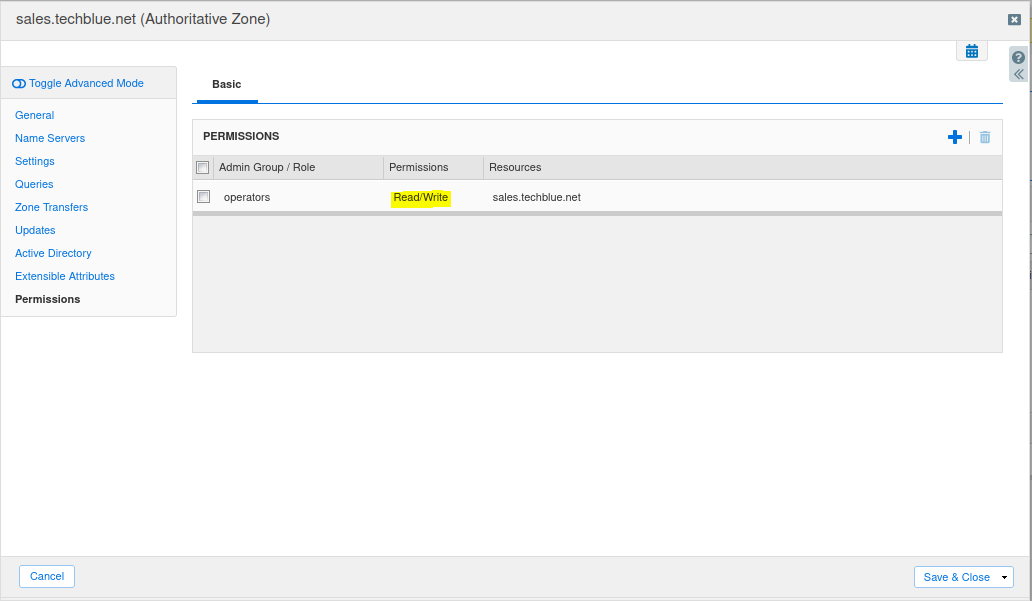
Navigate to the Permissions tab
Click + and select the operators group

Once the operators group name populates, edit the Permissions field using the drop-down box, set the permissions to ‘Read/Write’.
Click Save and Close
Now, users in the operators group will be allowed read-write access to manipulate the sales.techblue.net subzone configurations and records.
