Applying object permissions in NIOS (2535)
Scenario
The sales department at your company wants to be able to login to the Grid and manage their own DNS zone. Your team is concerned that they will see other DNS and DHCP data and get confused. Please setup permissions in the Grid to allow read-write access to some objects, but deny for some others.
Object permissions in NIOS means that different objects have different permissions for users of the same group, even if the objects are the same type. For example, network A may be read-write to sales, but network B is read-only to sales, while network C is denied. The scenario’s description informs us that we need to use object permissions.
Estimate Completion Time
10 to 20 minutes
Credentials
Description | Username | Password | URL or IP |
|---|---|---|---|
Grid Manager UI | admin | infoblox |
Requirements
Administrative access to the Grid
Learning Content
Lab Initiation
Access jump-desktop
Once the lab is deployed, you can access the virtual machines required to complete this lab activity. To initiate the lab, click on the jump-desktop tile and login to the Linux UI:
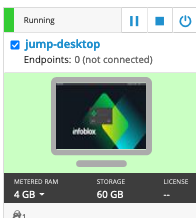
Username: training
Password: infoblox
Initiate lab
To initiate the lab, double-click the Launch Lab icon on the Desktop.

Launch Lab
Choose the lab number from the list and click OK.

After clicking OK, you will see a pop-up message with a brief description of the lab task. If the description looks correct, click Yes to continue lab initiation.
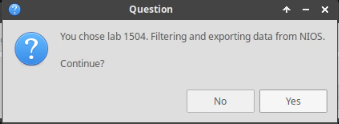
Lab initiation will take a couple of minutes to finish.
Once complete, you will see another pop-up message with the login credentials and the URL for the Grid Manager’s User Interface. Note that the credentials may differ from those from prior labs.
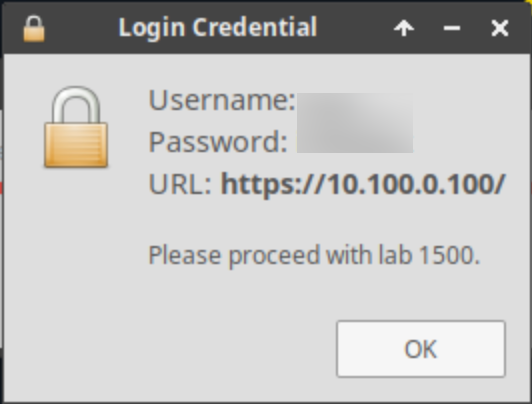
Tasks
Task 1: Creating a new group
Create a group named sales in the Grid.
NIOS maps permissions to groups, not individual user or admin accounts. This means, even if there is only one user, you need to create a group for the single user, in order to map custom permissions.
Task 2: Creating object permissions for the group
The sales department should have read-write access to the following objects, and deny for everything else:
Read-write access to the network 172.31.3.0/24
Read-write access to the zone sales.techblue.net
Task 3: Creating user account in the group
Create an account named bob in the group interns. Set his password to infoblox.
Task 4: Verifying permission settings
Log out, and log back in as the user bob. Verify you have read-only access to the DNS and DHCP objects.
Solutions
Task 1 Solution: Creating a new group
In the GM web interface, navigate to Administration → Administrators → Groups.
Click Add to create a new group. The Add Admin Group Wizard dialog appears.
In Step 1, for Name, enter sales. Click Save & Close.
There are many settings and options that you can configure when creating a group. However, they are not relevant to mapping permissions. Feel free to explore the other steps and options of the Add Admin Group Wizard. For this lab, we are skipping them, focusing on creating a basic group for the purpose of permissions mapping.
Task 2 Solution: Creating object permissions for the group
The easiest way to apply object permission is to go to the object in question, then change its permission settings. For this lab, we will update the objects:
Read-write access to the network 172.31.3.0/24
Read-write access to the zone sales.techblue.net
Applying object permissions for the network 172.31.3.0/24
In the GM web interface, navigate to Data Management → IPAM.
Click Edit on the network 172.31.3.0/24.
Select the Permission tab on the left.
Click + to add a permission rule. The Admin Group/Role Selector dialog appears.
Select the group sales, click OK.
Select the Permissions column in the added permission rule and change it to Read/Write.
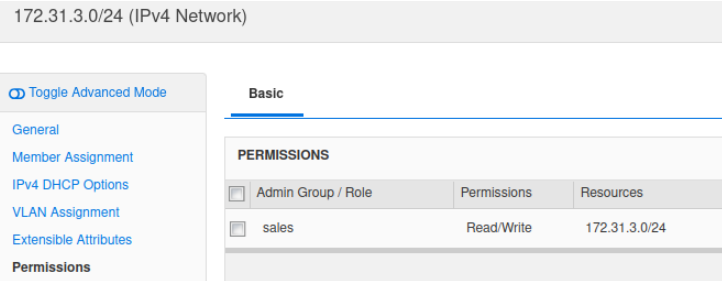
Click Save & Close.
Applying object permissions for the zone sales.techblue.net
In the GM web interface, click Search on the upper right corner.
The Search dialog window appears. Click Advanced.
Enter sales.techblue.net as the search string.
Change Type to All Zones.
Click Search.
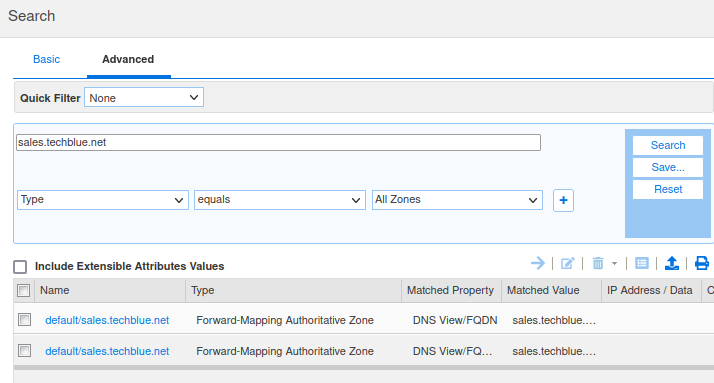
Click on the search result to Edit the zone sales.techblue.net.
Select the Permission tab on the left.
Click + to add a permission rule. The Admin Group/Role Selector dialog appears.
Select the group sales, click OK.
Select the Permissions column in the added permission rule and change it to Read/Write.
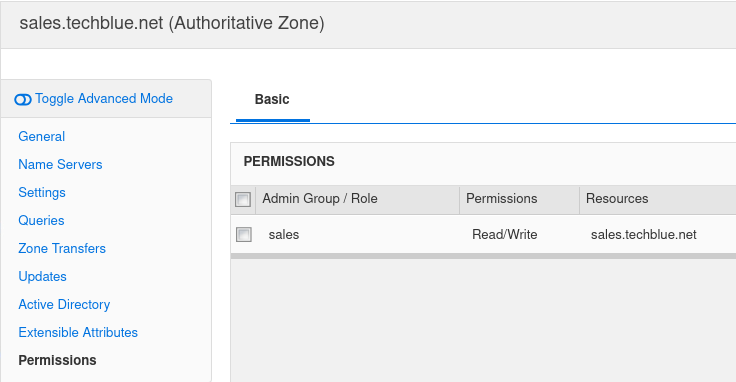
Click Save & Close.
Task 3 Solution: Creating user account in the group
In the GM web interface, navigate to Administration → Administrators → Admins.
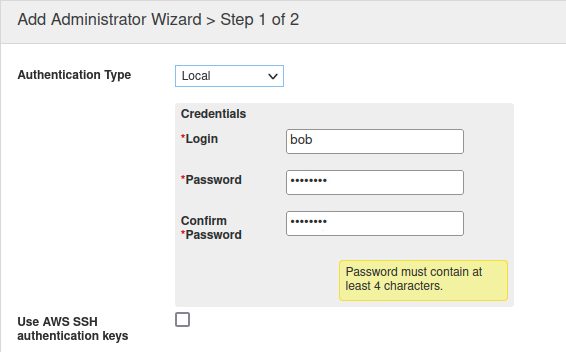
Click Add to create a new admin (user). The Add Administrator Wizard dialog appears.
Enter the login and password for the intern:
Login: bob
Password: infoblox
Scroll down and find the section Admin Group. Select the group sales
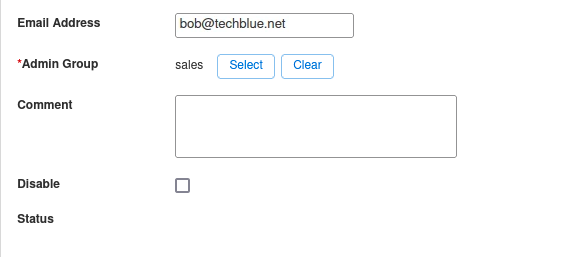
Click Save & Close.
Task 4 Solution: Verifying permission settings
Logout of the GM web interface. Alternatively, you may open a different web browser and navigate to the GM address.
Login as the user bob.
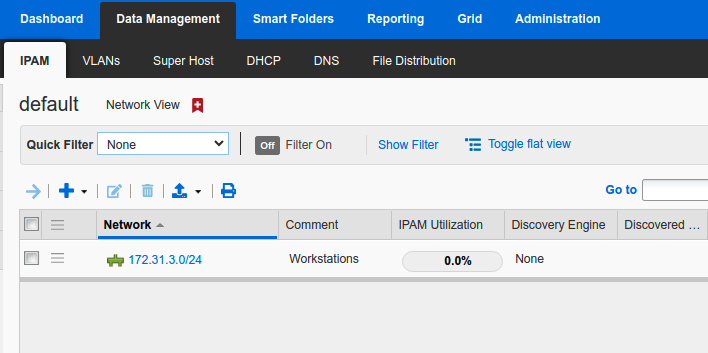
Navigate around the Grid and compare what you can see as the user bob. You will not see the dozens of networks under Data Management → IPAM or DHCP.
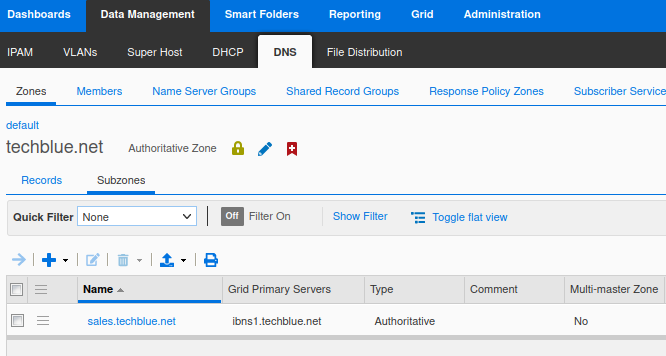
You will also only be able to see the zone sales.techblue.net under Data Management → DNS → Zones → techblue.net → Subzones.
The NIOS permissions settings can be very granular. We do not cover every possible combinations in this lab. Feel free to explore on your own to test permissions that best suit your needs.
