Configuring Dynamic DNS (DDNS) in NIOS (2540)
Scenario
On your DHCP-enabled network, there are many corporate users who you need to reach by name. However, their IP addresses may change from day to day. To reduce the amount of administrative overhead, your team has decided to enable dynamic DNS (DDNS) on the subnet, so that when users receive a DHCP lease on this network, their DNS entries in the zone ddns.techblue.net are automatically updated. Please make the necessary configuration in NIOS.
Estimate Completion Time
15 to 20 minutes
Credentials
Description | Username | Password | URL or IP |
|---|---|---|---|
Grid Manager UI | admin | infoblox |
Requirements
Administrative DNS and DHCP access to the Grid
Learning Content
Lab Initiation
Access jump-desktop
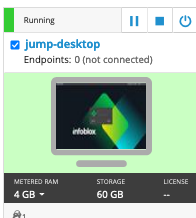
Once the lab is deployed, you can access the virtual machines required to complete this lab activity. To initiate the lab, click on the jump-desktop tile and login to the Linux UI:

Username: training
Password: infoblox
Initiate lab
To initiate the lab, double-click the Launch Lab icon on the Desktop.

Launch Lab
Choose the lab number from the list and click OK.

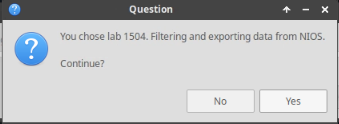
After clicking OK, you will see a pop-up message with a brief description of the lab task. If the description looks correct, click Yes to continue lab initiation.

Lab initiation will take a couple of minutes to finish.
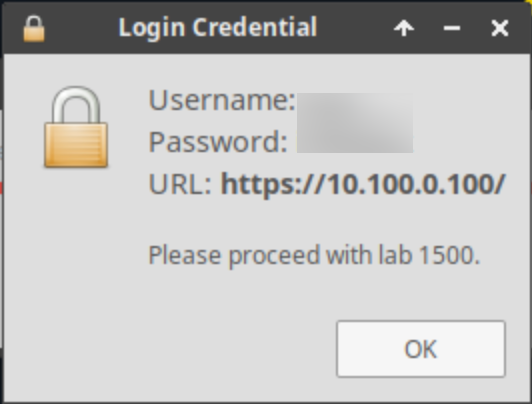
Once complete, you will see another pop-up message with the login credentials and the URL for the Grid Manager’s User Interface. Note that the credentials may differ from those from prior labs.

Tasks
Update the DHCP option for domain name.
Enable Dynamic DNS (DDNS).
Verify the new configuration is working.
Task 1: Updating the DHCP option for domain name
Update DHCP Option 15(Domain Name) for the network 172.31.101.0/24 to the value ddns.techblue.net
Task 2: Enabling Dynamic DNS (DDNS)
Enable Dynamic DNS at the network level for 172.31.101.0/24
Task 3: Verifying the new configuration is working
Verify that DDNS updates are working as expected
Solutions
Task 1 Solution: Updating the DHCP option for domain name
Navigate to Data Management→DHCP→Networks→Networks
Place a check next to the 172.31.101.0/24 network and click edit
Select the section for IPv4 DHCP Options
In the Domain Name field, enter ddns.techblue.net
Click Save & Close
Task 2 Solution: Enabling Dynamic DNS (DDNS)
Navigate to Data Management→DHCP→Networks→Networks
Place a check next to the 172.31.101.0/24 network and click edit
Select the section for IPv4 DDNS
Click the Override button next to DDNS Updates, and place a check in the box for Enable DDNS Updates
Click Save & Close and Restart Services
Task 3 Solution: Verifying the new configuration is working
Use the VM Switcher to switch to testing-linux
Open terminal and type in sudo set-network-disable(for sudo password use infoblox)
To clear any existing leases, type in sudo clear-dhcp-leases
Get a new DHCP lease by typing in sudo set-network-dhcp
Switch back to the jump-desktop and Navigate to Data Management→DNS→Zones
Open techblue.net and navigate to Sub Zones tab
Open the ddns.techblue.net subzone and check for testing-linux A record
Alternatively, we can check the syslog messages for ibns1(primary for ddns.techblue.net) by the named daemon, adding forward mapping for testing-linux.ddns.techblue.net
