Configuring GeoIP-Based Topology Ruleset (2583)
This lab requires a NIOS 9.0 Lab Environment
This lab guide has been developed using the new NIOS 9.0 Lab Environment. Please ensure that you deploy a NIOS 9.0 lab environment to complete these lab tasks. If you use a different lab environment, this is untested, and the lab likely will not work.
Scenario
To optimize DNS Traffic Control (DTC) based on geographic location, your organization wants to direct traffic to different pools based on the geographic origin of the request. In this lab, you will configure a GeoIP-based topology ruleset that routes traffic from specific regions to designated pools. After setting up the topology ruleset, you will create a Load-Balanced Domain Name (LBDN) that utilizes this GeoIP-based ruleset and verify its functionality.
Estimate Completion Time
15 to 25 minutes
Credentials
Description | Username | Password | URL or IP |
|---|---|---|---|
Grid Manager UI | admin | infoblox |
Requirements
Administrative access to the Grid
Lab Initiation
Access jump-desktop
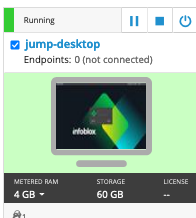
Once the lab is deployed, you can access the virtual machines required to complete this lab activity. To initiate the lab, click on the jump-desktop tile and login to the Linux UI:
Username: training
Password: infoblox
Initiate lab
To initiate the lab, double-click the Launch Lab icon on the Desktop.

Launch Lab
Choose the lab number from the list and click OK.

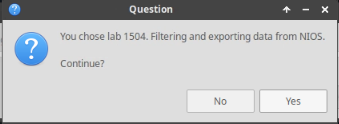
After clicking OK, you will see a pop-up message with a brief description of the lab task. If the description looks correct, click Yes to continue lab initiation.
Lab initiation will take a couple of minutes to finish.
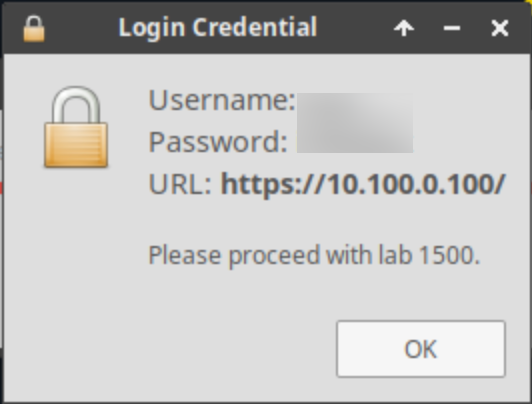
Once complete, you will see another pop-up message with the login credentials and the URL for the Grid Manager’s User Interface. Note that the credentials may differ from those from prior labs.
Tasks
Task 1: Update the GeoIP Database
Update the GeoIP database using the file GeoLite2-City.mmdb from the SharedDrive/nios-imports folder.
Task 2: Configure a GeoIP-Based Topology Ruleset
Create a topology ruleset named External GeoIP Rule with the following geographic IP-to-pool mappings to tailor DNS responses based on request origin.
Table 2583-1
Continent | Country | Subdivision | City | Destination |
|---|---|---|---|---|
North America | ANY | ANY | ANY | Pool A |
ANY | United Kingdom | ANY | ANY | Pool A |
Antarctica | ANY | ANY | ANY | Pool A |
Note: When the ANY is trailing a value, it is not required to be manually added
Task 3: Set Up the Load-Balanced Domain Name (LBDN)
Configure a Load-Balanced Domain Name (LBDN) with the pattern cartman.dtc.techblue.net that uses the External GeoIP Rule topology ruleset created in Task 2.
Task 4: Test the GeoIP-Based Topology Ruleset
Use the Test LBDN tool to verify that the LBDN for cartman.dtctechblue.net is functioning as expected.
For each test, use the following common details:
Query Name:
cartman.dtc.techblue.netMember:
ibns1.techblue.netRecord Type: A
Use the Query Source IPs from Table 2583-2 below. For each IP, initiate the test and observe whether the response is from the expected pool.
Table 2583-2
Query Source | Location |
|---|---|
199.185.13.10 | Antarctica |
45.45.45.45 | Canada |
13.248.0.10 | Japan |
41.76.88.0 | Tanzania |
83.140.109.99 | Sweden |
128.171.1.1 | Hawaii |
190.98.0.10 | Suriname |
Solutions
Task 1 Solution: Update the GeoIP Database
Follow these steps to update the GeoIP database:
Navigate to Data Management → DNS → Traffic Control.
From the Toolbar panel, click Topology Database dropdown menu and select Import GeoIP Database.
In the Import dialog, select the file
GeoLite2-City.mmdbfrom SharedDrive/nios-imports.Click Upload and wait for the import to complete.
After the upload, reopen the Topology Database dropdown menu.
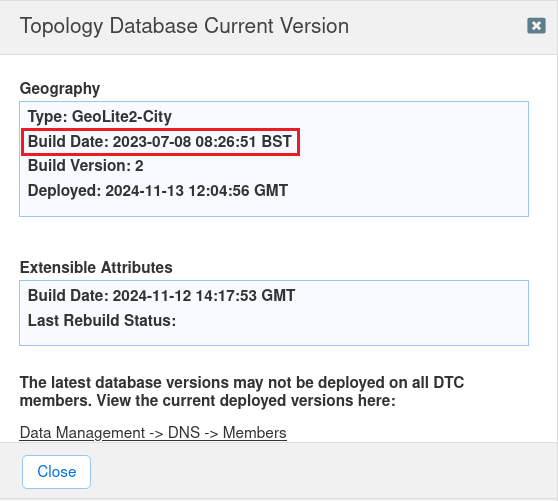
Select Current Version to confirm the update date reflects the Build Date of 2023-07-08.
Task 2 Solution: Configure a GeoIP-Based Topology Ruleset
To configure a GeoIP-based topology ruleset, proceed with the following steps:
Navigate to Data Management → DNS → Traffic Control.
From the toolbar panel on the right, click Manage Topology Ruleset
Click Add (+) to create a new ruleset.
In the Ruleset Wizard, Enter the following details:
Name:
External GeoIP RuleDestination Type:
PoolComment:
GeoIP based ruleset.
In the Rules section,
click the Add (+) dropdown menu and select Geography Rule.
In the Add Geography Rule section Set Continent equals North America
Set Country as Any
Set Subdivision as Any
Set City as Any
For Destination/Response, select DTC Pool/Server and choose Pool A.
Click Add to save this rule.
Repeat these steps to add additional Geography rules as specified in Table 2583-1.
After adding all the rules, set the Default destination if none of the above rules match option to Pool B.
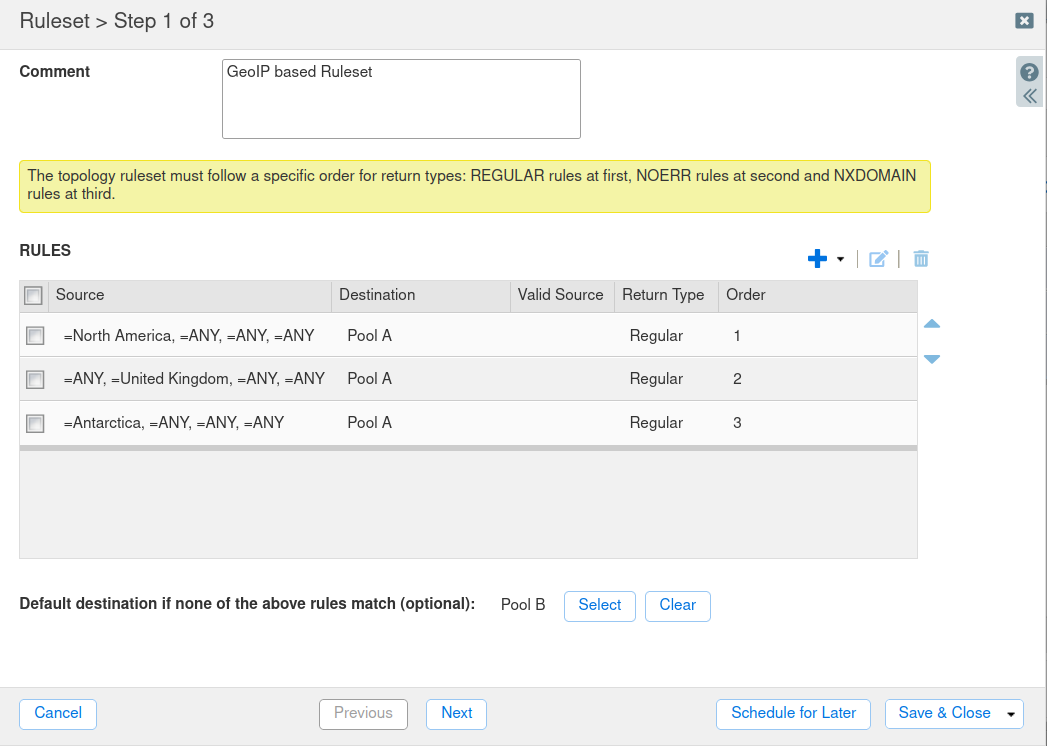
Click Save & Close to save the ruleset configuration.
Click Close on the Topology Manager window.
Task 3 Solution: Set Up the Load-Balanced Domain Name (LBDN)
To set up an LBDN using the GeoIP Rule topology ruleset, follow these steps:
Navigate to Data Management → DNS → Traffic Control.
Click the Add dropdown menu and select LBDN to open the DTC LBDN Wizard.
In Step 1 of the wizard, enter the following details:
Display Name:
GeoIP TestPatterns: Click + to add a new pattern, then enter
cartman.dtc.techblue.net.Load Balancing Method: Topology
Topology Ruleset: External GeoIP Rule (created in Task 2)
Click Next to proceed.
In Step 2, verify that the following record types are selected:
A
CNAME
AAAA
Click Add (+) and select the Associated Zone dtc.techblue.net, then click Next.
In Step 3, click Add (+) to add Pool A and Pool B.
Click Save & Close to complete the LBDN setup.
When prompted, select Restart Services to apply the changes.
Task 4 Solution: Test the GeoIP-Based Topology Ruleset
Verify the functionality of the GeoIP-based topology ruleset on the LBDN with these instructions.
Navigate to Data Management → DNS → Traffic Control.
Select the LBDN EA Test.
From the Toolbar, click Test LBDN to open the Test DTC LBDN (Web) tool.
Enter the following test details:
Query Name:
cartman.dtc.techblue.netMember:
ibns1.techblue.netRecord Type: A
For each Query Source IP from Table 2583-2, enter the IP and click Start to initiate the test. Observe the result and verify that it matches the expected response from the concerned pool.
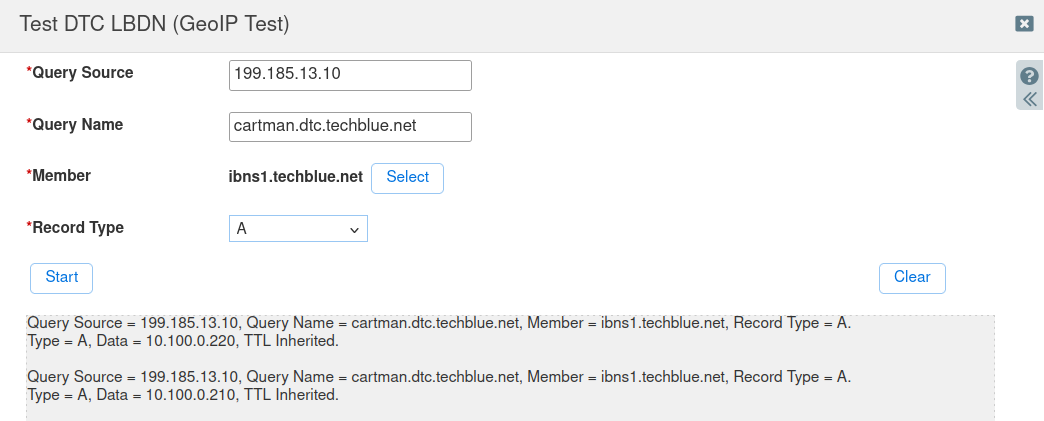
Review the results for each query. Confirm that traffic is directed to the correct pool based on the topology rules configured in Task 2.
Query Source | Expected Result |
|---|---|
199.185.13.10 | Pool A (10.100.0.210 or 10.100.0.220) |
45.45.45.45 | Pool A (10.100.0.210 or 10.100.0.220) |
13.248.0.10 | Pool B (10.200.0.210 or 10.200.0.220) |
41.76.88.0 | Pool B (10.200.0.210 or 10.200.0.220) |
83.140.109.99 | Pool B (10.200.0.210 or 10.200.0.220) |
128.171.1.1 | Pool B (10.200.0.210 or 10.200.0.220) |
190.98.0.10 | Pool B (10.200.0.210 or 10.200.0.220) |
