Scenario
You are a DDI administrator preparing two NIOS-X servers in a lab environment for centralized management in the Infoblox Portal. You have remote access to the virtual machines from jump-desktop, Docker is already installed, and your goal is to install the NIOS-X image and connect it to the Infoblox Portal. Rename the servers as oph1.techblue.net and oph2.techblue.net after deployment.
Estimated Completion Time
-
45 to 60 Minutes
Prerequisites
-
Administrative access to the Infoblox Portal
Tasks
-
Create a join token.
-
Deploy the first NIOS-X server.
-
Deploy the second NIOS-X server.
Task 1: Creating a Join Token
From the jump-desktop, use the Education Infoblox Portal credentials to log in to the Infoblox Portal. Create a new Join Token in the Infoblox Portal and save the token string so you can use it during both server deployments. This gives each NIOS-X server the credential it needs to register with the Portal.
Task 2: Deploying the first NIOS-X Server
From jump-desktop, SSH into the NIOS-X virtual machines oph1 (10.100.0.110). Download and run the NIOS-X installer with the join token, wait for the server to register, and then rename the deployed server to oph1.techblue.net in the Infoblox Portal.
Task 3: Deploying the second NIOS-X Server
Repeat the deployment workflow for oph2 (10.200.0.110) and rename the deployed server to oph2.techblue.net in the Infoblox Portal so both lab servers are centrally managed and clearly identified.
Solutions

Do not use Launch Lab for this lab.
Launch Lab is only used for NIOS-based lab environments.
Task 1 Solution: Creating a Join Token
Before you deploy either server, create a Join Token and save it immediately. The token string is only shown once, so capturing it now prevents you from having to revoke and recreate it later.
-
Log in to your lab’s jump-desktop.
-
Use your Education Infoblox Portal Credentials to log into the Infoblox Portal at https://csp.infoblox.com.
-
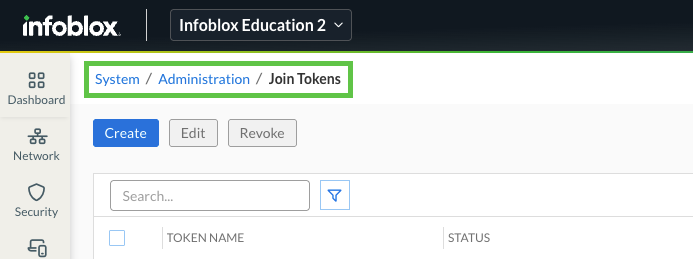
Navigate to System → Administration → Join Tokens.
-
Click Create.
-
In the token name field, enter JT-1.
-
Click Save & Close.
-
-
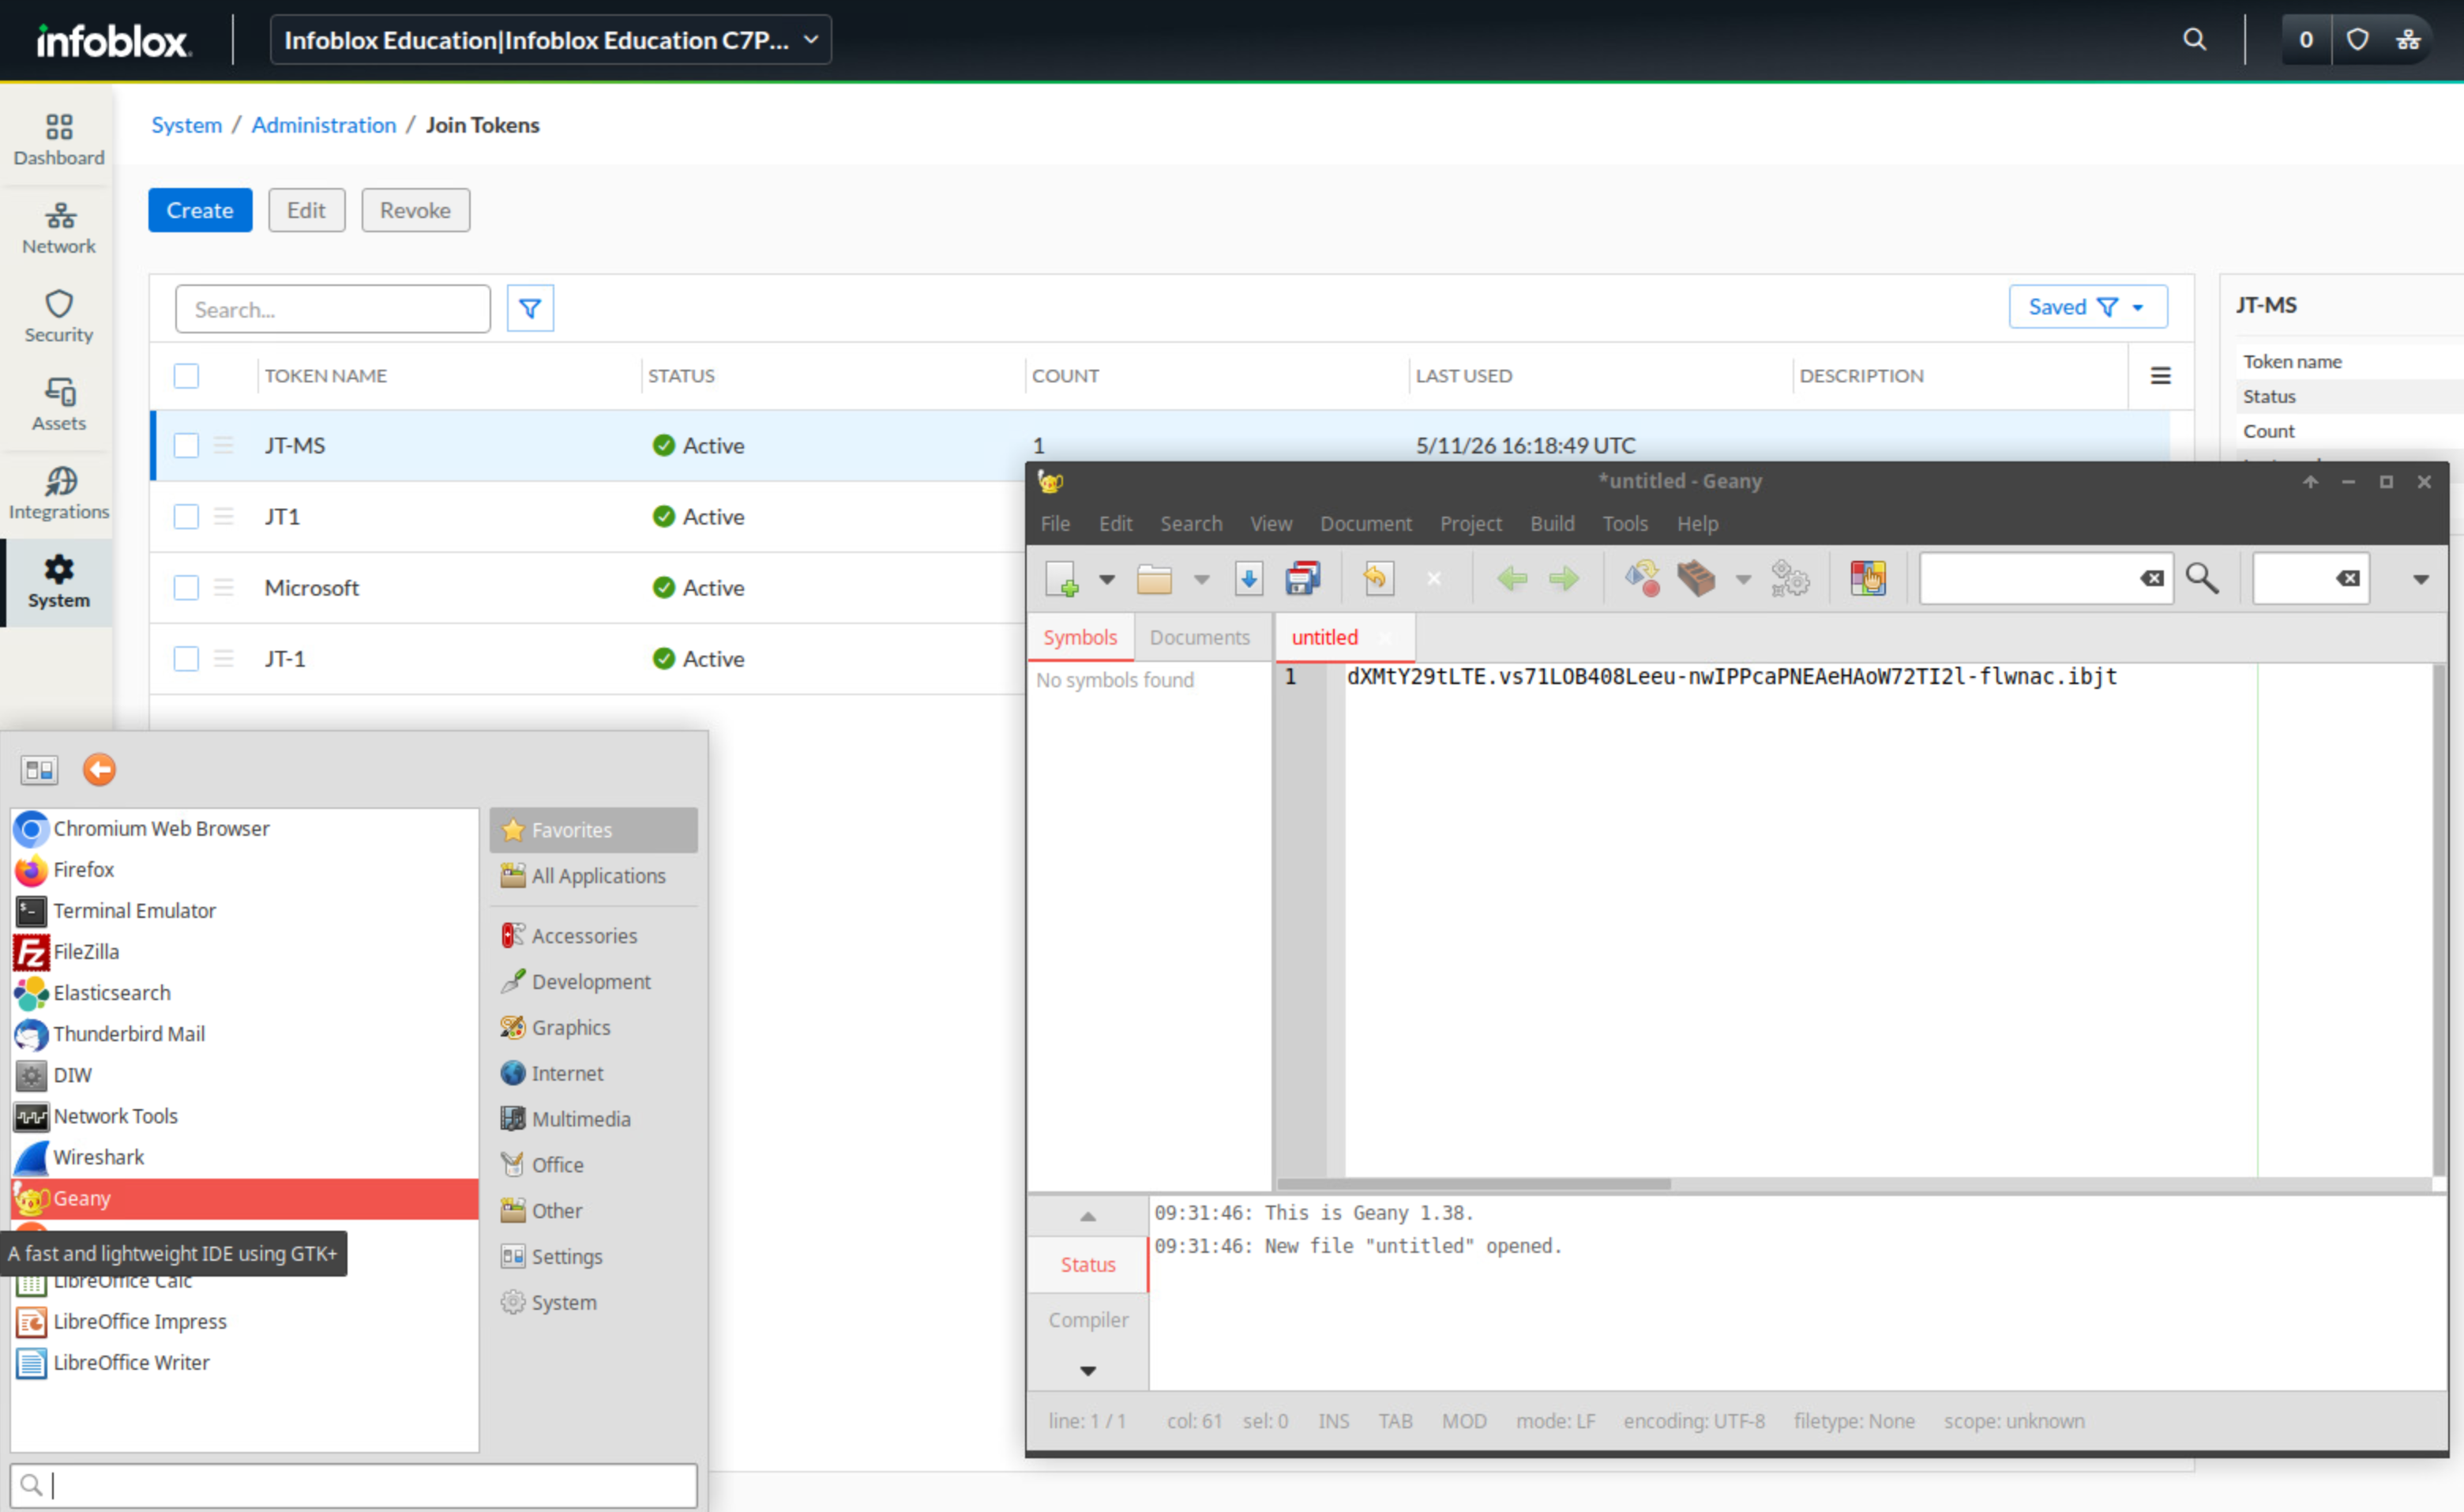
Copy the token string from the pop-up window.
Save the Join Token string, as it will not be visible again. If you don't, you must revoke the token and create a new one.
-
Open the text editor Geany on jump-desktop, then save the token string to a text file for later use.
Task 2 Solution: Deploying the first NIOS-X Server
The NIOS-X server will change the status between Online, Degraded, and Offline several times while it updates and synchronizes with the Infoblox Cloud. The update process should take around 10-15 minutes.
-
From jump-desktop, open a terminal and connect to oph1 at 10.100.0.110 on port 65522 by using the command
ssh -p 65522 training@10.100.0.110. -
When prompted, enter infoblox as the password.
-
Download the NIOS-X installation script to the oph1 virtual machine using this command.
wget -O niosx_installer.sh https://s3.amazonaws.com/ib-noa-prod.csp.infoblox.com/niosx_installer_v2.2.2.sh -
Make the installer executable by running
chmod +x niosx_installer.sh. -
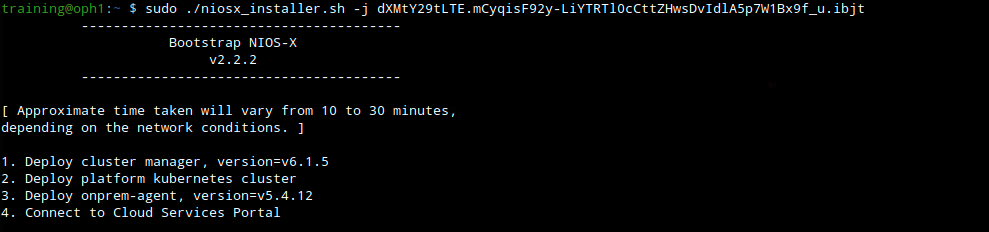
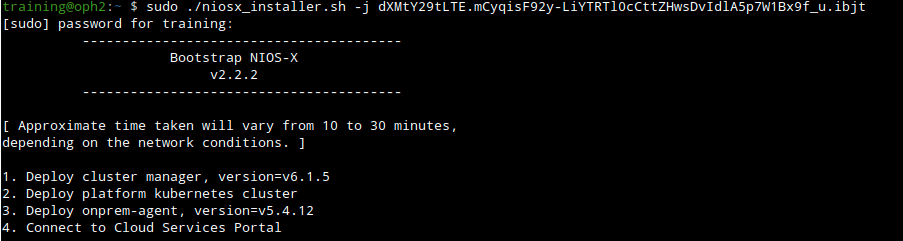
Run sudo ./niosx_installer.sh -j paste-your-join-token-here. Make sure you replace ‘paste-your-join-token-here' with the join token you have saved in Task 1.
sudo ./niosx_installer.sh -j paste-your-join-token-here -
If prompted, enter infoblox.
-
Wait about 10 to 15 minutes while the server updates and synchronizes with the Infoblox Cloud.
-
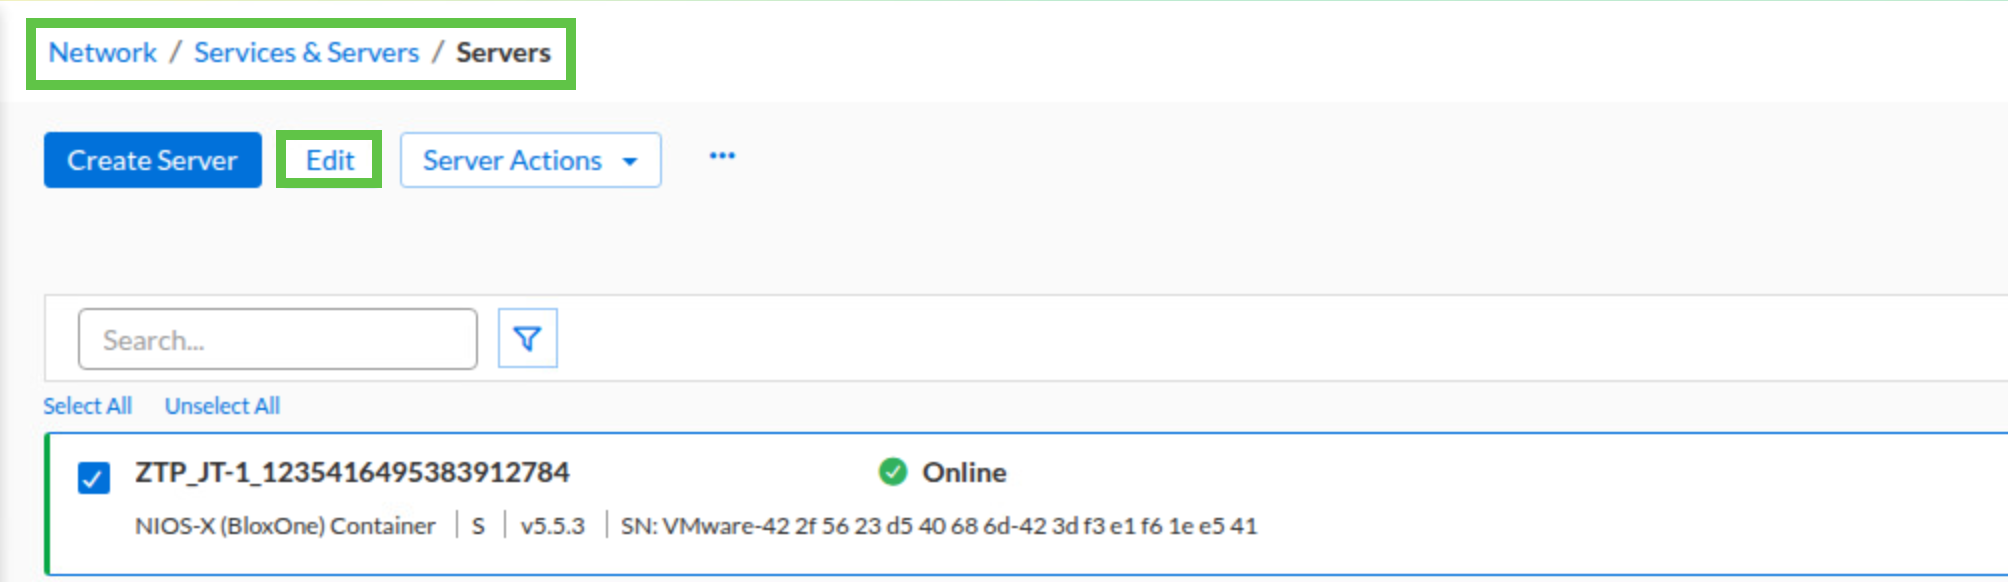
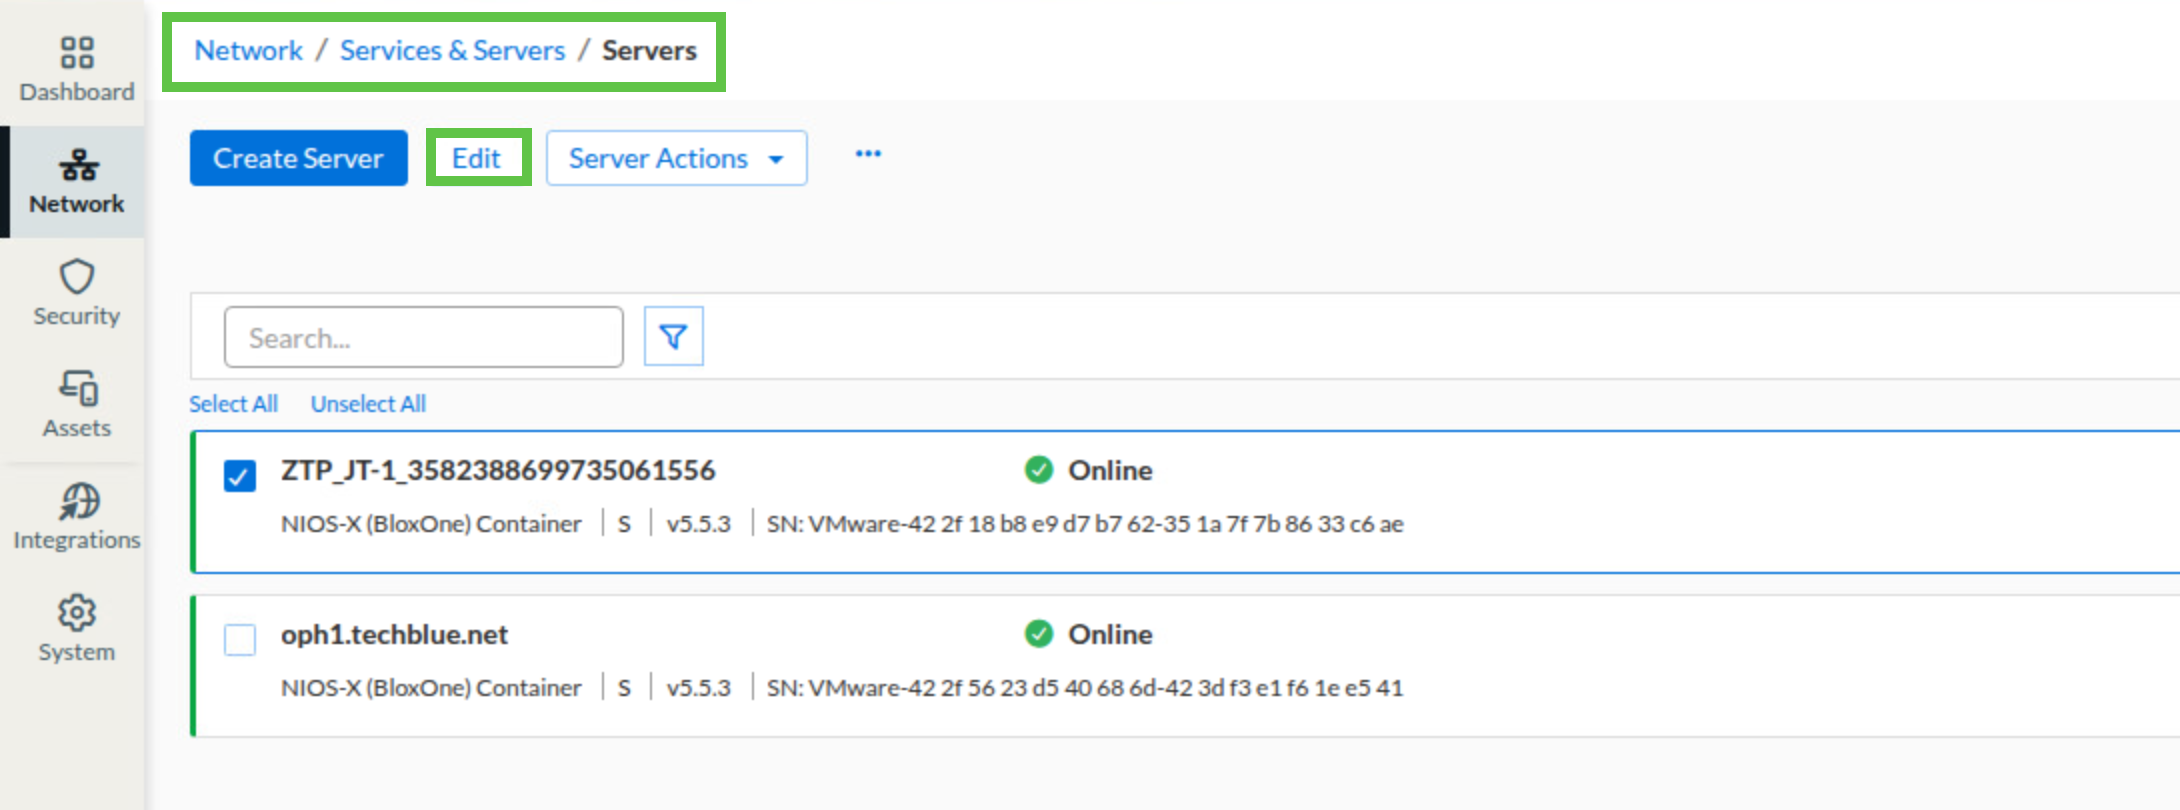
In the Infoblox Portal, navigate to Network → Services & Servers → Servers.
-
Select the deployed NIOS-X server and click Edit.
-
On the General Info tab, change the server name to oph1.techblue.net.
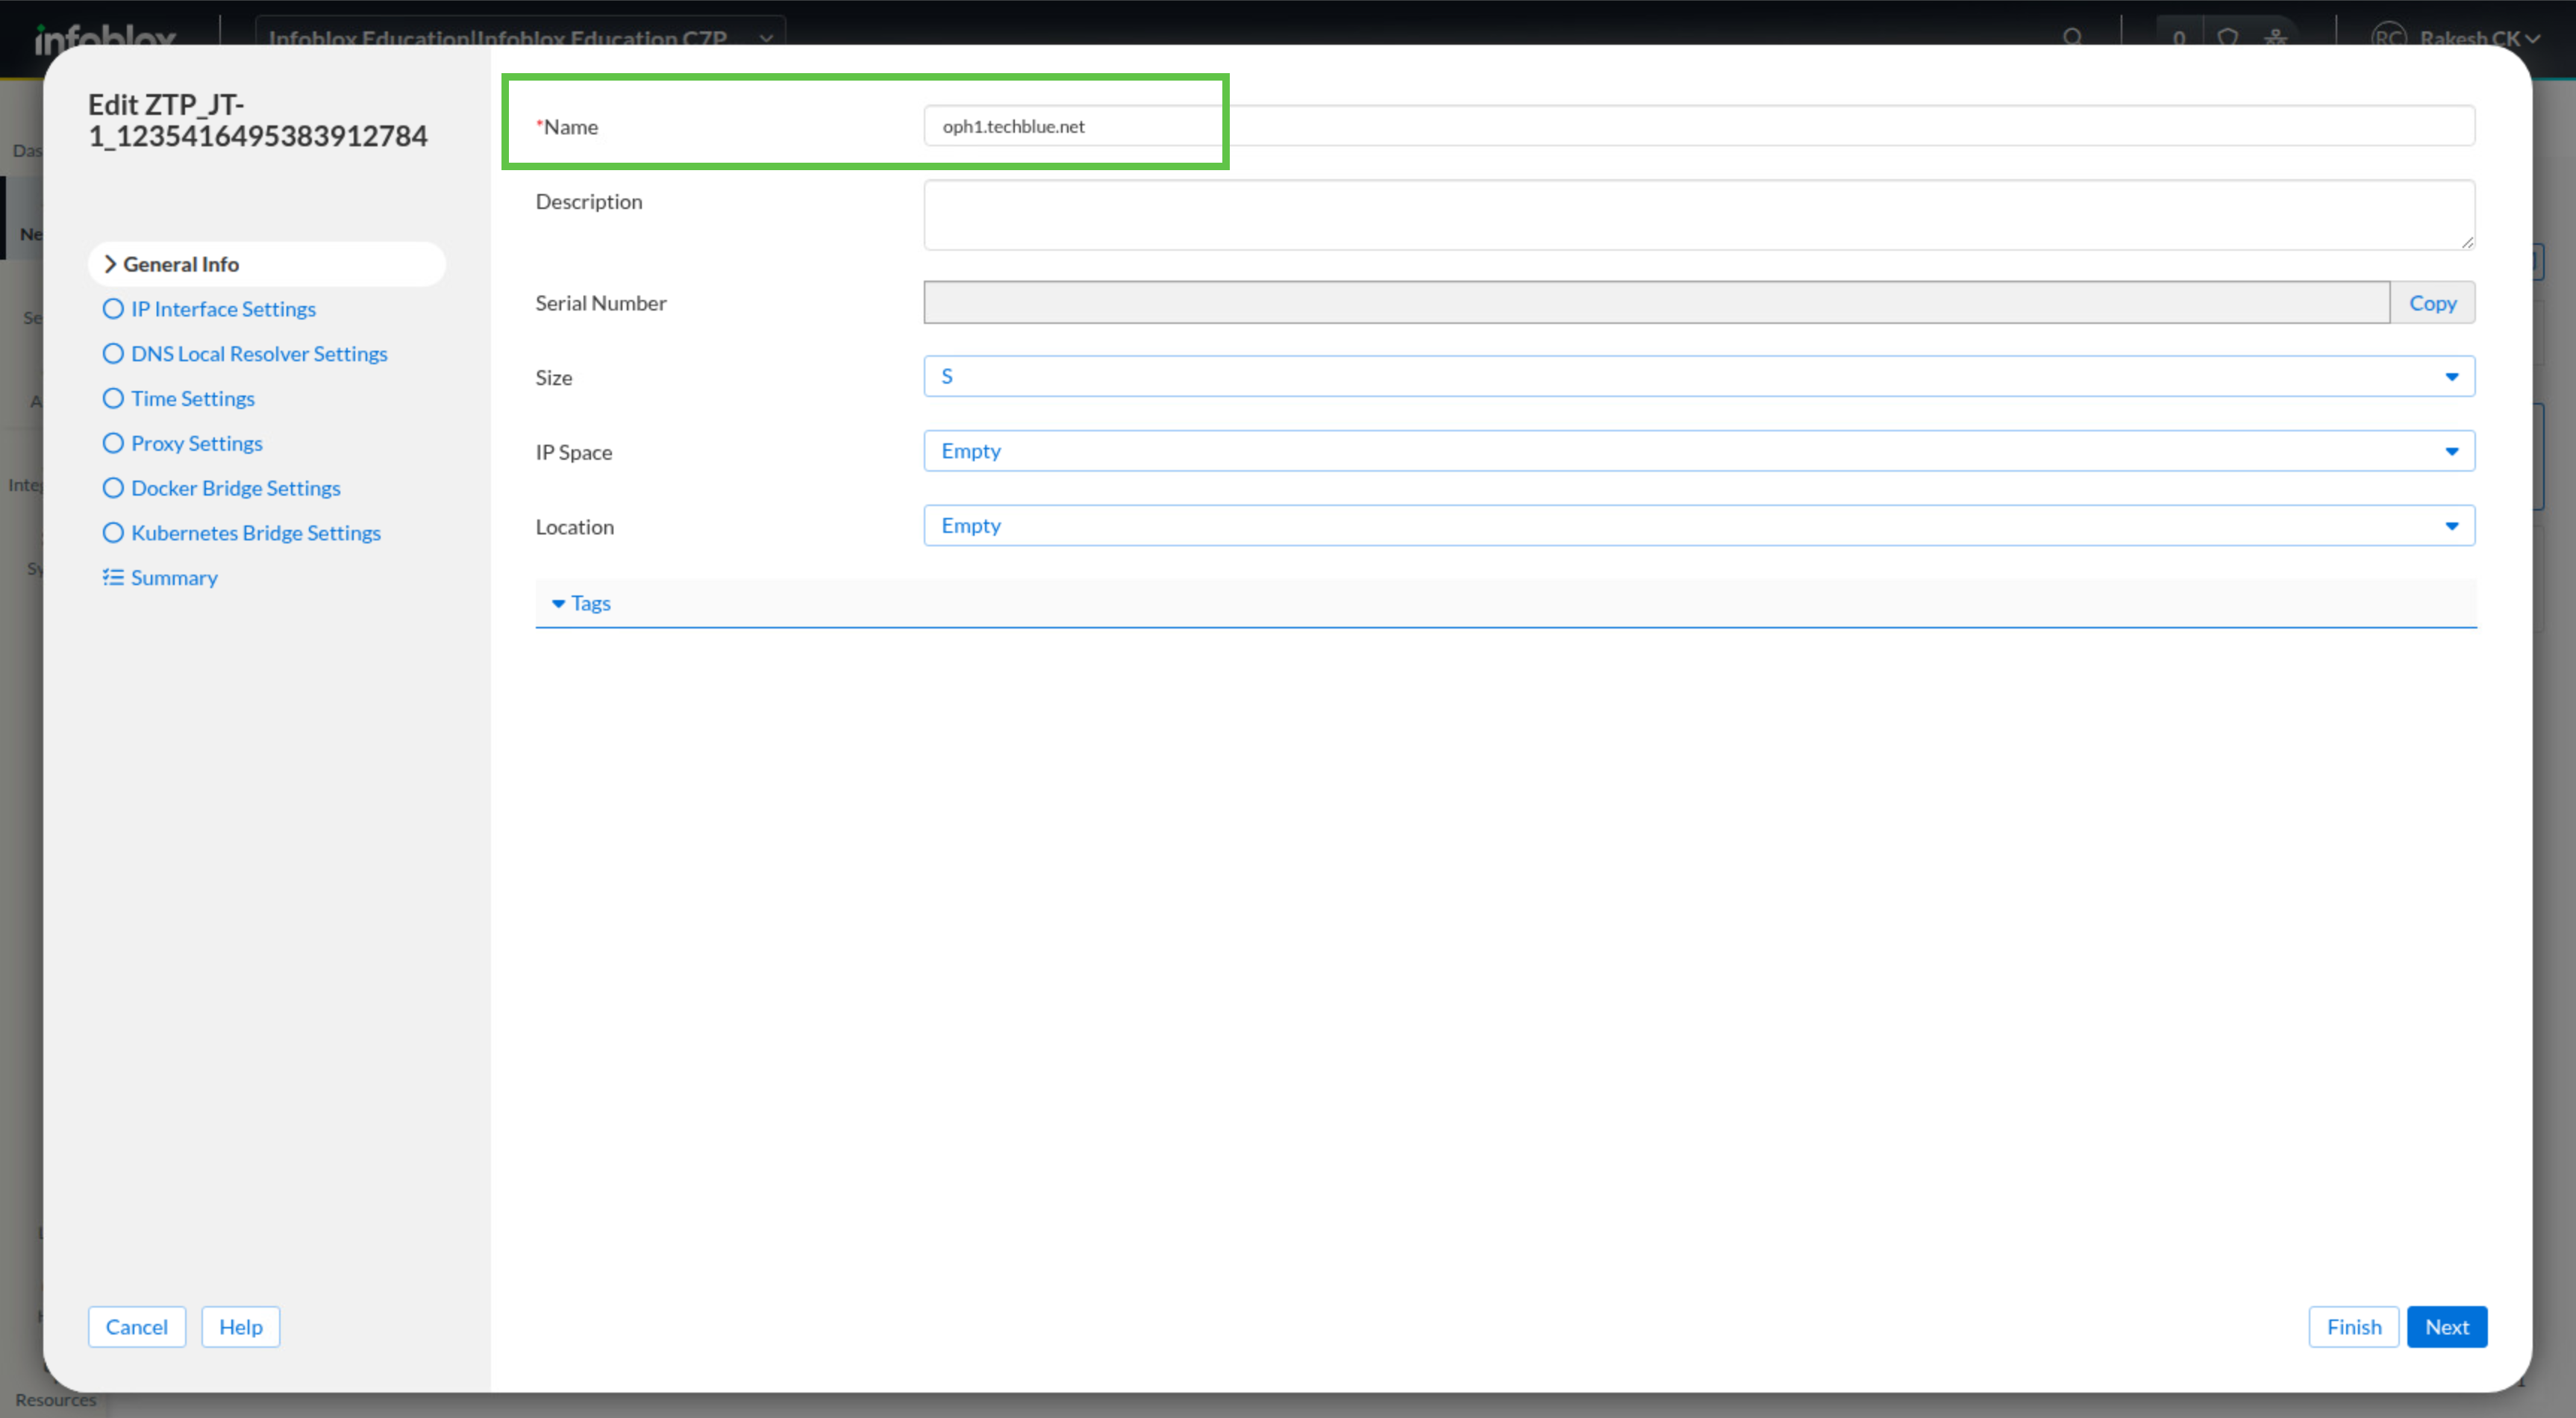
-
Click Finish and then Save & Close.
-
Task 3 Solution: Deploying the second NIOS-X Server
After validating the workflow on oph1, repeat the process on oph2 so the second server is also registered and named consistently in the Infoblox Portal.
-
From jump-desktop, open a terminal and connect to oph2 at 10.200.0.110 on port 65522 by using the command
ssh -p 65522 training@10.200.0.110. -
When prompted, enter infoblox as the password.
-
Download bloxone_installer_v2.0.0.sh to oph2 by using the lab’s provided wget command from the Infoblox S3 location
wget -O niosx_installer.sh https://s3.amazonaws.com/ib-noa-prod.csp.infoblox.com/niosx_installer_v2.2.2.sh -
Make the installer executable by running
chmod +x niosx_installer.sh. -
Run sudo ./niosx_installer.sh -j paste-your-join-token-here. Make sure you replace ‘paste-your-join-token-here' with the join token you have saved in Task 1.
sudo ./niosx_installer.sh -j paste-your-join-token-here -
If prompted, enter infoblox.
-
Return to Network → Services & Servers → Servers in the Infoblox Portal.
-
Select the newly deployed server and click Edit.
-
On the General Info tab, change the server name to oph2.techblue.net.
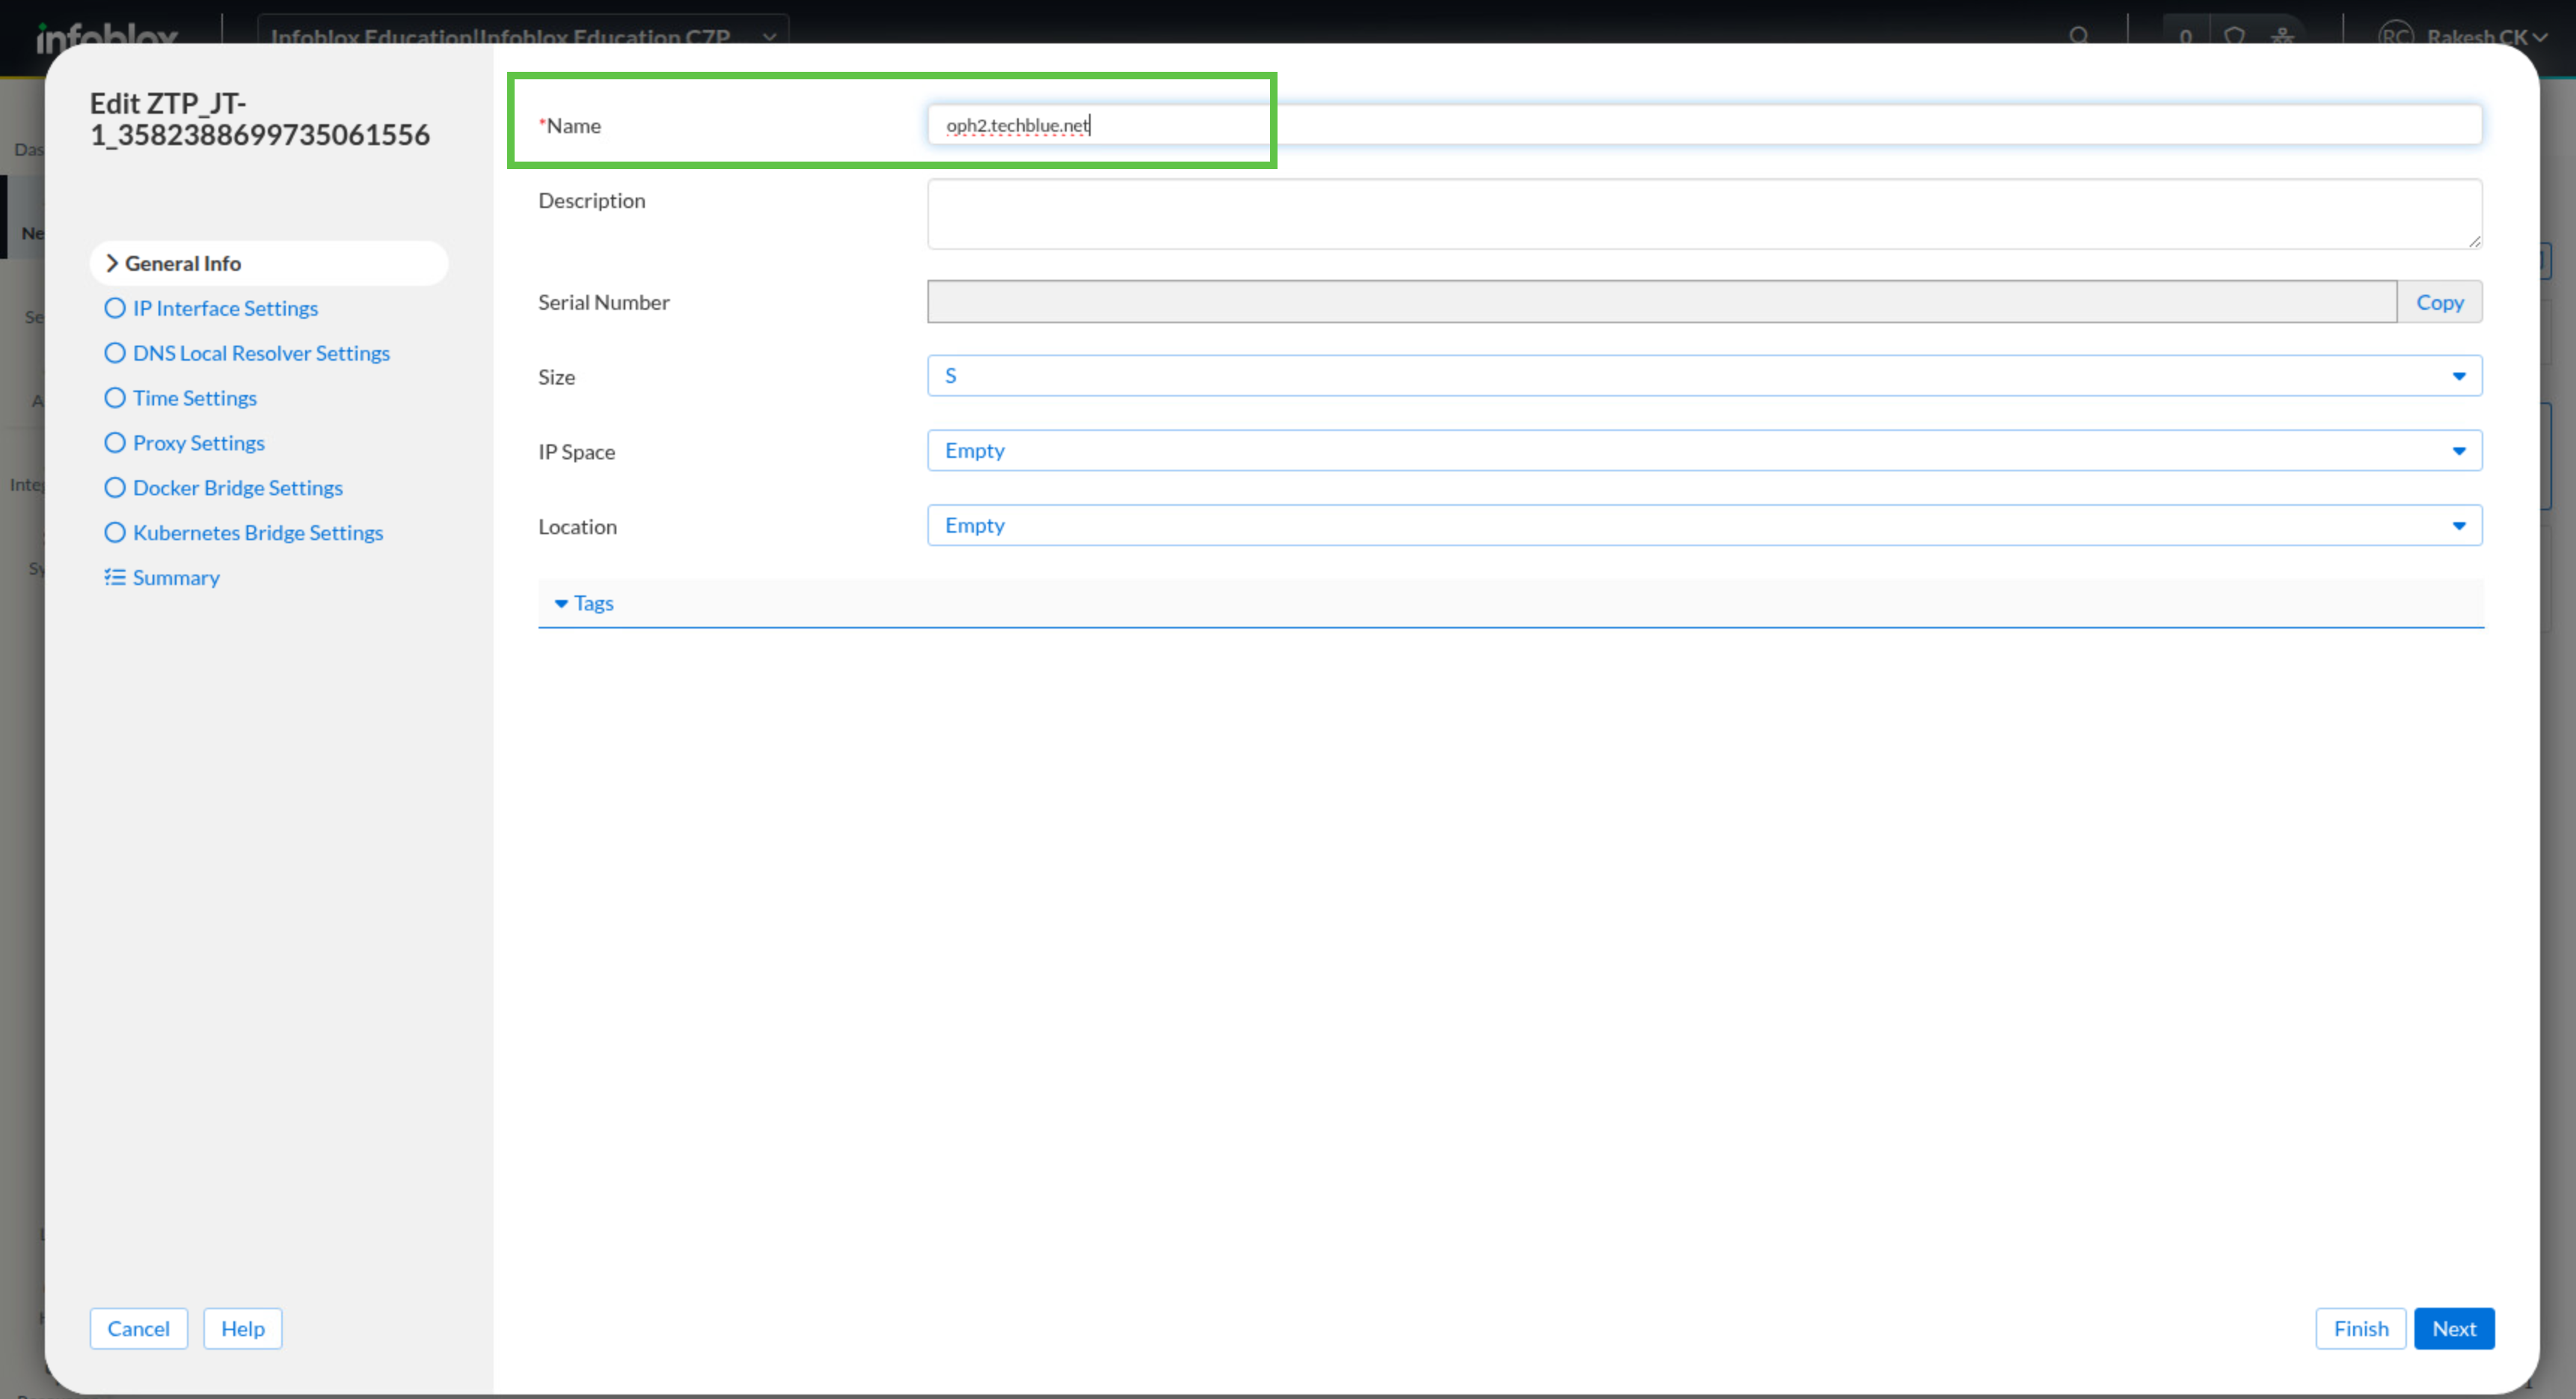
-
Click Finish and then Save & Close.