Using Dashboards and Reporting in BloxOne (2905)
Cloud Services Portal (CSP) is now Infoblox Portal
In early September, Cloud Services Portal (CSP) became Infoblox Portal with a new look-and-feel, and a new URL (https://portal.infoblox.com). As a result of this change, the layout and organization of several menus have been updated.
Unfortunately, this means that our video courseware and lab guides no longer match the new user interface. However, we are currently in the process of updating them, and they should be ready soon.
In the meantime, we have some resources to help you navigate the new interface:
We have created a mapping of the previous menu locations and their new breadcrumb location.
Additionally, you can find a walkthrough video of the new User Interface on Launchpad.
We apologize for any inconvenience this may cause and kindly ask for your patience as we work through this transition.
Scenario
While you are planning out your new network, you want to make sure you can track and present data to senior management and your team. You want to customize your available Dashboards for your own needs, adding a few widgets and removing others. You also want to schedule a daily Executive Summary Report for the last 24 hours of data to be emailed to your CSP email address, but have it stop after 5 days.
Estimate Completion Time
10 to 15 minutes
Prerequisites
Administrative access to the CSP
Learning Content
Tasks
To complete this lab, you need to perform the following tasks.
Remove unneeded widgets from the DDI Dashboard
Rearrange DDI Dashboard
Rearrange Security Dashboard
Schedule Executive Summary Report
Task 1: Remove unneeded widgets from the DDI Dashboard
For your initial purposes, you only need to see DNS Responses, DNS and DHCP Status, and DHCP Leases Per Second. Remove the rest of the widgets in the DDI Dashboard.
Task 2: Rearrange DDI Dashboard
Rearrange the widgets in the DDI Dashboard so that DNS Responses is next to DNS Status and DHCP Leases Per Second is next to DHCP Status. Also, set the refresh period to every 30 minutes.
Task 3: Rearrange Security Dashboard
We like what we see in the Security dashboard, but we want to move the Top Attackers information to the top.
Task 4: Schedule Executive Summary Report
Schedule emailing of Executive Summary Reports for the last 24 hours of data for 5 days.
Bonus Task: Delete or edit the scheduled Executive Summary Report
In the previous task, we scheduled the emailing of Executive Summary Reports for 5 days. Use the Scheduled Events manager to delete or edit this scheduled report.
Solutions
Task 1 Solution: Remove unneeded widgets from the DDI Dashboard
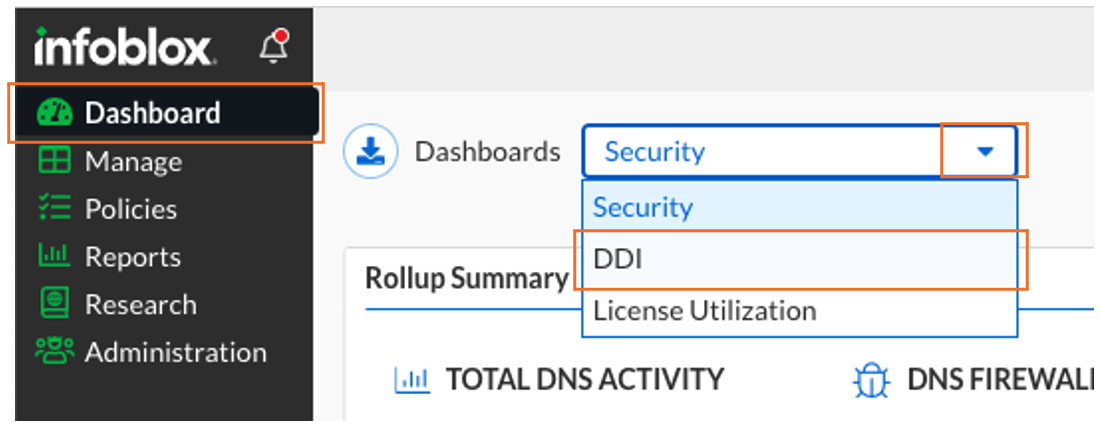
Click on the main menu panel item Dashboard
Find the Dashboards dropdown item named DDI
Scroll down and click on the X for the widgets we are removing. Leave only the widgets DNS Responses, DNS Status, DHCP Status, and DHCP Leases Per Second.

Task 2 Solution: Rearrange DDI Dashboard
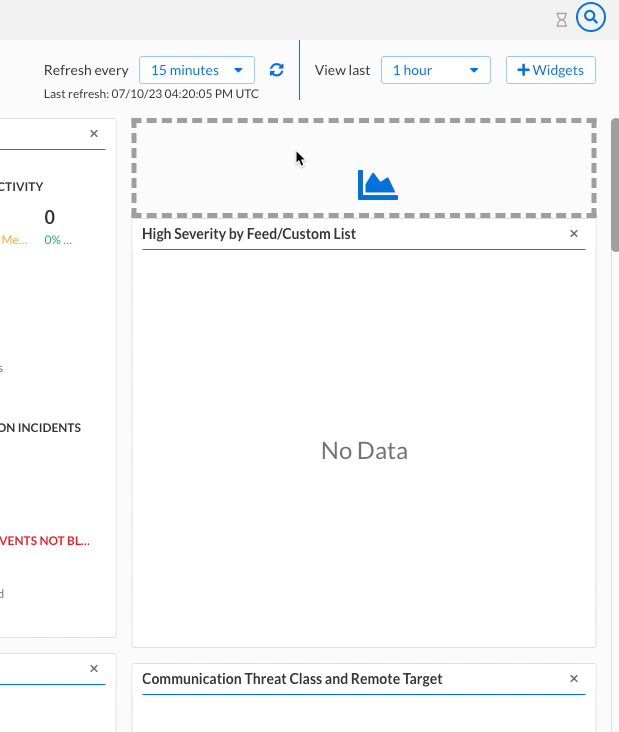
While you are still at the DDI Dashboard, scroll down and drag each widget to re-arrange them in the Dashboard. As you drag a widget, the other widgets will adjust on the screen. A dotted line will show up in the area where the widget will be dropped in when you let go of the mouse button.

Your end result may look something like this:

Task 3 Solution: Rearrange Security Dashboard
Click on the main menu panel item Dashboard
Find the Dashboards dropdown item named Security

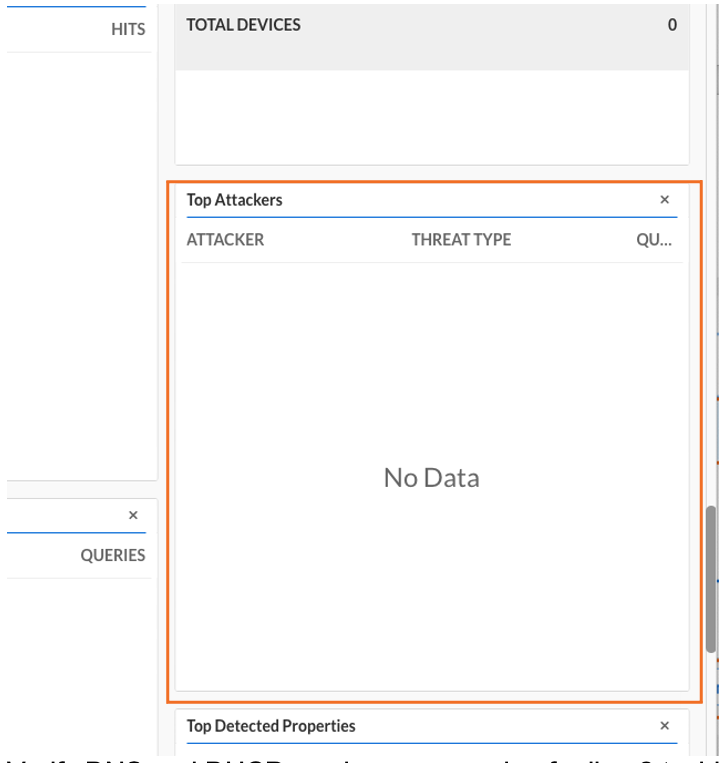
Like the previous Task, we want to move a widget to another location on the Dashboard. Scroll down to find Top Attackers and drag it to the top of the dashboard
Task 4 Solution: Schedule Executive Summary Report
Finally, we want to schedule a report to be sent to an email address on a regular basis, for a limited number of days. We want the last 24 hours of data in the report, and we want the report to be sent for only the next 5 days.
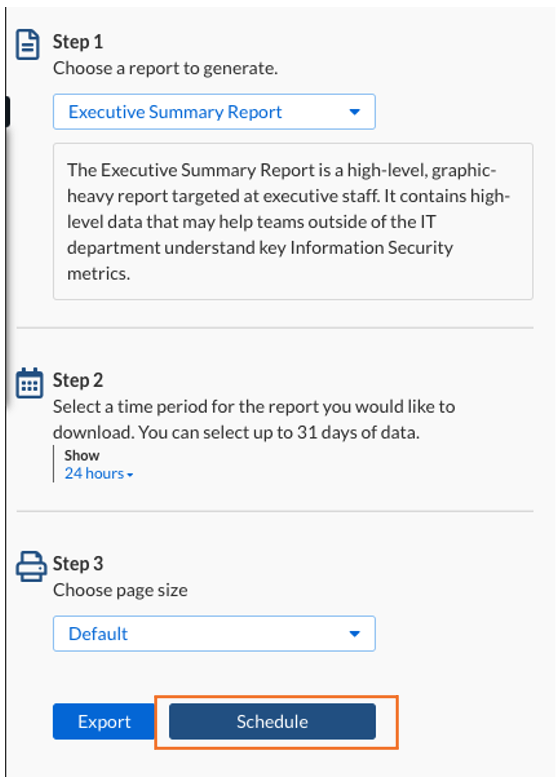
Navigate to Reports → Summary Reports

Since we are not exporting, we do not need to fill in the steps on this screen but we will click Schedule
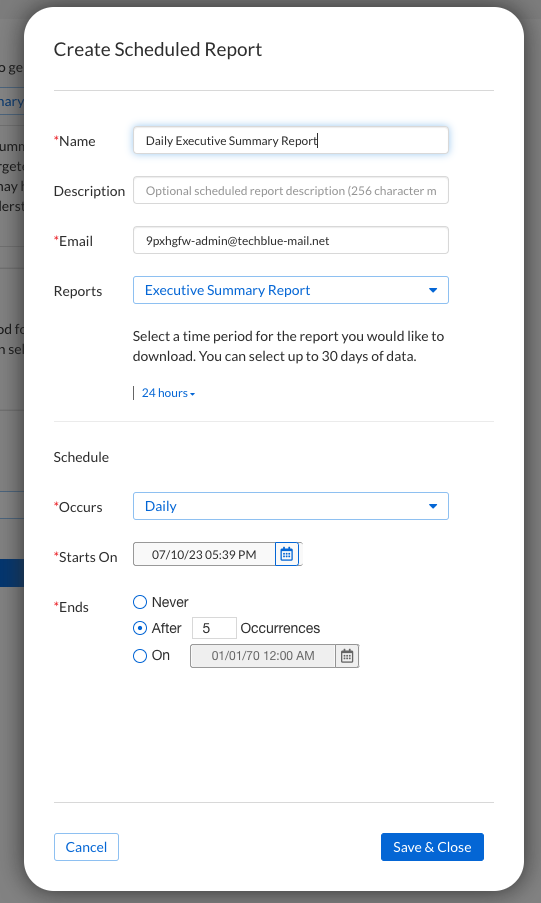
Give the Scheduled Report a name: Daily Executive Summary Report
For Email, enter the email address you have been using to log in to the CSP. This will be forwarded to the email address you use for the lab.
Make sure Executive Summary Report is selected
Use the dropdown to choose a time period for the report data. Select 24 hours.
For Occurs, select Daily
For Ends, select the After radio checkbox and type
5or use the arrows to set the numberYour scheduled report configuration should look similar to this:
Click Save & Close. Now, every day for 5 days you will get an email with a link to an Executive Summary Report with the last 24 hours of data.
Bonus Task Solution: Delete or edit the scheduled Executive Summary Report
We may not want to see this emailed report for the next 5 days as we work with our Infoblox Education labs, so let's delete this report.
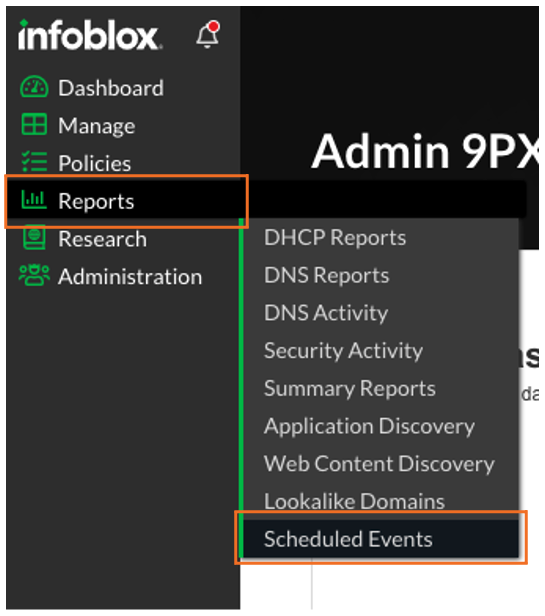
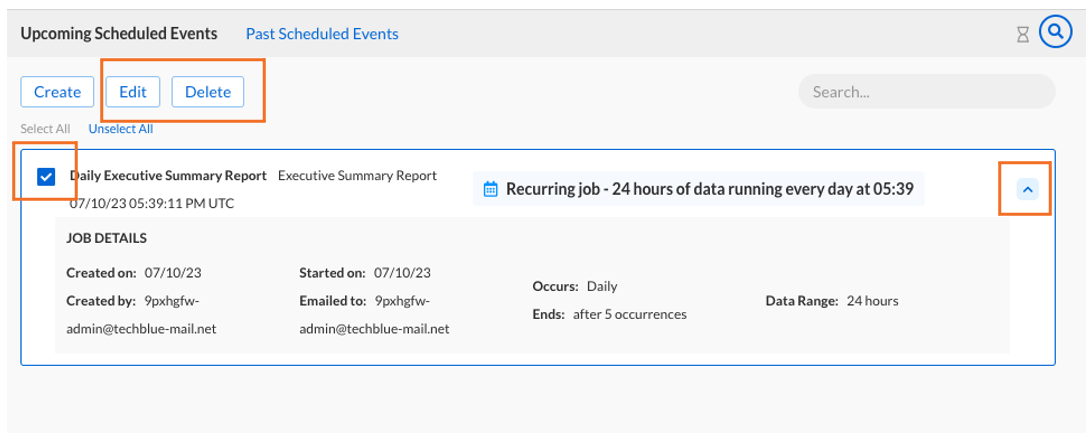
Navigate to Reports → Scheduled Events
Find your scheduled report on in the report manager and check the checkbox for it. For details on the report, click the expansion arrow on the report item.
You can edit or delete this report from here by clicking Edit or Delete
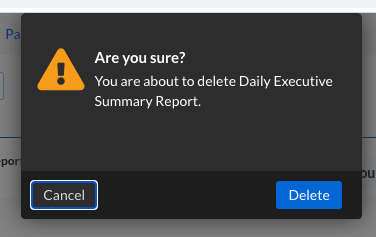
If you are deleting the item, you will need to confirm the delete operation. Note the notification for successful deletion.