This lab requires a NIOS 9.0 Lab Environment
This lab guide has been developed using the new NIOS 9.0 Lab Environment. Please ensure that you deploy a NIOS 9.0 lab environment to complete these lab tasks. If you use a different lab environment, this is untested, and the lab likely will not work.
Scenario
This guide explains how to use Lab 3997 to restore the lab environment to a state with several preloaded NIOS objects. This configuration includes additional zones, networks, and other objects, giving users more resources to explore and experiment with. While not exhaustive, it provides a richer starting point compared to the initial minimal state.
The restoration process configures the VMs with the following IP addresses and attempts to rejoin them to the Grid Master to establish a fully operational grid:
|
VM |
IP Address |
|---|---|
|
nios-1 (Grid Master) |
10.100.0.100 |
|
nios-2 |
10.100.0.101 |
|
nios-3 |
10.100.0.102 |
|
nios-4 |
10.200.0.105 |
|
nios-5 |
10.200.0.100 |
|
nios-reporting |
10.100.0.205 |
Main Features Restored
-
Anycast Configuration: Anycast setup is enabled for DNS services.
-
DNS Views: Three DNS views pre-configured.
-
DNS and DHCP Services: Both services are enabled and running across grid members.
-
DNS Zones: Multiple pre-configured DNS zones.
-
DHCP Networks: 9 networks with DHCP enabled.
-
DHCP Failover: Configured.
-
IPAM Subnets: 3 IPv6 and 79 IPv4 subnets.
-
High Availability: The member ibns1.techblue.net is configured for high availability.
-
Preloaded Objects: Includes additional host records and other resource records.
Note: The preloaded state may not include all possible configurations or objects. If additional objects are needed, they can be manually created after restoration.
Estimate Completion Time
-
5-10 minutes
Credentials
|
Description |
Username |
Password |
URL or IP |
|---|---|---|---|
|
Grid Manager UI |
admin |
infoblox |
https://10.100.0.100/ |
Requirements
-
Administrative access to the Grid
Tasks
Restoring the lab environment may not always be possible. If any NIOS VM has been factory reset to an IP address within the 192.168.x.x range, the restore process might execute but fail to restore the lab to its intended state.
In such cases, deploying a new lab is recommended to ensure proper functionality.
Task 1: Access the Jump-Desktop
-
Click on the jump-desktop tile and login to the Linux UI:
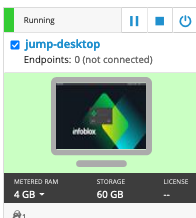
-
Log in using the following credentials:
-
Username:
training -
Password:
infoblox
-
Task 2: Start the Lab Restore Process
-
To initiate the lab, double-click the Launch Lab icon on the Desktop.

Launch Lab -
Choose the lab number 3997 from the list and click OK.
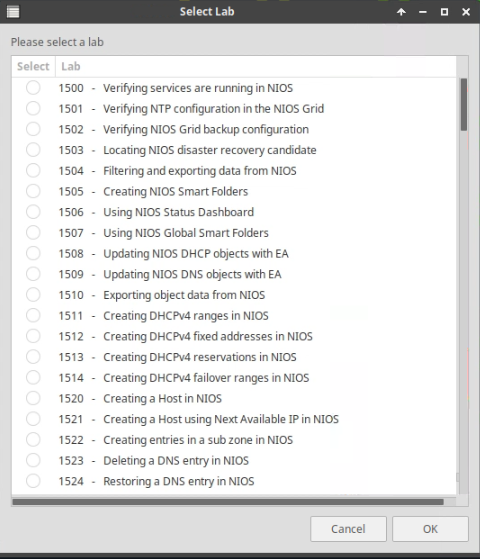
-
After clicking OK, you will see a pop-up message with a brief description of the lab task. If the description looks correct, click Yes to continue lab initiation.

-
The process will take a couple of minutes to finish.
-
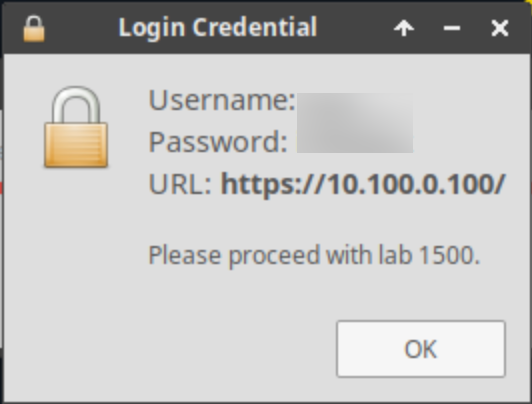
Once complete, you will see another pop-up message with the login credentials and the URL for the Grid Manager’s User Interface. Note that the credentials may differ from those from prior labs.
Task 3: Verify Member Status in the Grid Manager UI
-
After the lab restore completes, log in to the Grid Manager UI using the credentials provided in the pop-up message.
-
Navigate to Data Management > DNS > Zones and review the additional pre-configured zones.
-
Navigate to Data Management > DHCP > Networks and verify that an extended network configuration is present.
-
Navigate to Grid → Grid Manager → Members.
-
Verify that all members are displayed as Running in the Status column.