Scenario
To extend Threat Defense coverage to roaming users, your organization is planning to enable Infoblox Endpoint protection on client devices such as company-managed laptops, company-managed smartphones, and handheld devices. This secures DNS traffic from mobile and remote endpoints outside the corporate network. You are tasked to deploy the Infoblox Endpoint agent on a single Windows machine for testing, create a new Endpoint Group, and add the deployed endpoint to this group. The Endpoint Group will later be added to a security policy for testing and validation.
Estimated Completion Time
-
20 to 30 mins
Prerequisites
-
Administrative access to the Infoblox Portal
Tasks
-
Install the Infoblox Endpoint agent on a Windows VM.
-
Create an Endpoint Group in Infoblox Portal.
-
Add the Windows Endpoint to the Endpoint Group.
Task 1: Installing Infoblox Endpoint
In testing-windows, open the Tools folder on the Desktop and run the interface-static-internet.bat file as an administrator. This sets a static IP address for the VM. Please re-enter the command if the VM does not get an IP address the first time.
Use your lab’s testing-windows VM to launch a web browser. Use your Education Infoblox Portal Credentials to log into the Infoblox Portal. Download and install the correct Endpoint version for your Windows machine, verify that the Endpoint was added.
Task 2: Creating an Endpoint Group
In the Infoblox Portal, create an endpoint group named Techblue Endpoints.
Task 3: Adding the Windows endpoint to Techblue-Endpoints
In the Infoblox Portal, add the testing-windows Endpoint into the Techblue Endpoints Endpoint Group.
Solutions
Task 1 Solution: Installing Infoblox Endpoint
Extract all files in the same folder, or the installation process will fail. The included files contain the information required to connect the endpoint agent to your Infoblox Threat Defense tenant, such as the Join Token; without them, the installation cannot succeed.
In this task, we will download the Windows installation package for the Infoblox Endpoint client from the Infoblox Portal, extract it, and install it on one of our lab’s virtual machines, testing-windows. We are logging in to the Infoblox Portal from the testing-windows VM as it is the easiest method to download the zip file on the VM. In a production deployment we can rely on some domain orchestration tool such as Microsoft Endpoint Configuration Manager or PDQ Deploy to mass deploy the agent.
-
Log into your lab’s testing-windows, with the credentials (training / infoblox).
-
Open the Tools folder on the Desktop and run the interface-static-internet.bat as an administrator.
-
This file is used to set an IP address for the VM in a subnet simulating a direct internet connection.
-
-
In testing-windows, open a browser and use your Education Infoblox Portal Credentials to log into the Infoblox Portal.
-
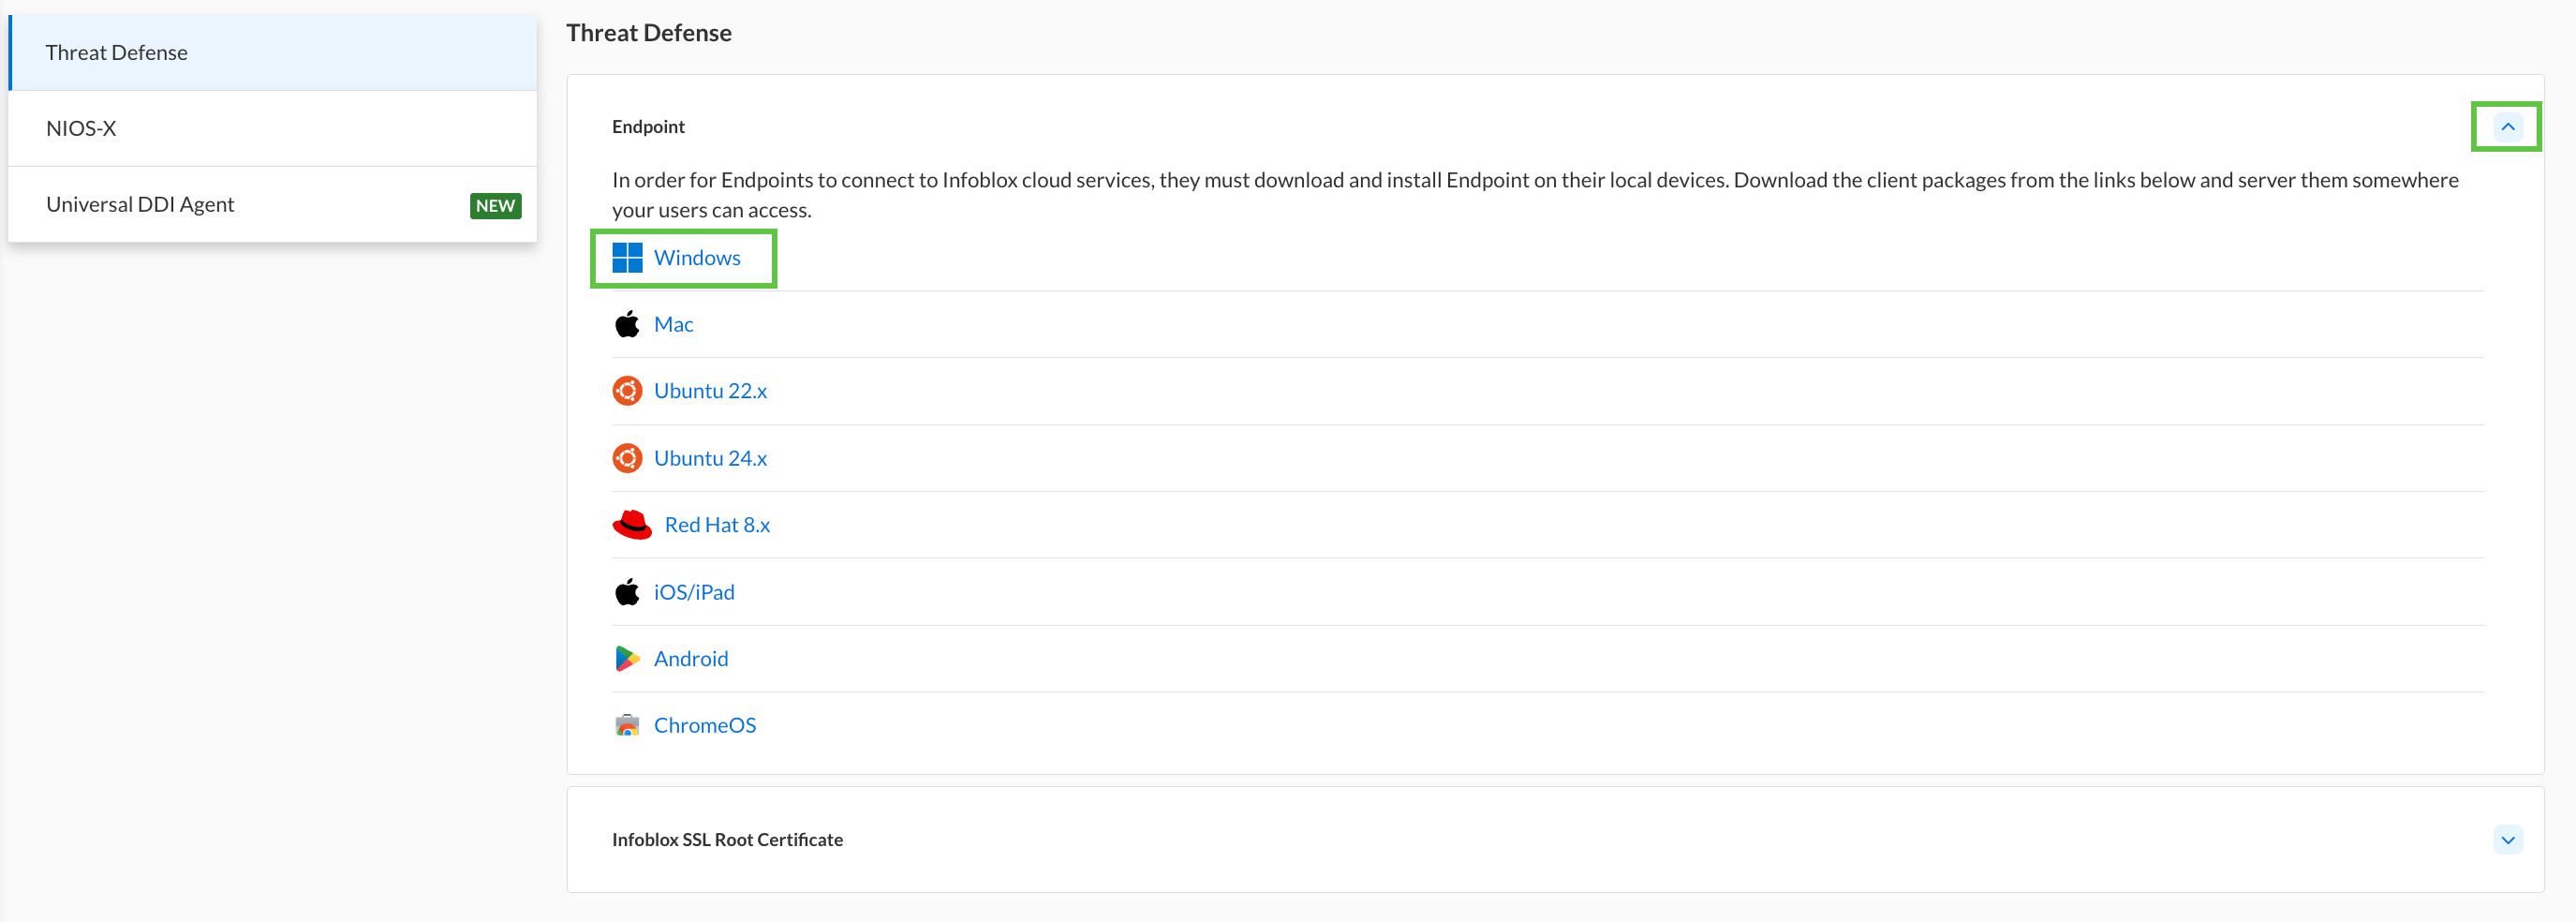
Navigate to System → Downloads → Threat Defense → Endpoint.
-
Expand the Endpoint client drop-down list using the arrow on the right-hand side.
-
Download the correct Endpoint version for your Windows machine.
-
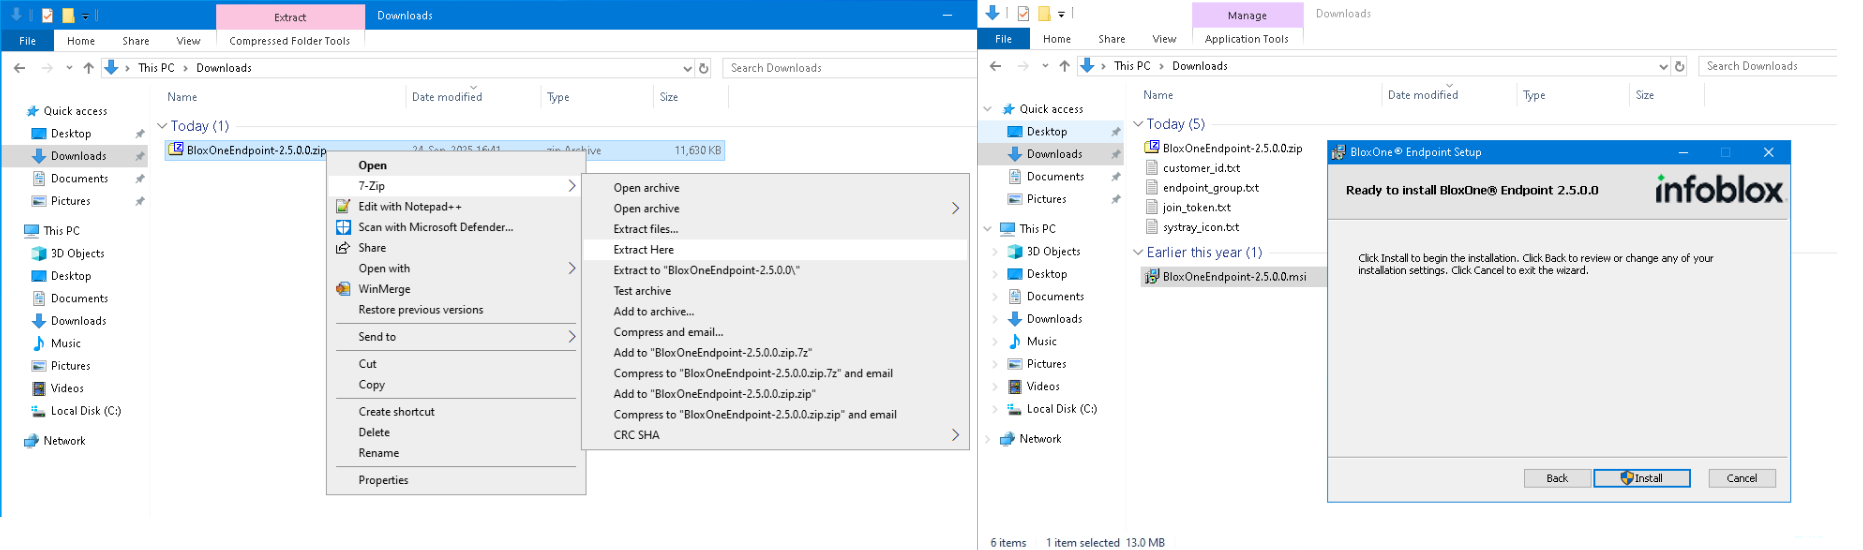
Extract the zip components into one folder using 7-Zip.
-
Right-click the zip file and choose 7-Zip → Extract Here.
-
Install Infoblox Endpoint Agent using the .msi executable.
-
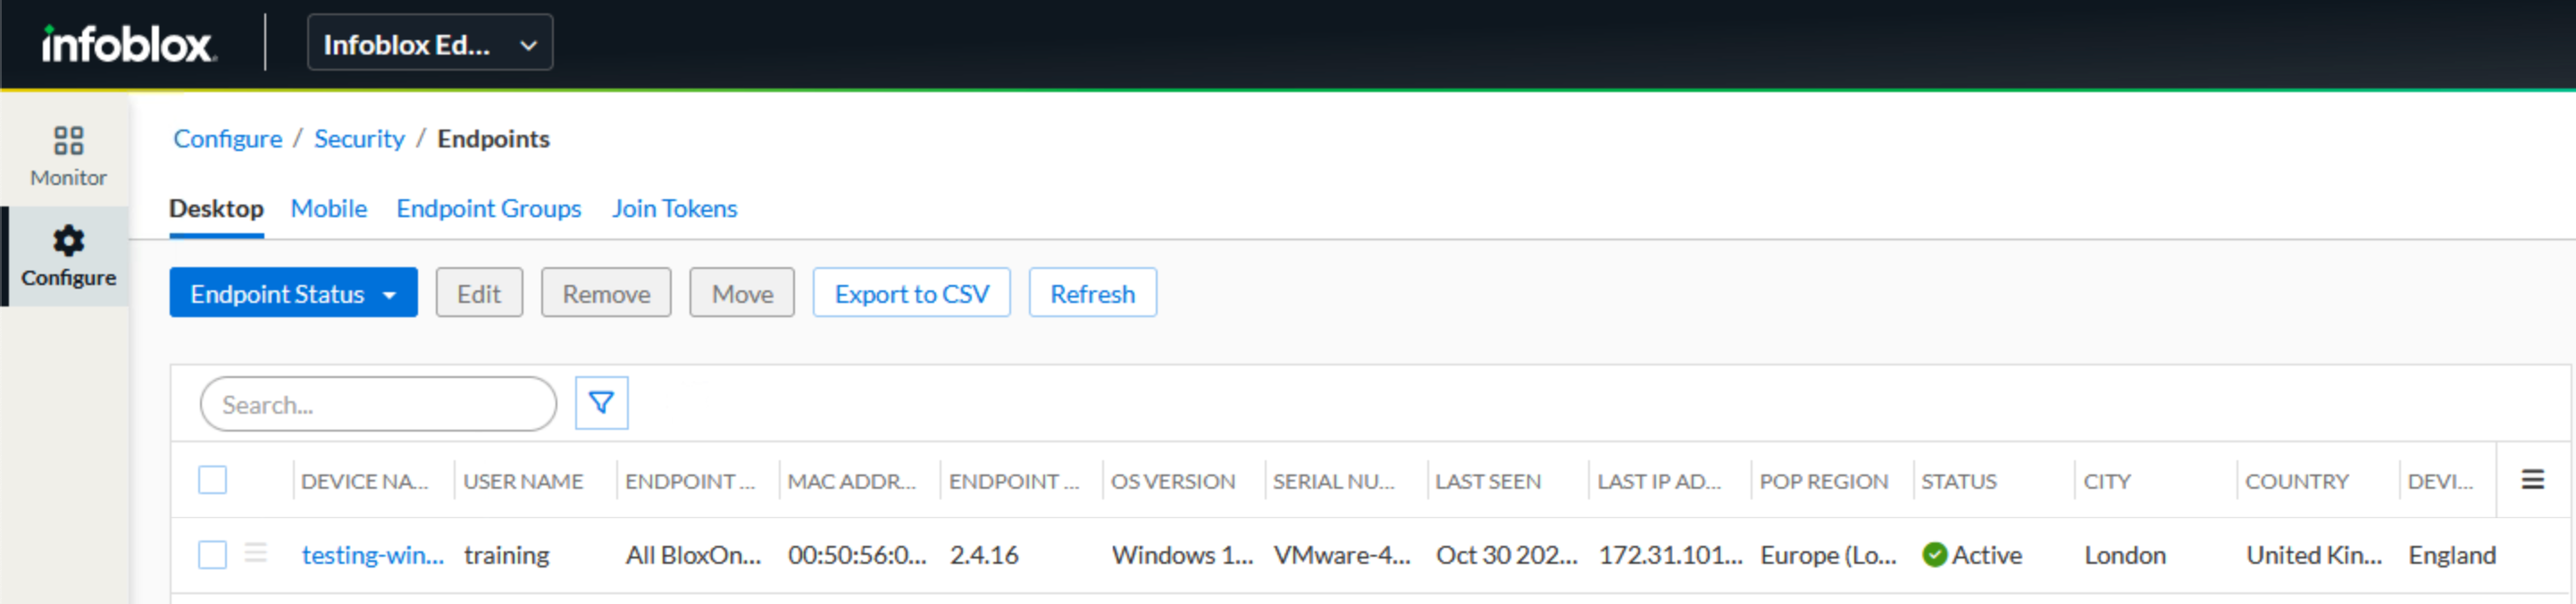
In the Infoblox Portal, navigate to Security → Threat Defense → Endpoints → Desktop.
-
Verify that the Endpoint was added.
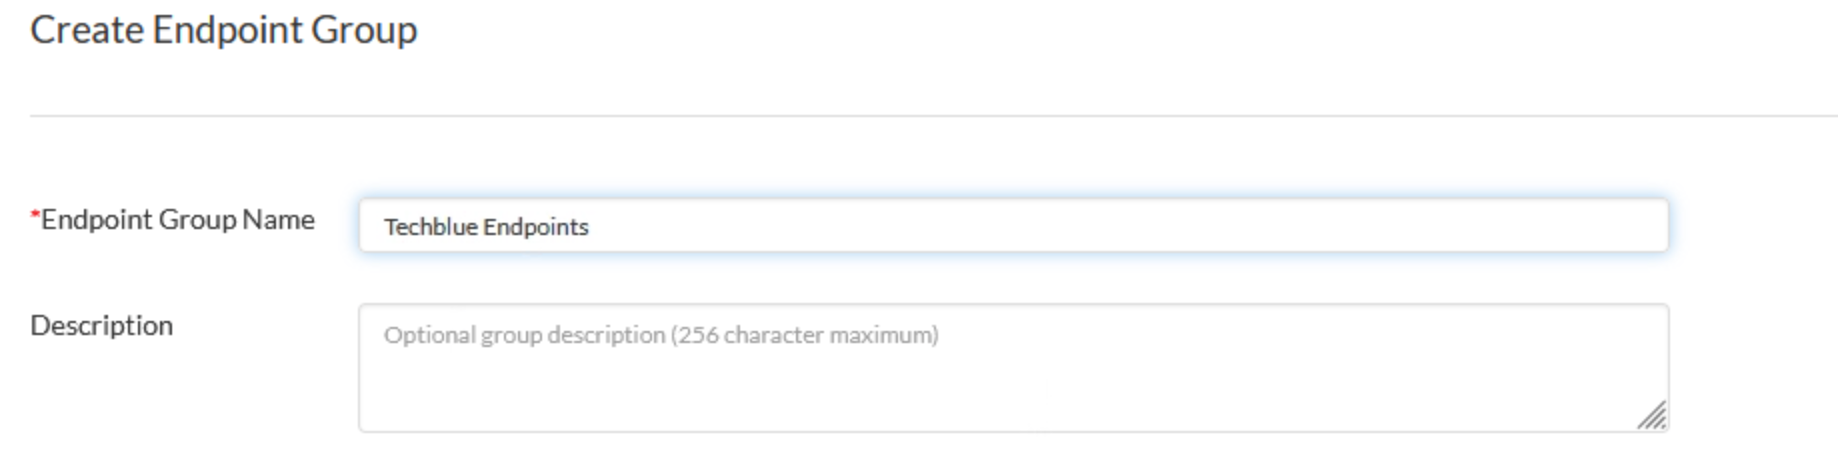
Task 2 Solution: Creating an Endpoint Group
In this task, we will create a new Endpoint Group named Techblue Endpoints, to use later as a Security Policy Network Scope. We must add our endpoint to an Endpoint Group because single endpoints cannot serve as network scopes.
By default, all endpoints will be added a system default Endpoint Group named Default Endpoint Group. We will be not using it and will create our organization’s own Endpoint Group.
-
In the Infoblox Portal, navigate to Security → Threat Defense → Endpoints → Endpoint Groups.
-
Click Create Endpoint Group, give the name Techblue Endpoints.
-
Click Save & Close.
Task 3 Solution: Adding the Windows endpoint to Techblue-Endpoints
In this task, we will move our endpoint, which we installed earlier on the testing-windows VM, from the Default Endpoint Group to Techblue Endpoints. We are moving the endpoint because we will use the newly created Endpoint Group, Techblue Endpoint, as a Network Scope for our organization’s security policy.
-
In the Infoblox Portal, navigate to Security → Threat Defense → Endpoints → Desktop page.
-
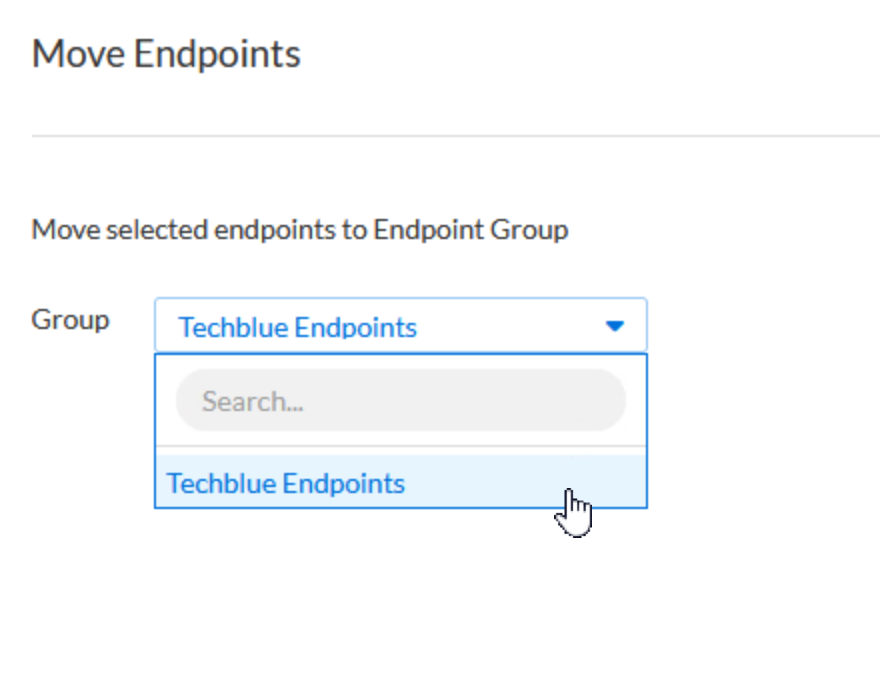
Select the testing-windows endpoint, and click Move.
-
Select Techblue Endpoint Group and click Move.