Applying Advanced DNS Protection (ADP) Profiles in NIOS (2548)
This lab requires a lab environment with Advanced DNS Protection capability!
Please ensure that you have deployed a NIOS 9.0 Lab Environment (with Advanced DNS Protection) lab environment.
Scenario
In your efforts to increase your organization’s DNS security posture, you’re adding profiles to your Grid ADP configuration allowing you a more refined and targeted configuration for different areas in your environment.
Learning Content
Estimate Completion Time
15 to 20 minutes
Prerequisites
Lab 2546 - Setting up NIOS for Advanced DNS Protection (ADP)
Lab 2547 - Applying Advanced DNS Protection (ADP) Profiles in NIOS
Credentials
Description | Username | Password | URL or IP |
|---|---|---|---|
Grid Manager UI | admin | infoblox |
Requirements
Administrative access to the Grid
Usage of the NIOS Lab Environment (with Advanced DNS Protection) Lab environment
Lab Initiation
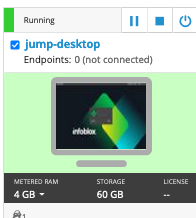
Access jump-desktop
Once the lab is deployed, you can access the virtual machines required to complete this lab activity. To initiate the lab, click on the jump-desktop tile and login to the Linux UI:
Username: training
Password: infoblox
Initiate lab
To initiate the lab, double-click the Launch Lab icon on the Desktop.

Launch Lab
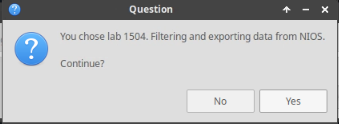
Choose the lab number from the list and click OK.

After clicking OK, you will see a pop-up message with a brief description of the lab task. If the description looks correct, click Yes to continue lab initiation.
Lab initiation will take a couple of minutes to finish.
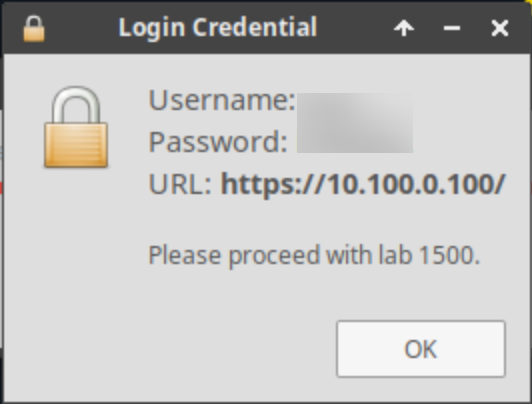
Once complete, you will see another pop-up message with the login credentials and the URL for the Grid Manager’s User Interface. Note that the credentials may differ from those from prior labs.
Tasks
Create a Threat Protection Profile
Assign Profile to Grid Member
Task 1: Create a Threat Protection Profile
Using the Jump-Desktop machine (training/infoblox), log in to the GM web interface at https://10.100.0.100/ with the credentials (admin/infoblox).
Create an ADP Profile, the profile is called External – Initial Configuration. The profile is created with default settings.
Task 2: Assign Profile to Grid Member
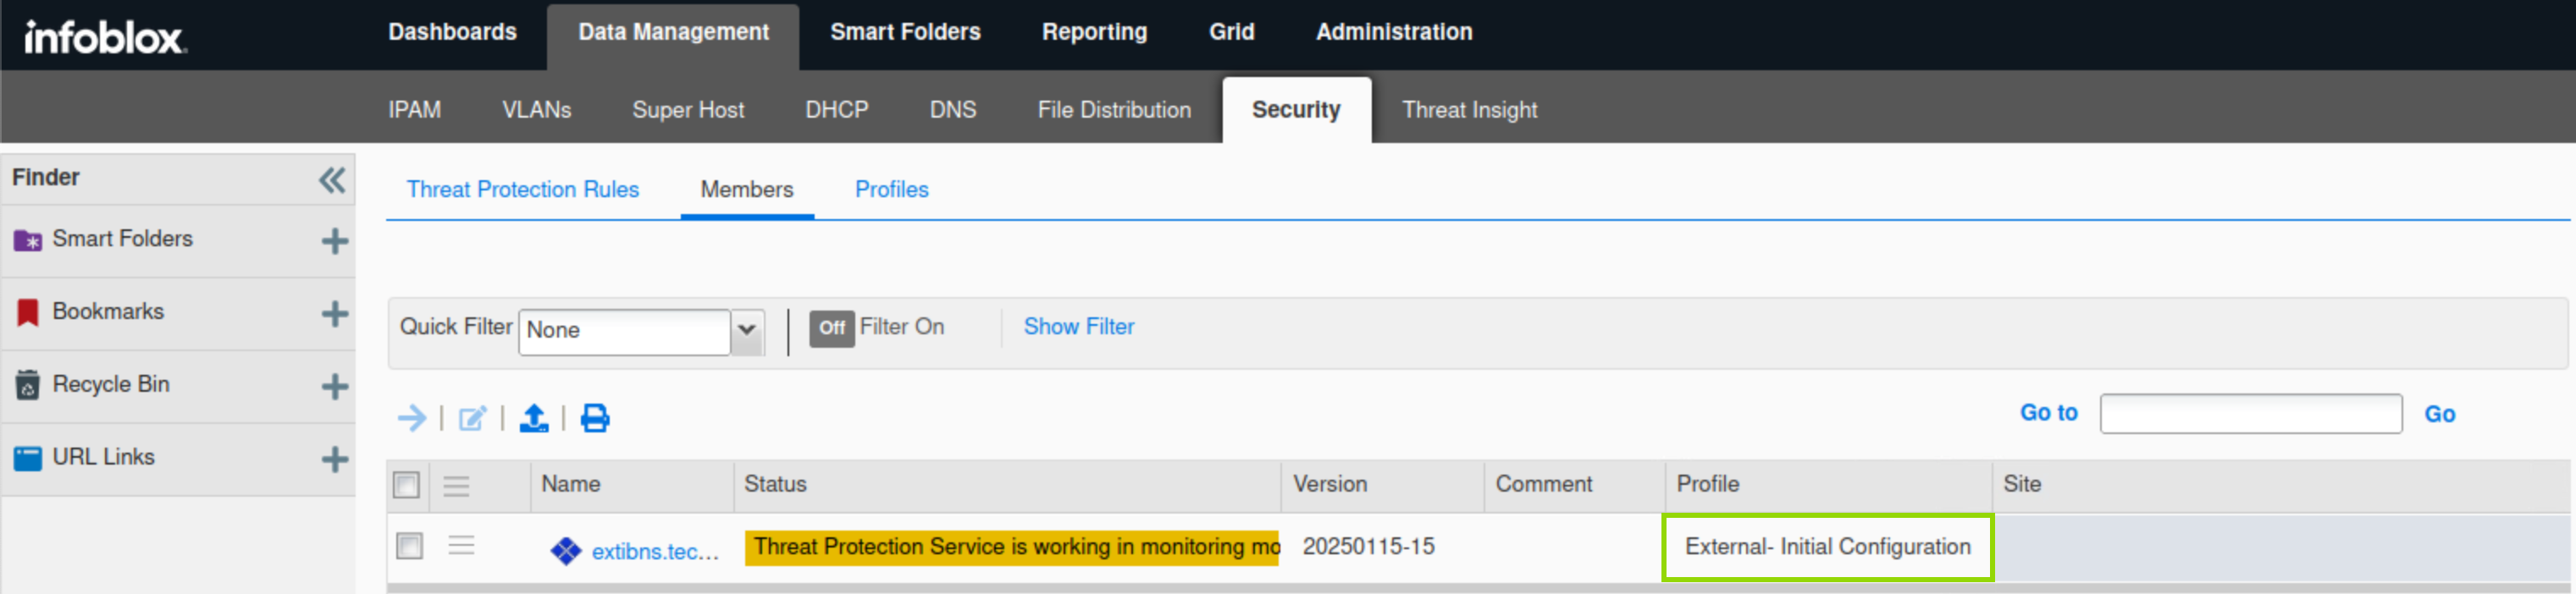
Assign the created profile to extibns.techblue.net.
Solutions
Task 1 Solution: Create a Threat Protection Profile
On the jump-desktop machine, open a browser window and surf https://10.100.0.100.
Navigate to Data Management → Security → Profiles.
Click the plus (+) symbol to add a new profile.
Create a new profile called External – Initial Configuration.
Click Override next to the Active Ruleset Version and select the oldest ruleset 2025015-15.
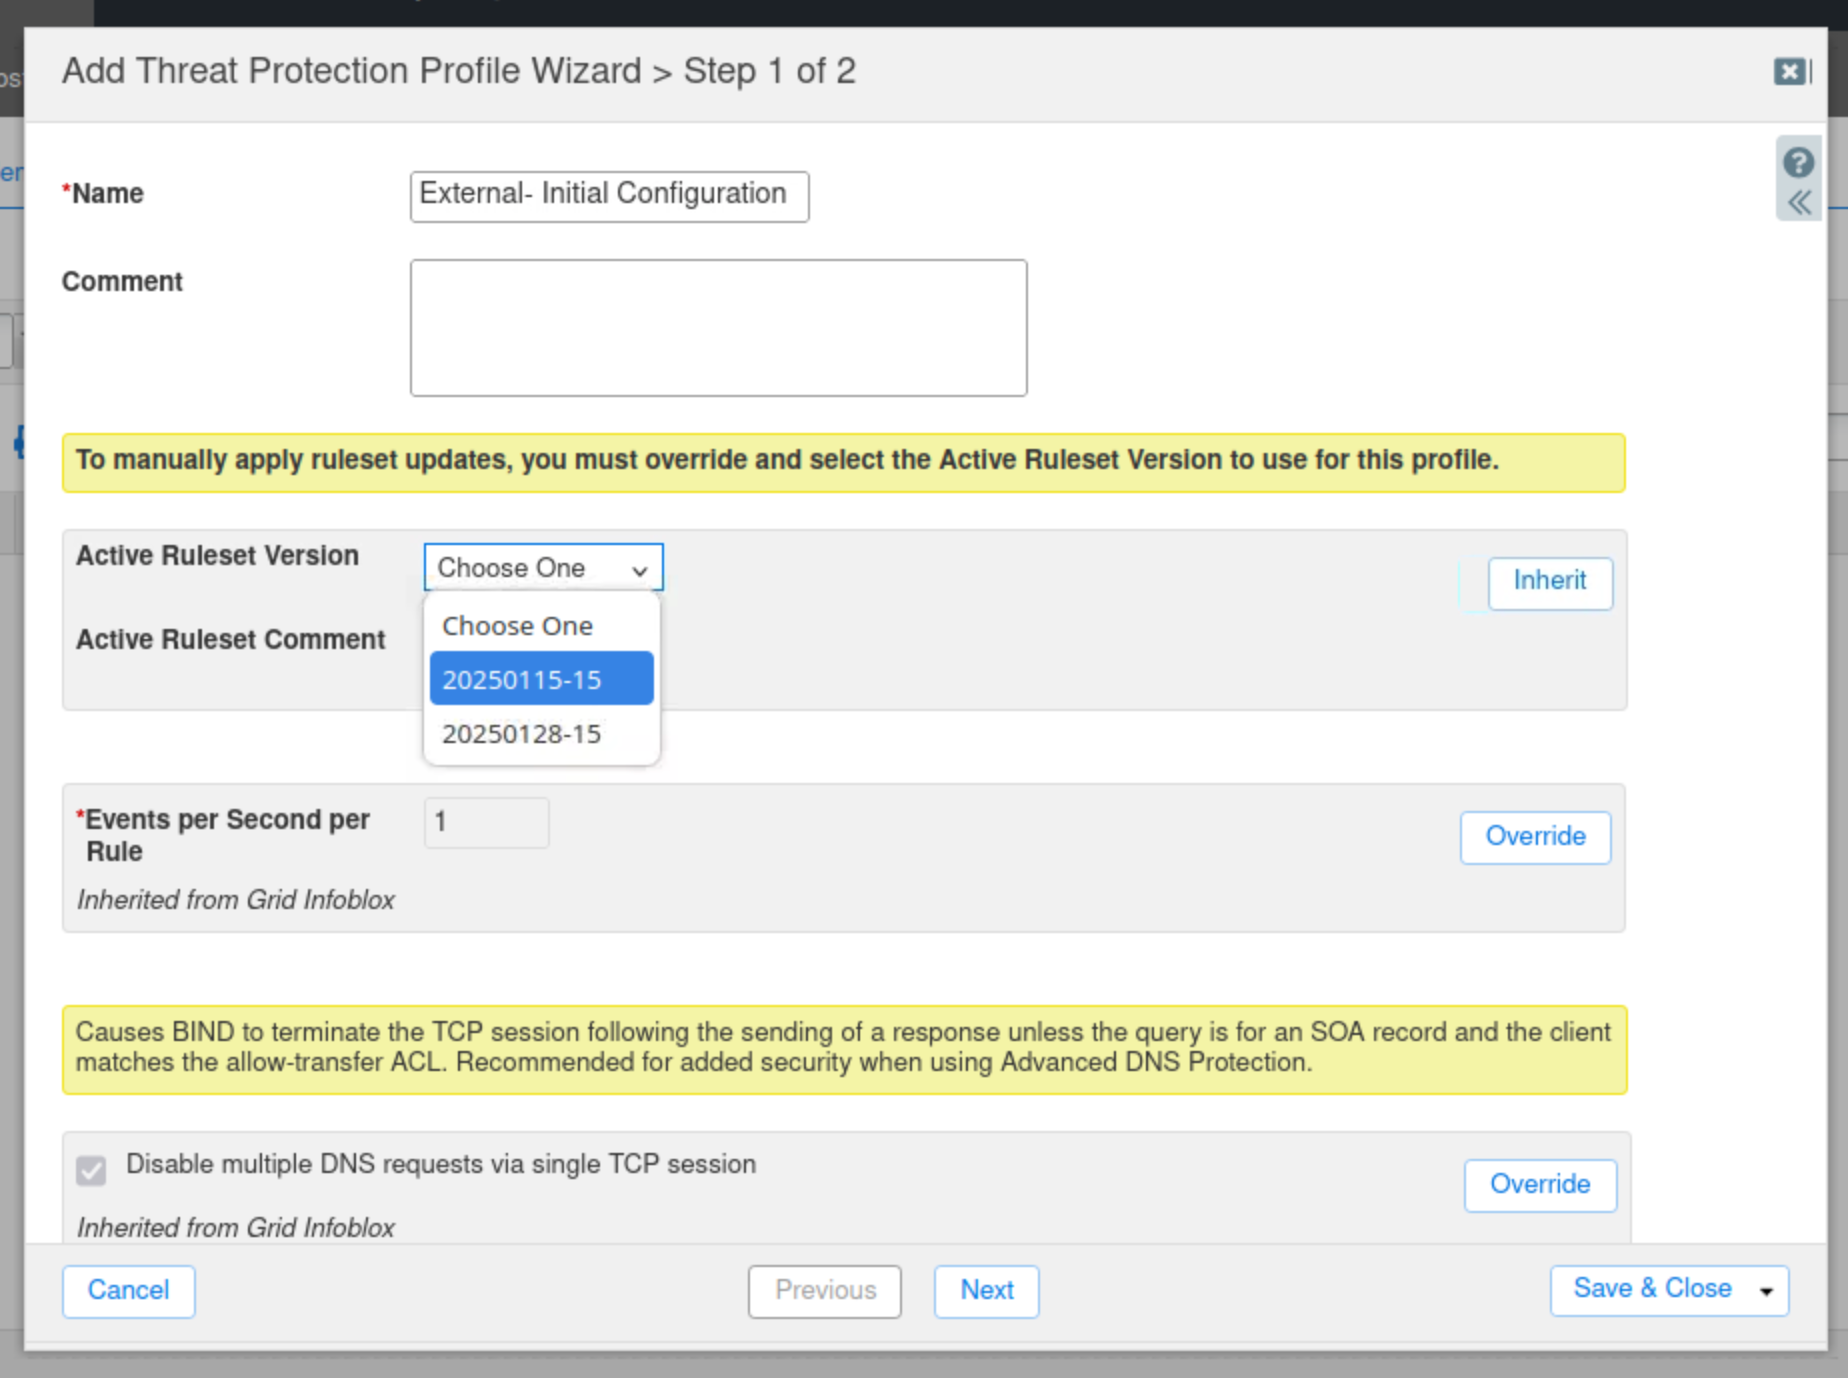
Click Save & Close.
Task 2 Solution: Assign Profile to Grid Member
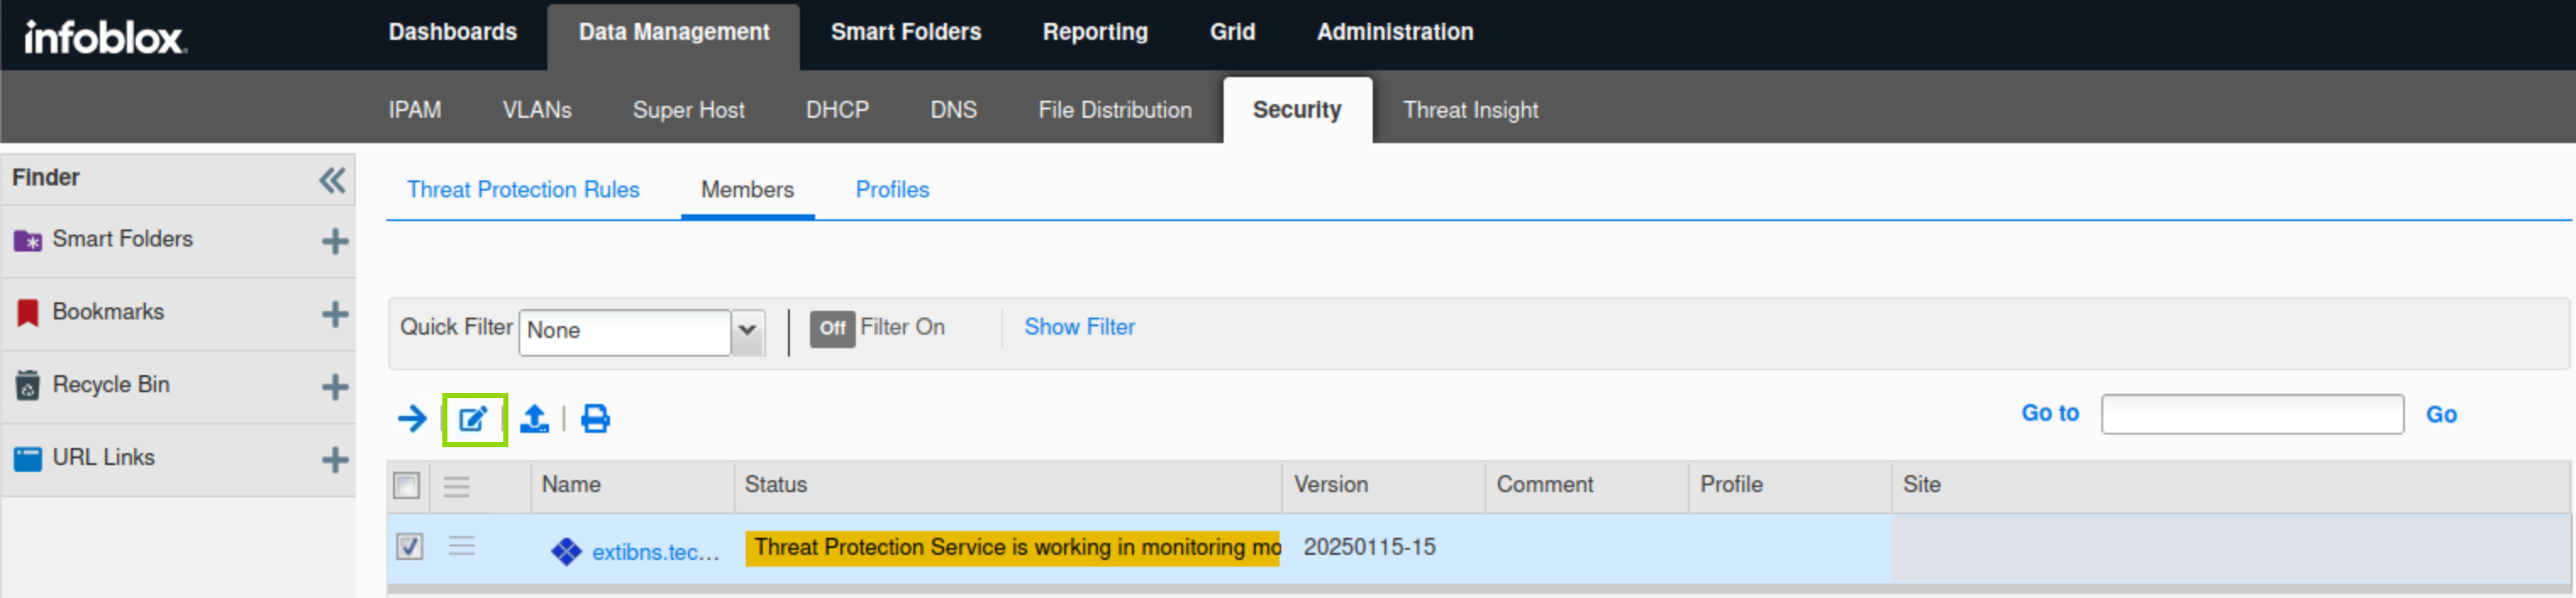
Navigate to Data Management → Security → Members.
Select the extibns.techblue.net member and click Edit.
Under the Basic tab of the Threat Protection section.
Select the Use profile radio button.
Click Select Profile and select the External – Initial Configuration profile.
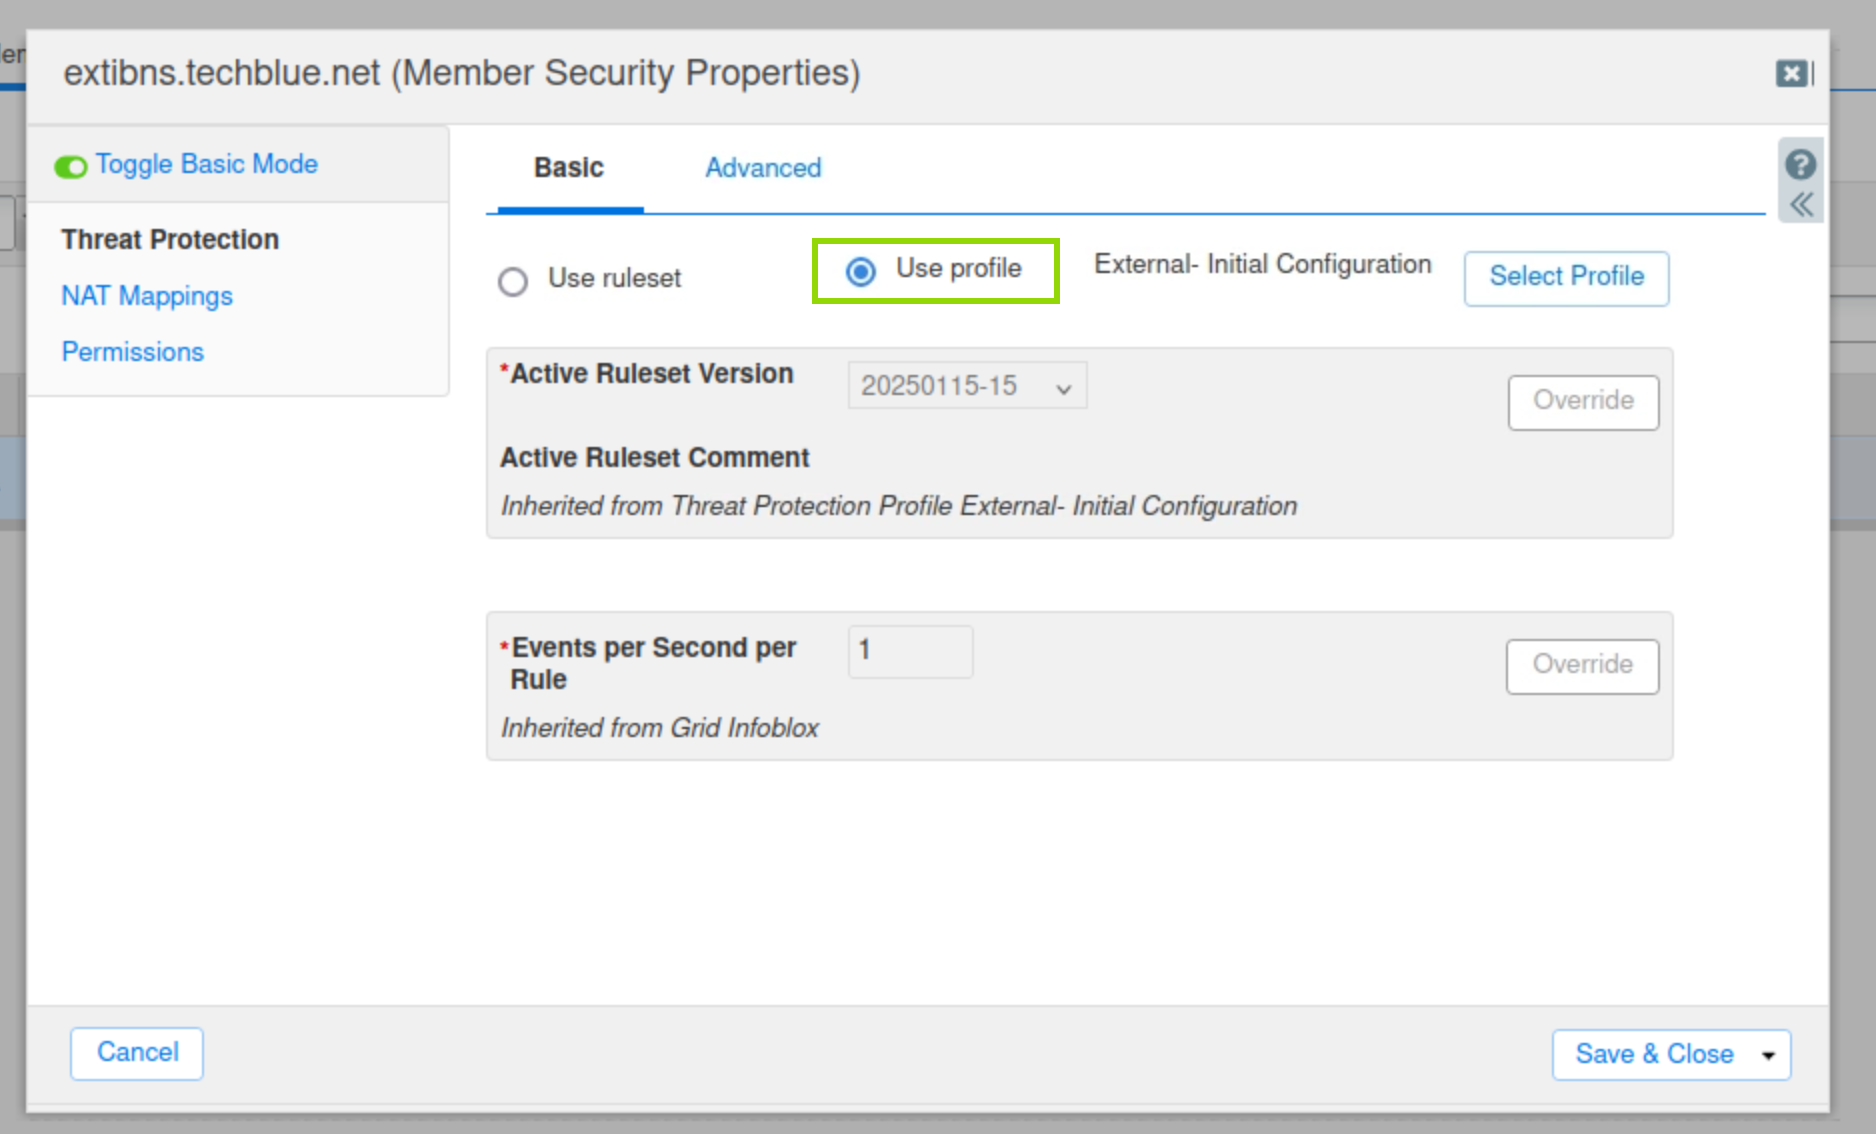
Click Save & Close to save the profile setting.
Publish changes when prompted.
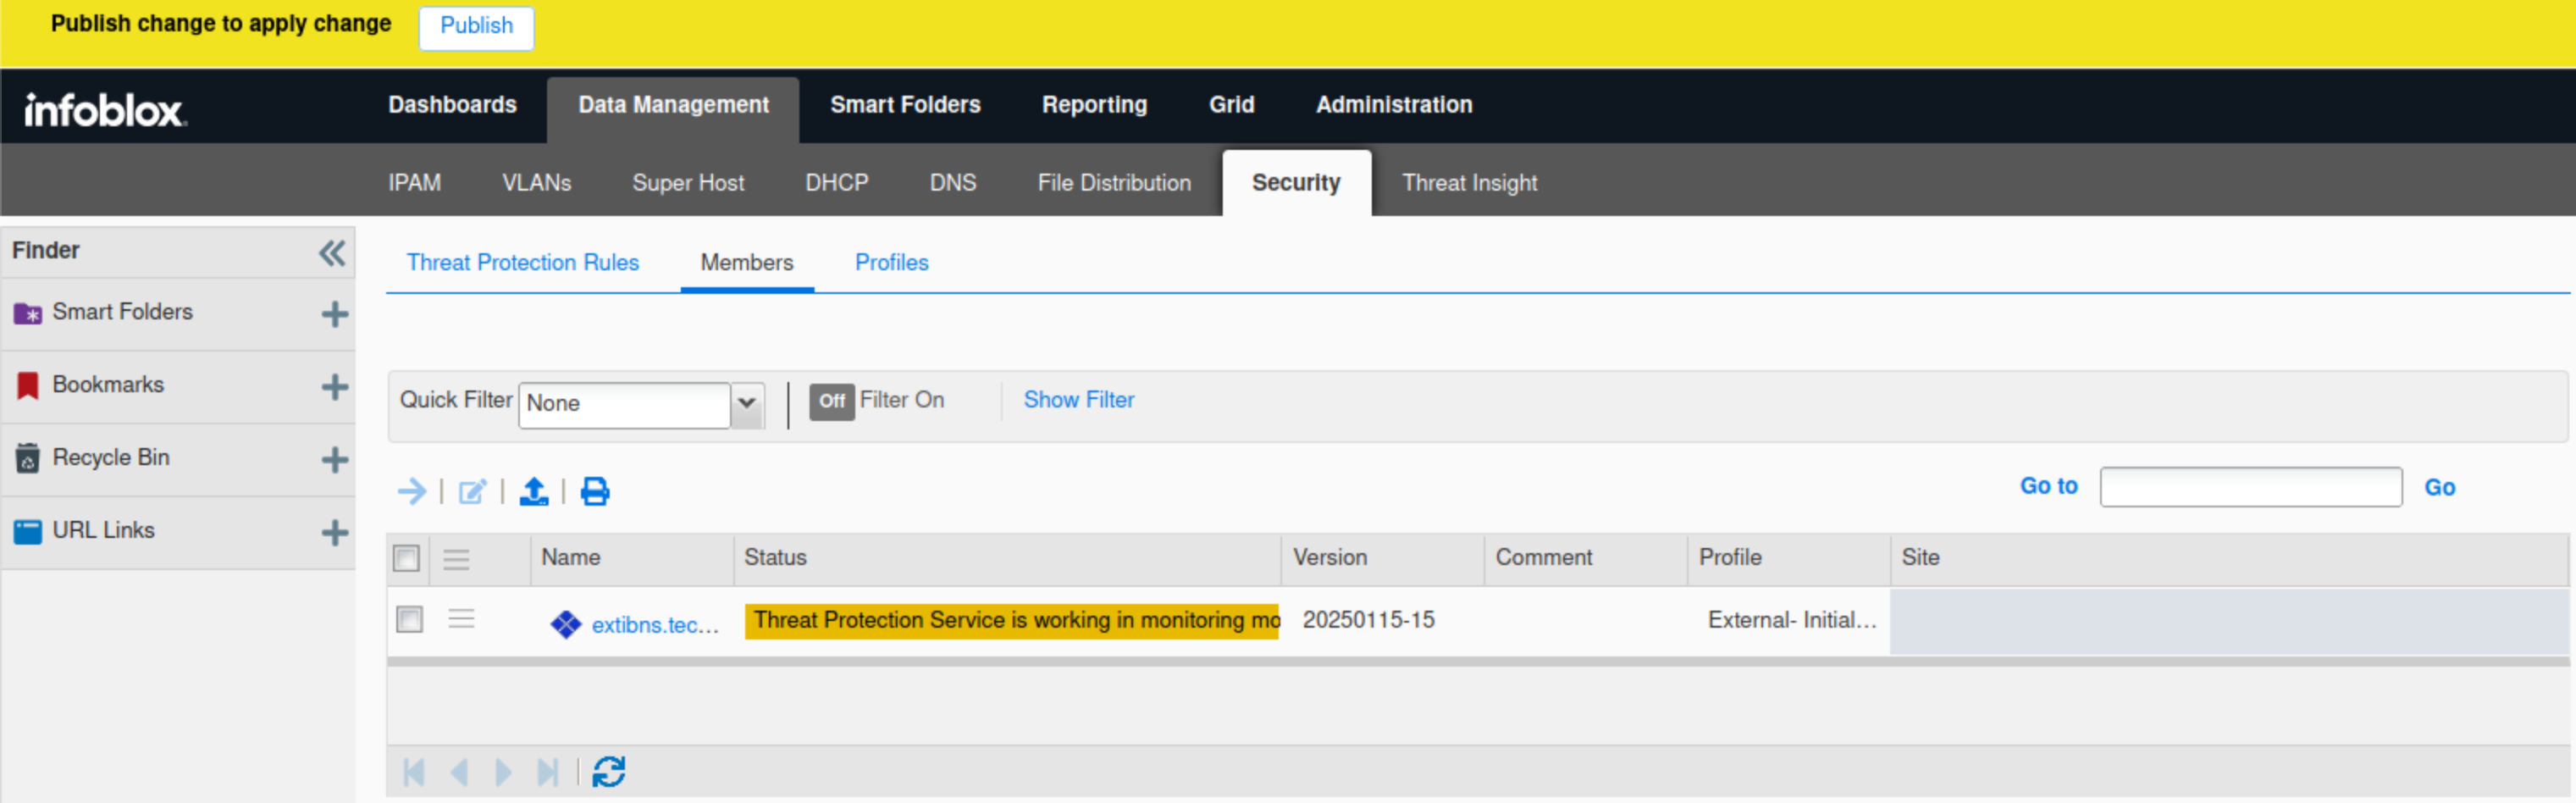
The External – Initial Configuration profile is listed for extibns.techblue.net